 Pumpkin carving seems to be a childhood tradition for most of us. The annual trip to the pumpkin patch to choose the pumpkin; deciding on a face, scooping out the insides and carving the pumpkin seems so much fun to a child. But maybe not so fun for the adults! And what do you do when you live in a warm climate where carving a pumpkin is not even practical? Nothing is worse than spending all that time carving a pumpkin only to have it rot in a few days.

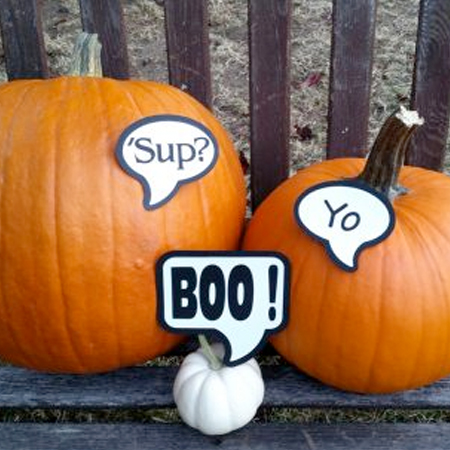
I decided to try the Pazzles vinyl to make pumpkin faces for my grandkids. We are going to be gone for 10 days before Halloween so carving a pumpkin didn’t make sense. I had found some really cute pie pumpkins for each of them and cut the faces from vinyl. I found the faces on the internet by googling Pumpkin Carving Stencils. There are a lot of them available, even some Disney ones if you want to get really fancy.
The small pumpkins are meant to be kept indoors but I also tried the vinyl on some larger pumpkins. I would recommend that they be kept in a protected area. I have tried to expose my pumpkins to sunshine, water and wind but it is not cold enough here for me to know what freezing would do. So far the vinyl is sticking well. If you would like to try this project follow the steps below. I am also including the faces already converted to cutting format. (Most are from Better Homes and Gardens website.)
To Make Pumpkins
1. Choose pumpkins that have smooth sides with no blemishes.
2. Thoroughly clean pumpkin surface. Dry.
3. Wipe area where face will be applied with alcohol and let dry.
4. Cut Pumpkin Face from vinyl.
5. Use transfer tape to apply face to pumpkin. It is best to apply in parts- eyes, then nose, then mouth. Rub over transfer tape firmly and peel away leaving the vinyl on the pumpkin. You may need to coax the vinyl to stay with the pumpkin.
6. Use the Chizzel tool to rub vinyl into the pumpkin seams (grooves).
7. Once Transfer Tape is removed. Firmly rub vinyl down on pumpkin.
8. If necessary seal small points with clear fingernail polish.
9. The adhesive will bond more strongly over time. Occasionally rub over the vinyl to keep the adhesive contacting the pumpkin.
10. If displaying the pumpkin outdoors, consider sealing all edges of the vinyl with clear fingernail polish. Keep in a protected location such as a porch.

Finally, HAVE FUN!!! This is something the kids can help with. My grandkids chose their faces and helped to rub the vinyl onto the pumpkin. They are very proud of their pumpkins. So proud that they insisted I take a picture of them trying to mimic their pumpkin’s expression.
Become a Member!
By becoming a subscriber to Pazzles Craft Room you will have access to this project as well as hundreds of other projects, thousands of cutting files, and so much more!Get Pazzles Craft Room!
Join Now for only $19.95!
Buy Now!
Purchase this project now and get it in SVG, WPC, and AI formats.


No offense….your pumpkins are cute….but they are being out shadowed by the little people who are holding them…how sweet!
I have to agree, they are adorable.
That is a good idea using the vinyl. We carved last night and it was…. messy lol. I had never done it before.. next year you may see some vinyl ones from me too. 😛
This is GREAT! I did not think of using my pazzles for this type of project. You can also us acrylic paint and/or markers instead of vinyl and that way you dont have to worry about the temperature issue.