 I love the look of chipboard in my projects but I don’t like that I always have to cut a layer of paper or cardstock to cover it. The chipboard may be brown or an ugly gray or even printed on (if I use a cereal box). So, I usually cut a second layer of cardstock and glue it on; or I paint it; or ink it; or in some other way try to disguise the chipboard. That is why I really love today’s technique, I can make a nice stiff board that is already covered in the cardstock of my choice. Plus, I can recycle all of the plastic bags that seem to accumulate under my sink. It’s the perfect combination: making something beautiful while repurposing something that would normally end up in the trash.
I first learned about the melted plastic bag technique in the Pazzles Craftroom forums. Member Ana Moreno shared the idea and I found a few videos on You Tube as well. One of the videos I watched showed melting plastic bags between layers of freezer paper. You then used ink to color the thin plastic-like paper. The lady in the video called it PLA-PER.
In the tutorial for this technique, I don’t use freezer paper, instead I use cardstock. After melting the plastic bags between layers of cardstock, the finished paper is closer to chipboard in thickness and feel. So, I call it Plastic Chipboard and it can be used in place of paper chipboard accents in your projects.
You can create the plastic chipboard in whatever color you want just by using your favorite cardstocks in solids or prints. You can have one color on the back and one color on the front, or mix prints together with solids. Since it is already covered in cardstock you don’t have the frustration of trying to line up the paper cover like you would with ordinary chipboard. In addition, inking and chalking is so easy to do, just as easy as any other cardstock cut out.
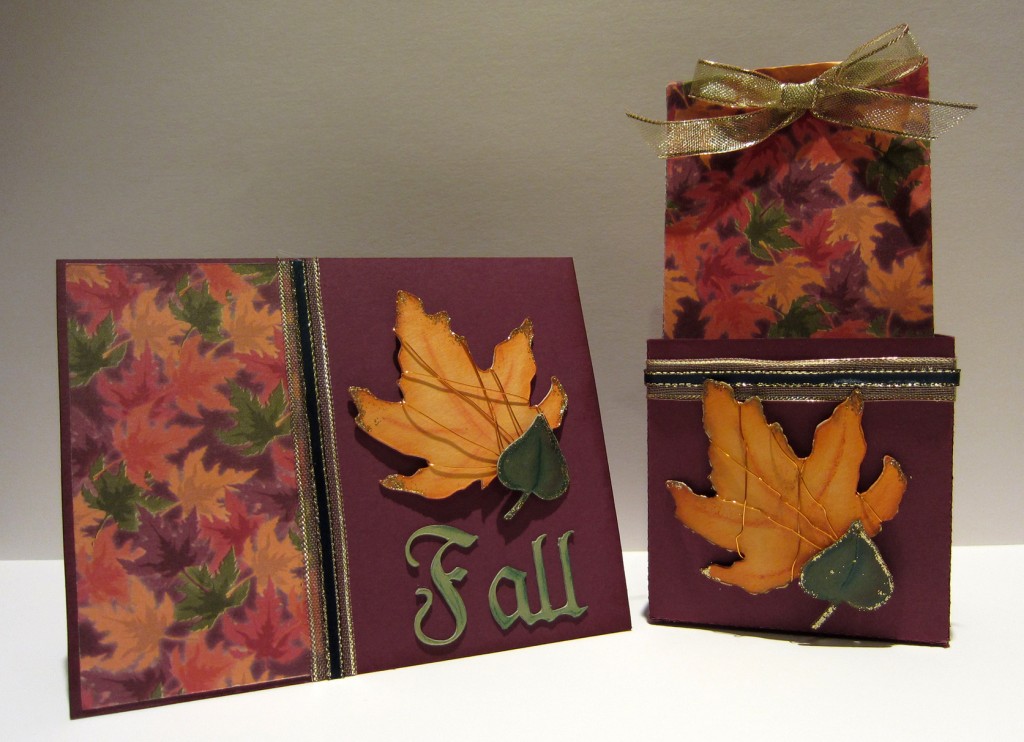
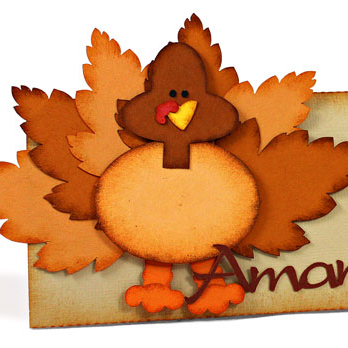
I have made card and page accents, titles and boxes from the plastic chipboard I have created. It doesn’t like to be shaped or folded but then most of the regular chipboards don’t take too well to being bent either. You can make boxes by using a perf line at the folds. The project I made for this tutorial features a small box that holds a gift bag with a matching card. The box, leaves and title were all made with plastic chipboard. Be sure to watch the video to learn how it is done. After trying it out, I bet you will empty your cupboard of all those plastic bags and be asking your friends to save their all-white/ no print bags for you. 😉


what a clever idea!
I can’t stop laughing! What an idea. Only in my house…..with two dogs, there is NO SUCH thing as ‘extra’ plastic bags! And at a point in time where many cities are trying to go ‘plastic-less’, they are becoming endangered items indeed.
Love it!!! I’ll have to try this…..
Super idea, great way to recycle plastic bags. I also saw a project using ironed plastic bags on google. But, making plastic chipboard is a really neat idea. Thanks!
very pretty and very informative. I have seen the video’s doing the plastic bags but not with the card stock. Much better idea. TFS
Thank you Christine – a lovely tip to try. This will make cutting my titles much quicker and easier.
What a great idea. I can actually see myself trying this one! Thanks for this one.
Very pretty project. I’ve seen the bags being made into purses, but I like this idea a lot. I’ll have to try it.
Thanks for a great idea.
Gina
Must get my stash of plastic bags and try this one
I can do this, wow love this idea
Question. Can you also use the clear plastic bags that we put the produce in at the grocery store or does it need to be the thicker colored bags?
I just tried it with a produce bag from my local grocery store. They come on a roll, are not completely clear and have a bit of printing on them, Yours may be different. They work fine although 32 layers was still pretty thin- more like the 8 layers of a grocery bag.
Out of curiosity, I tried the cling wrap I buy at Costco and that worked as well. It was also pretty thin at 32 layers.
I also tried the shrink wrap from around the 2 boxes of cling wrap just for kicks. 🙂 Did not work at all.
I imagine you can experiment with any of the plastic packaging but be sure to use a well ventilated area.
COOL IDEA and boy, do I have a LOT of plastic bags. I know what I’ll be doing one of these cold, rainy days.
I tried it and it didn’t work. 🙁
The finished product kept trying to roll up and would’nt stay flat on the feed sheet. I even let it cool down under a stack of paper before I tried to cut with it. Also the plastic really didnt stick to the paper or card stock as well as I thought it would. Did I do something wrong?
Their are a couple of reasons that you might have curling.
1. You have 2 different kinds on paper on back and front. If one is thicker than the other they probably cool/shrink at different rates. I noticed this in some of my experimenting. In fact, the leaves on the project had paper on one side and cardstock on the other. In my case the curve worked to my advantage. I used painters tape to hold it to the mat.
2. You did not melt the plastic enought yet. This will also cause a slight curl. Try ironing some more. It would also explain the plastic not sticking to the paper.
I recommend you try small sizes at first. If you become comfortable with 6 x 6 swatches, then you can try larger ones.
Be careful when you take a peek to see if the plastic is melted. It doesn’t hold together as well at the edges. If I feel a bit of resistance I will try cutting. If needed, I will iron after cutting to seal the edges better.
You will get better with practice. (As with most things worth doing. ;))
Is the chart with pressure/depth info somewhere we can save…and if not, can you place it somewhere on the site? Thanks!
I added it to the video above. You should be able to download it by clicking on the Downlaod Documentation link. 🙂
That was so cool…what a fantastic idea!!! How in the world did you ever figure this out?? 🙂