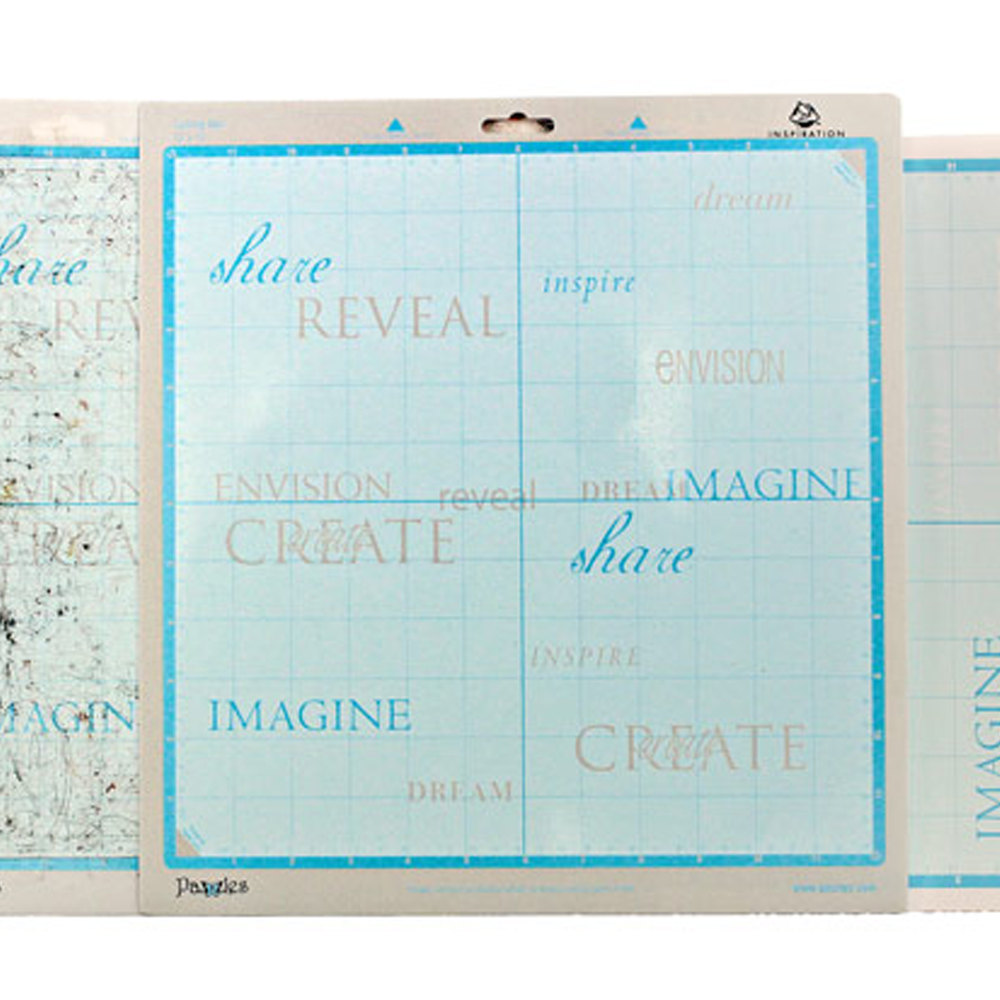
 Proper care of your Inspiration Cutting Mat will make it last longer. Did you know that treating your mat correctly starts from the moment you remove it from the package? There are several steps that you should do to ensure that your mat lasts longer and works better for you.
By following the proper steps to prepare your mat, you will not only have a mat that lasts longer, but it will also release the paper more easily. This will help avoid any tearing that could occur if the paper adheres to the mat too strongly.
- Start by writing the word ‘top’ (with a permanent marker) on the mat cover before you remove it for the first time. There is a right and wrong side to the clear plastic cover. If you place the wrong side of the cover down on the mat, you can damage the adhesive coating.
- You will also want to press the adhesive down into the mat surface to strengthen the bond between the adhesive and the cutting mat. Simply rub the flat edge of a credit card, the Pazzles Chizzle Tool or the Pazzles Mat Scraper over the entire surface BEFORE you remove the clear plastic cover.
- Keep the clear plastic cover and always use it to protect the mat when you are not using it. Never leave paper on the mat when it is not in use.
- All paper scraps and debris should be scraped off of the mat before cutting another piece of paper. Use the Chizzle tool or the Mat Scraper. You can use a lint roller to remove tiny pieces of paper and fuzzies from the mat.
- A clean mat is essential to getting the best cuts. If the blade is having to negotiate bumps under the paper caused by paper scraps and debris it may not cut all the way through the paper.
We use our mats here in the office for a L-O-N-G time. They are pretty ugly and well used by the time they need to be retired. By following the steps above (and watching the video to learn more tricks), your mats will also have a long and useful life. 😉
PS—Want to get just one more cut out of your mat? Maybe you have to finish a project and don’t have a new mat on hand. If you have already tried all of our cleaning tips, you can usually get the paper to adhere at least one more time by using this simple trick: Place the paper on the mat and press down firmly with your hands. Then turn the mat over and lay it flat on the table. (Paper side is down.) Use the Mat Scraper to rub firmly over the entire bottom side of the mat. This will push the paper into the mat and you should be able to finish you project.
caring-for-your-mat

thank you Chris that was so very helpful, i never knew exactly how to condition a mat. Also is there a video on the directional arrows?
So I’m all for keeping my mat sticky… but how do I find that balance between sticky enough to hold on to thicker stuff and not so sticky that when I cut something delicate that it doesnt ruin it when I’m taking it off? Any tips?
Superb VISUAL video, thanks so much.
Thank you as I was also having trouble with my mats so have just purchased some new ones and I will make sure to follow your tips.
I tried to click on the video but get this error message
The requested URL /video/the-fundamentals/free/caring-for-your-mat/caring-for-your-mat.swf was not found on this server.
Apache/2.2.3 (CentOS) Server at pazzles.net Port 80
Thanks for letting us know jlovejo. The link has been fixed.