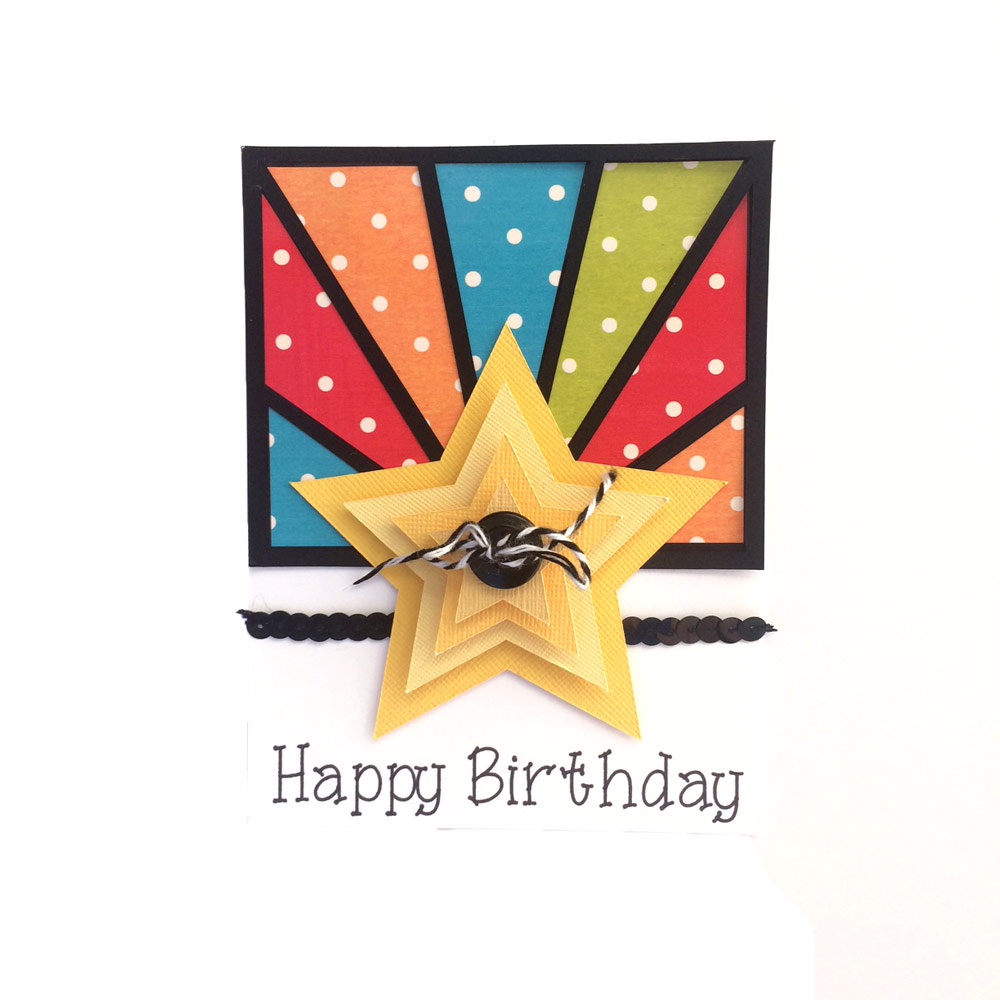
This rosette tutorial was posted several years ago in the Craft Room and although it’s an oldie, it’s a goodie. These rosette fans are super popular right now and make great affordable 4th of July decorations. Watch the video, then grab the cutting files and make up a bunch of your own. ~Michelle

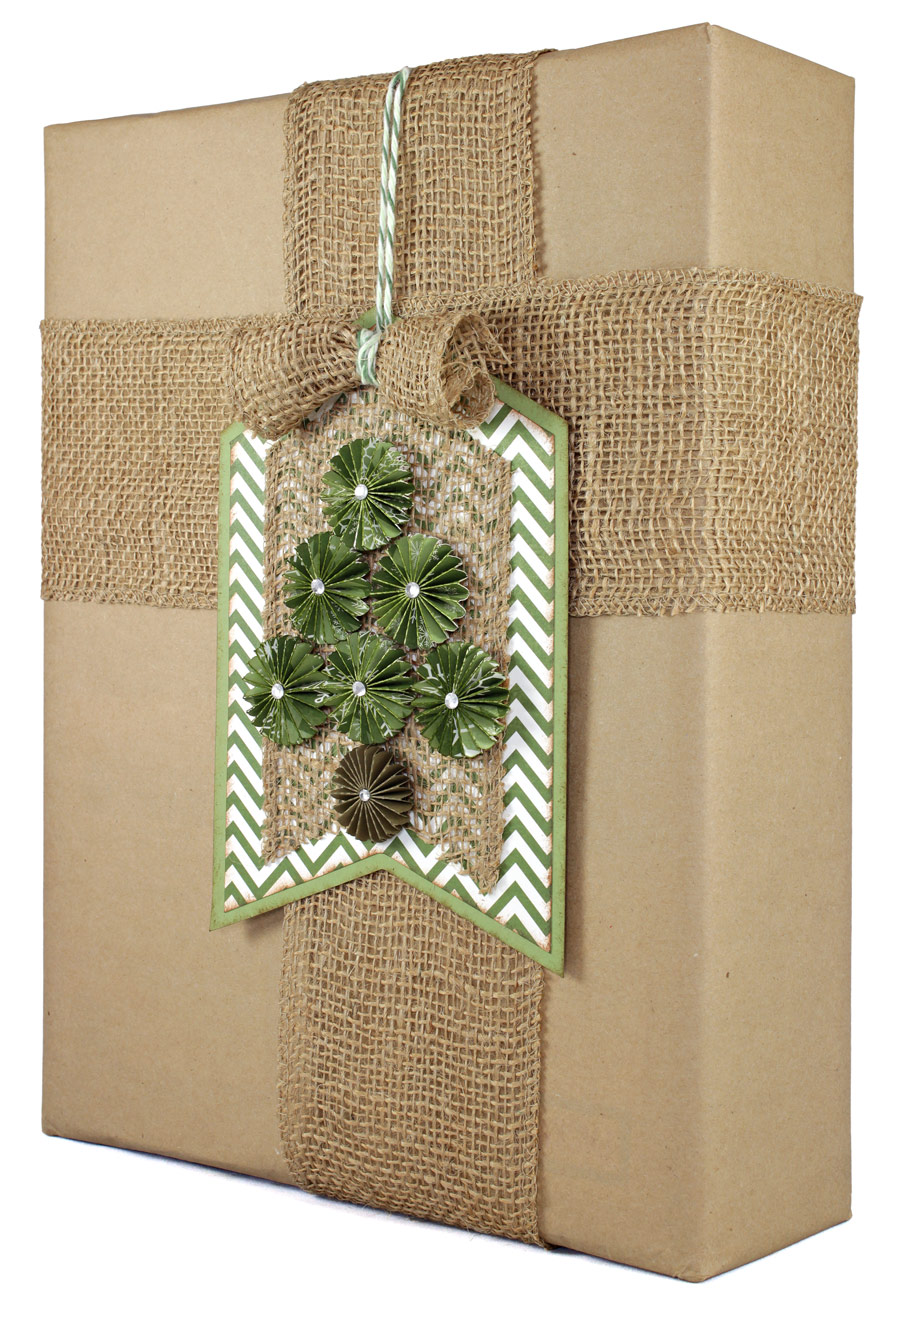
Lately I have been spending a lot of time looking in Scrapbook magazines, stores, online shops and company catalogs. Everywhere I turn I see rosettes and it isn’t hard to know why. They just “feel” happy! You can buy them premade, invest in a pricey die with only one size option OR….of course, you can use your fabulous Inspiration to cut them in a multitude of colors, shapes and sizes. I’ll let you decide which sounds more economical, more versatile and more individualized.
I think rosettes are tailor made for the 4th of July. I can just imagine how they can be used for invitations and decorations. You could even glue them to a headband or pony tail band for a patriotic addition to a little girl’s wardrobe. Itty bitty ones can be glued to a stir stick and used to decorate a glass of lemonade or top a red, white and blue cake. I am sure you can think of a lot more ideas than those mentioned here.
I also discovered that rosettes are a great way to use up those papers you are hanging on to but have no idea what you would use them for. Once the paper is folded into a rosette, that funky pattern seems to look a whole lot better!
 I created a video to show you how to assemble them. It does take a bit of practice but I think I have come up with a few good tips for you to make it easier. I know that some other sites have been recommending different glues (usually whatever brand they are selling) but I have found that hot glue is strong enough to hold the rosette and dries fast so you don’t have the folds slipping out of place. If hot glue scares you, I recommend either Zip Dry glue or Tombow Mono adhesive. These dry slower so you need to weight the rosette down while it dries but you can make adjustments more easily.
Also, other tutorials tell you to flatten your rosette and then move it over to the paper circle with glue. In my experience, the rosette can pop up and slip while you try to move it. Instead just place your rosette ring right over the glued circle and press down onto the glue. It saves a  lot of frustration.
Finally, the size of the rosette makes a difference when choosing a paper for your rosette. If you want a tiny rosette, you need to use paper, not cardstock. Tiny folds are too hard to manage when cut from cardstock. However, if you want a really big rosette, it will stand up better if you use cardstock.
 Adjust the cutting files that accompany the video to get any size rosette you want. You can change just the height or width or enlarge both dimensions for a really big rosette. If you enlarge the rosette beyond the borders of the workspace, use your Cut Straight Line tool to trim off the extra part of the paper strip that extends off of the page. Keep in mind that the bigger your rosette is, the more rosette strips you will need to get the full circle rosette.
Enjoy!! Chris


Hi, where can I find the cutting files for this project? I am not able to locate them. Thanks
If you go to the Library and put Rosettes in the search, it will bring up many different options for you.