Hello Pazzles Craft Room friends,
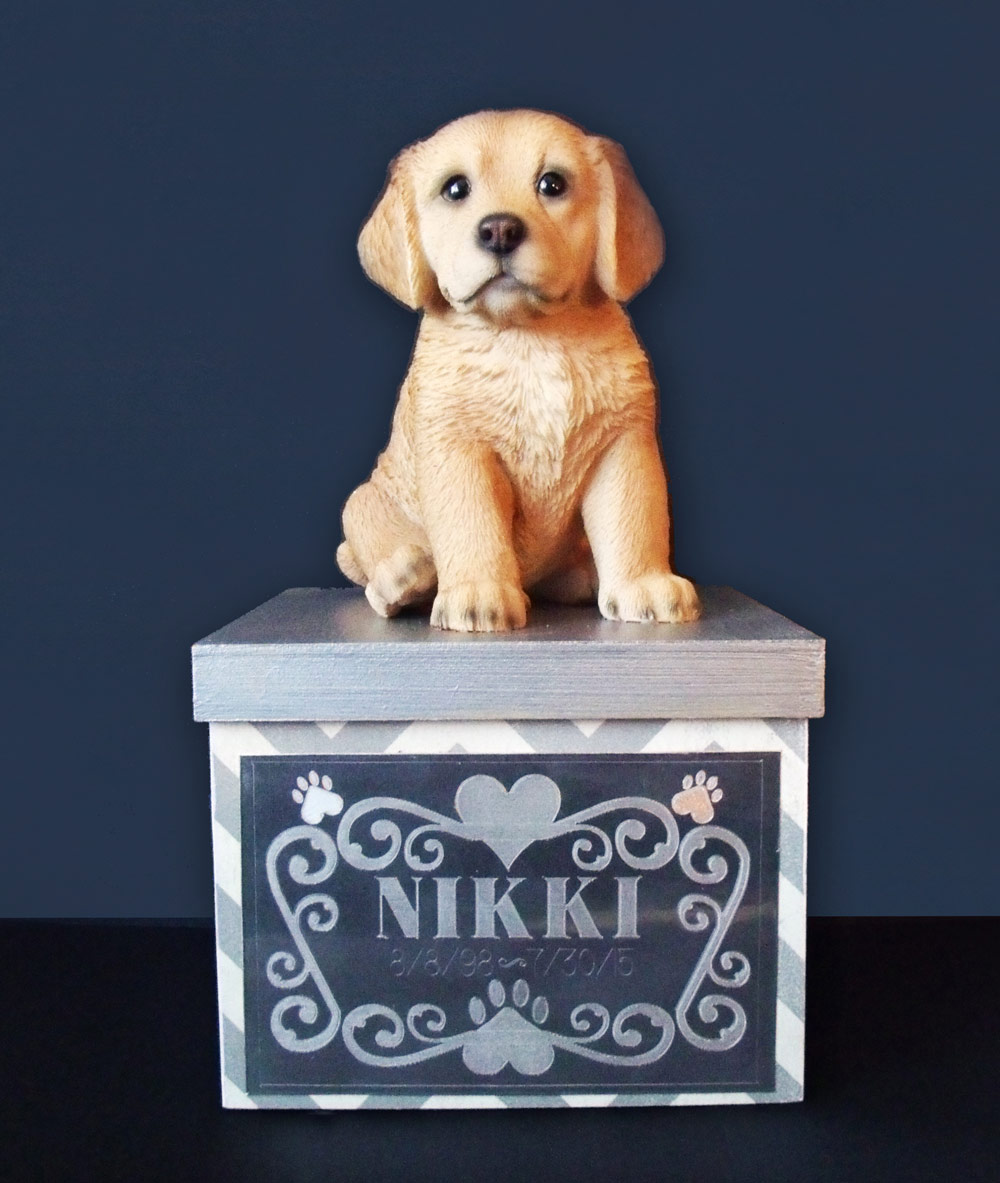
Melinda here with you today.Today I am using the Pazzles Engraving Tool. I love that our machine has the ability to use several different tools to create various projects on all sorts of mediums. I decided to create a memorial box for our beloved fur baby that crossed Rainbow Bridge almost a year ago. She was with us for many years and was my son’s childhood buddy, so it had to be special. I started by designing the project. I created the frame of the design and then used the engraving settings to create the “fill lines”. I then used a chunky serif type font for her name letters and did the same. For her birth and death date, I used one of the single stroke fonts that is in the program. The frame file is available exclusively in the Craft Room Library.
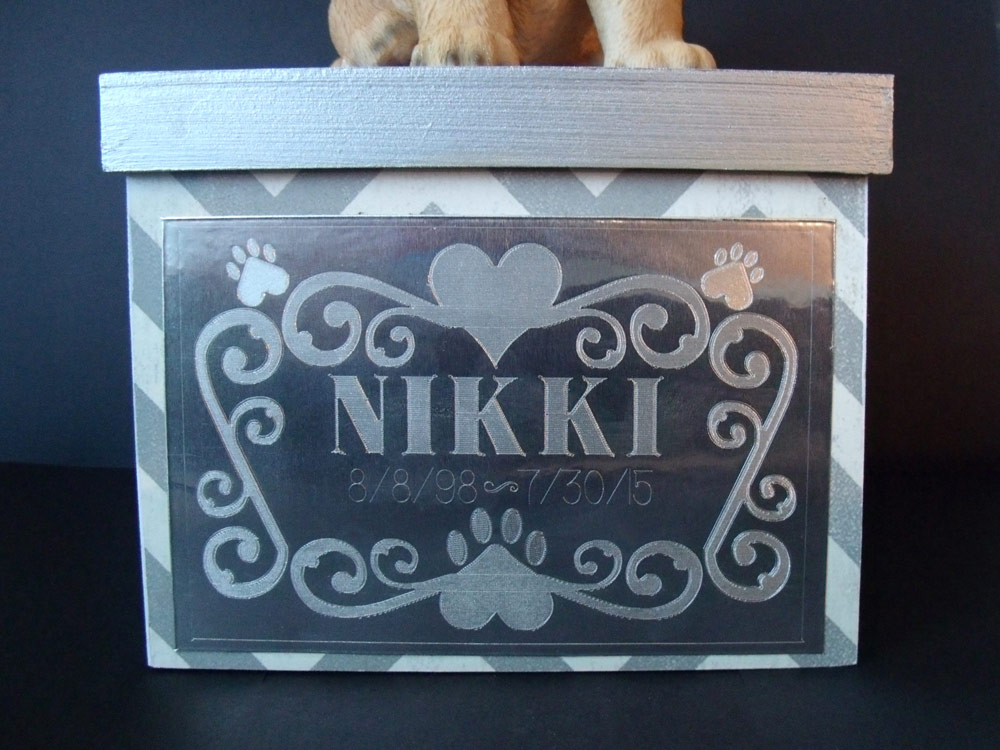
Once I was done with the design, I went shopping for the material. I found some thin metal like material from Hobby Lobby. It’s called Create with Metal, Designer Metal Sheets. I bought the silver one. It came in a roll of 12”x 30”. I cut off a piece that was approximately 7” x 12”. I gave myself a little extra room. I then adhered it by the edges only to the Pazzles Embossing mat. I had a new embossing mat, so I laid that down on a new mat. I used a brayer to make sure everything was smoothed out. The metal material is pretty thin so you want to be careful that you don’t accidentally crease it when cutting it and laying it down. I then inserted the Pazzles Engraving Tool into the main carriage and used the recommended engraving settings and did a small test. It worked perfectly!!! So I went to my main design and let the machine do its magic! Once it was done engraving, I had created a “frame, cut line” and replaced the engraving tool with the cut tool and cut it out. It cut without any problems. I did use a heavier cut number than what is recommended for textured cardstock. Once it was all done, I brushed some liquid glue to the entire back. I didn’t want to have only lines or tabs of glue here and there as again, I thought it would show through. I adhered it to a box I had found at hobby lobby. It already had the print on it. It did however have a mustard colored top that I wasn’t particularly fond of, so I painted it. Lastly I added the little puppy dog resin piece I had also found at hobby lobby to the top of the box. It kind of resembles her. I think it turned out really well, but more importantly, my son loved it! It truly is amazing how this machine can help you accomplish so much more than just scrapbooking! I hope you will consider giving the embossing a try. It really will open up a whole new world of ideas!
~Melin

Supplies:
Wooden Box
Puppy Resin Shape

Great project Melin–what a wonderful way to honor your fur baby.
Love this!
Beautiful box to honor your loved dog.