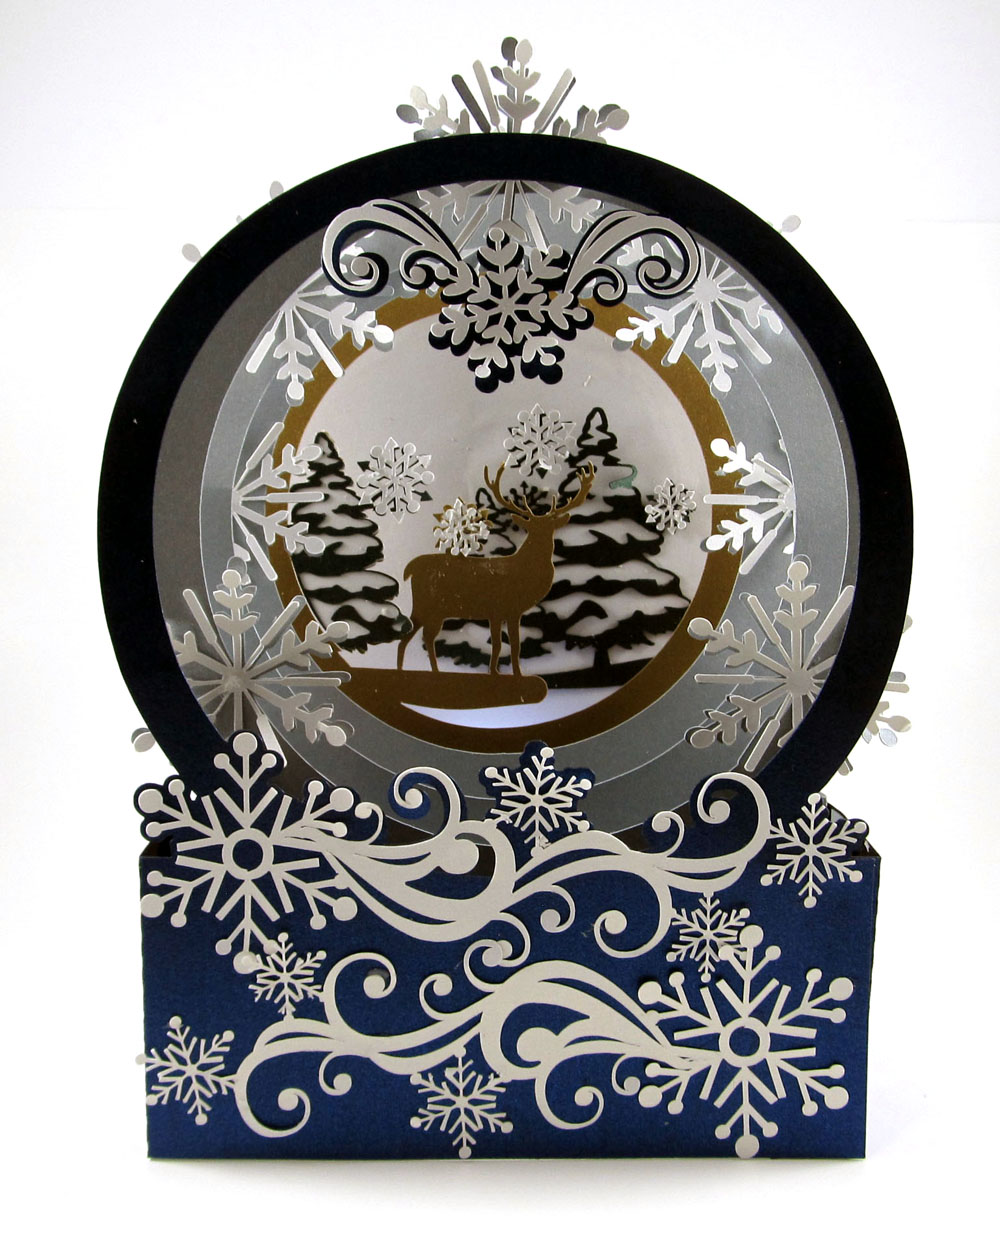
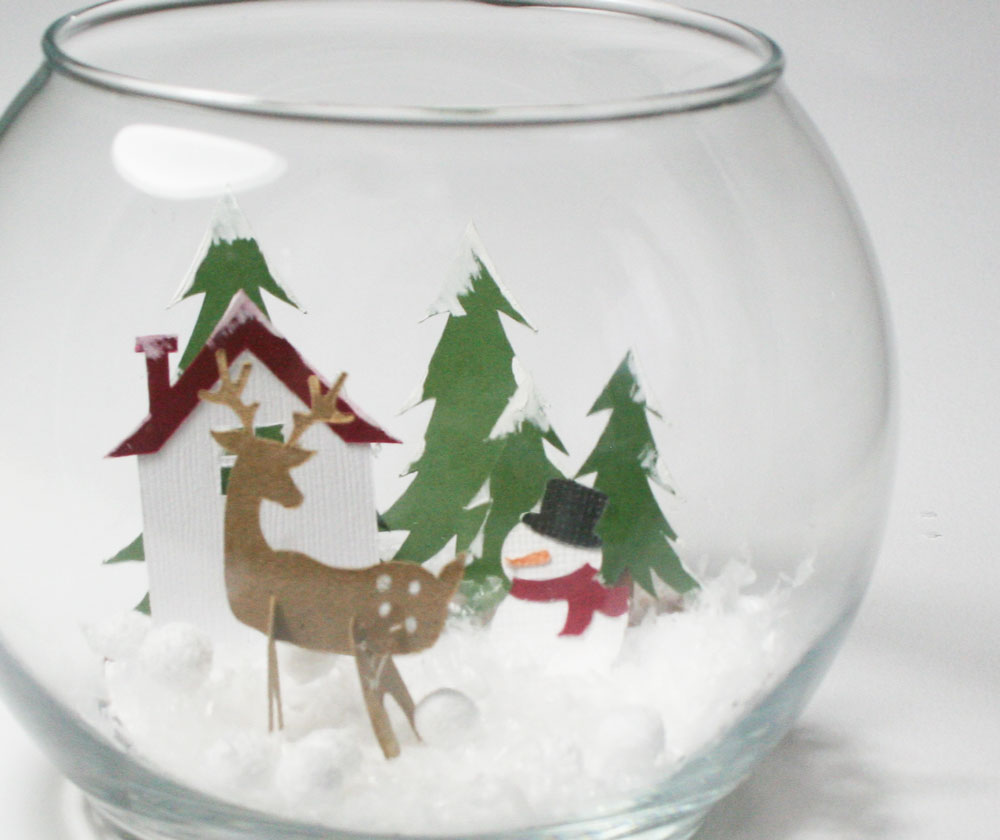
Winter is upon us, and we look forward to snow days where we live. Everything shuts down, and we get to watch the wildlife in the snow, from the comfort of our warm and cozy home. I wanted to do a snow globe shadow box for this month’s winter home décor project. I like to have a seasonal centerpiece for our table, and this one works perfectly. This reminds me of what we see in our front yard when we get freshly fallen snow.
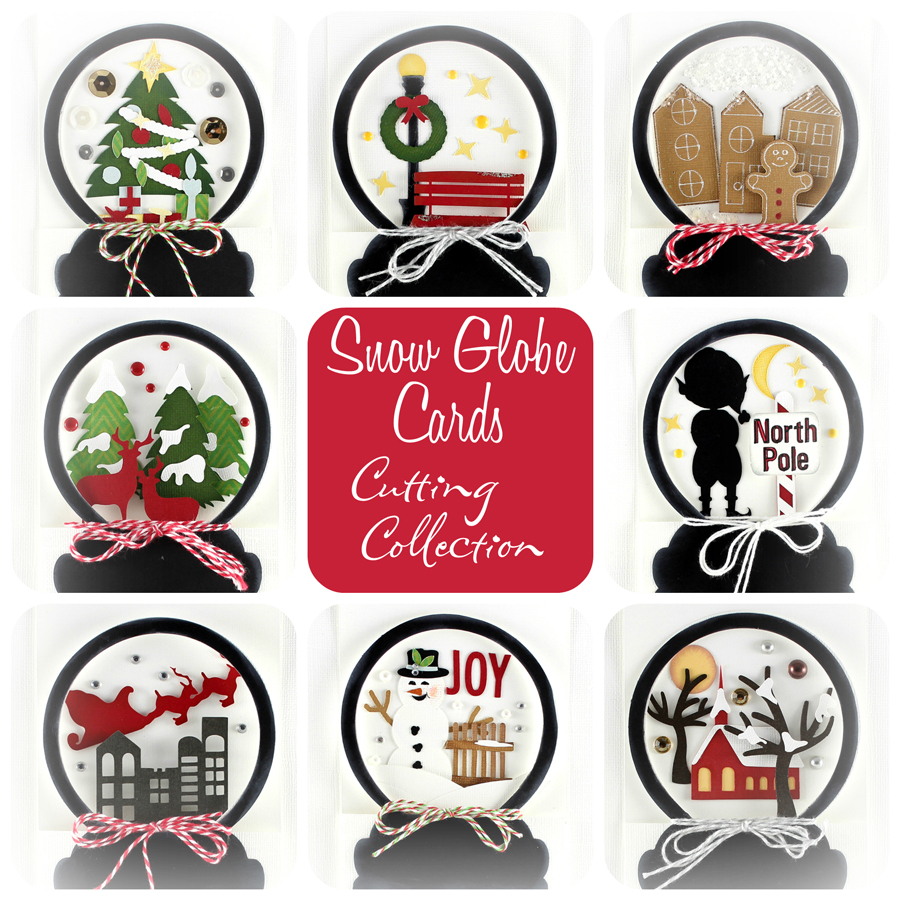
I found some lovely snowflakes, snowflake flourishes, a snow globe design, and a perfect winter scene to use for this project in the Pazzles Craft Room Image library. I modified the pieces to work with the 3D shadow box concept I had in mind. I have provided the modified pieces here in several formats to make it an easy project to put together quickly.
I found a lovely package of metallic cardstock that included all of the colors that I needed. Mine is only 65 LB. It works, but heavier metallic cardstock might be even better.
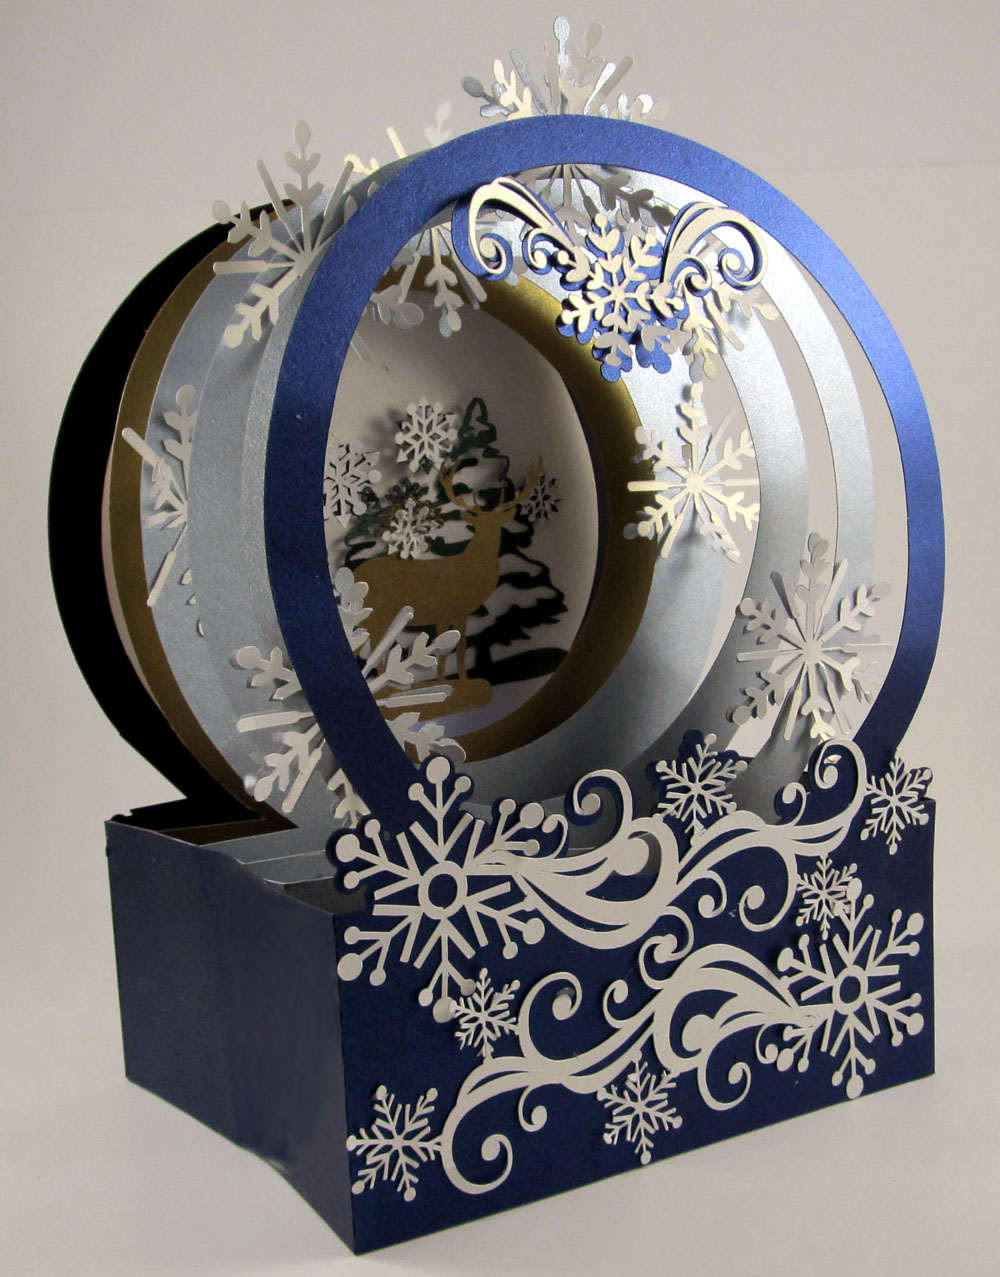
The design has front and back panels that are glued together to form a box-type base. Four additional layers inserted in between these are cut from silver and gold metallic paper. There are some tree accents that are overlaid in green. The snowflakes and snowflake flourishes were cut out of white iridescent paper. I love the glistening look that the metallic papers give to this winter scene.
The size is about 4.75” deep, 6” wide, and 8.75” tall.
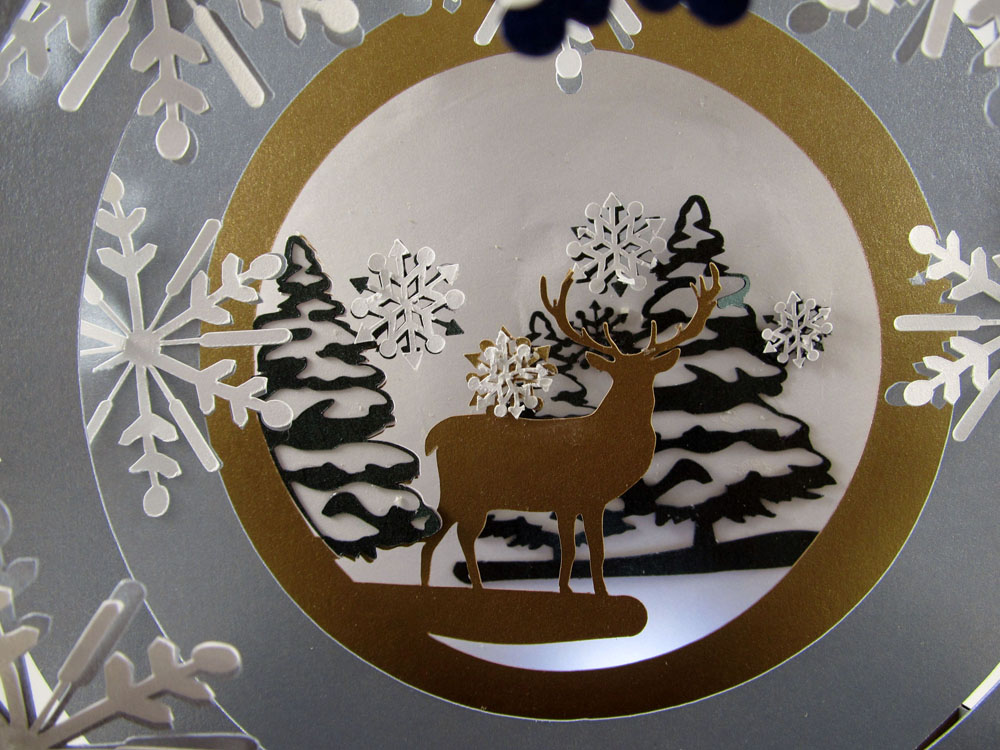
To assemble this project, cut out all of the pieces from paper that matches the colors in the file. Use glue to adhere the embellishments to the corresponding layers. I attached the white snowflakes with a touch of glue in the center, so that they could curl out a bit to add more dimension. The single snowflakes are glued to their colored counterparts on the frame, tree, and deer designs. Two of the snowflake flourish borders fit on the bottom front, and there is one for the back, if you wish to use it. I used the corner snowflake flourish at the top of the front panel. Layer the small white tree background behind the single green tree, and glue these to the left of the deer. The white circle is glued to the back side of the back piece, and the two green trees are glued on the right side of it.
Once all of the embellishments are glued into position, you are ready to assemble the shadow box. Sort all of the panels in order from left to right. Each globe is a different size, going from the largest opening in the front, to the smallest opening in the back. Putting them in order will make assembly easier.
- Fold back on all of the score lines.
- First, glue the tab of the solid back piece behind the right edge of the front piece.
- Place glue on the front side of the right tab of the deer panel, and line it up to the right of the score line on the back panel. Fold it back so that it is flat.
- Place glue on the front side of the right tab of the silver panel with 3 upper snowflakes, and line up its edge snuggly to the right of the folded deer panel. Press it flat.
- Place glue on the front side of the right tab of the silver panel with 2 snowflakes, and line up its edge snuggly to the right of the previous panel. Press it flat.
- Place glue on the front side of the right tab of the silver panel with three snowflakes that are most spread apart. Line up its edge snuggly to the right of the previous panel.
- Now you are ready to glue the tabs on the left sides of the panels to the left side of the box. Glue the tab of the deer panel with its edge flush with the back corner of the card.
- The tabs of each successive layer should butt up against the front of the previous layer.
- Now you can glue the tab on the left front piece to the inside of the back.
- Crease all folds, and enjoy your creation!

Become a Member!
By becoming a subscriber to Pazzles Craft Room you will have access to this project as well as hundreds of other projects, thousands of cutting files, and so much more!Get Pazzles Craft Room!
Join Now for only $19.95!
Absolutely GORGEOUS Julie!!!! LUV IT. Going to give it a try.
so beautiful Julie!
Love it!! Beautiful!
Wow!
A work of art!! Suggestion: would be most helpful you would pdf & post the instructions.
So beautiful. This has just made it tobthe top of my to do list
WOW!!! Beautiful. Great job Julie. 🙂
Thanks for the PDF’d instructions!!!
WOW! A BEAUTIFUL JOB. THANK YOU
This is just stunning!