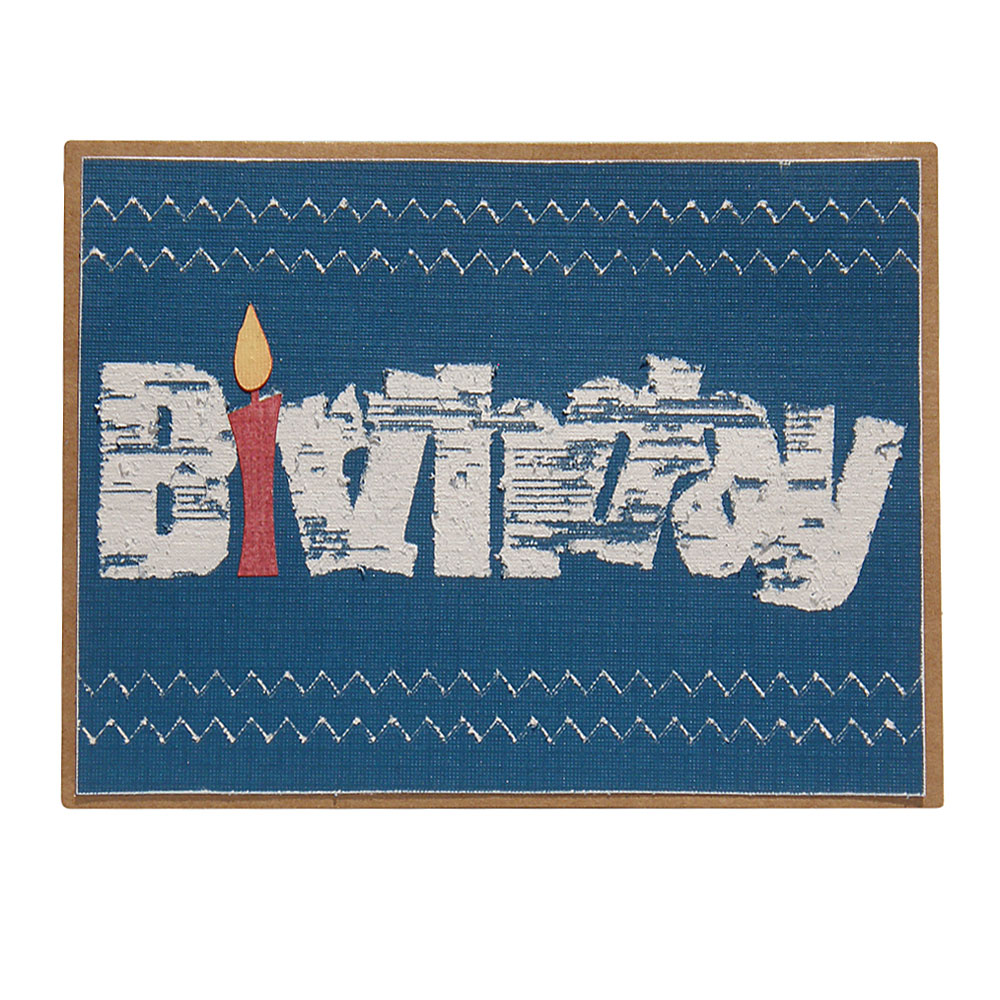
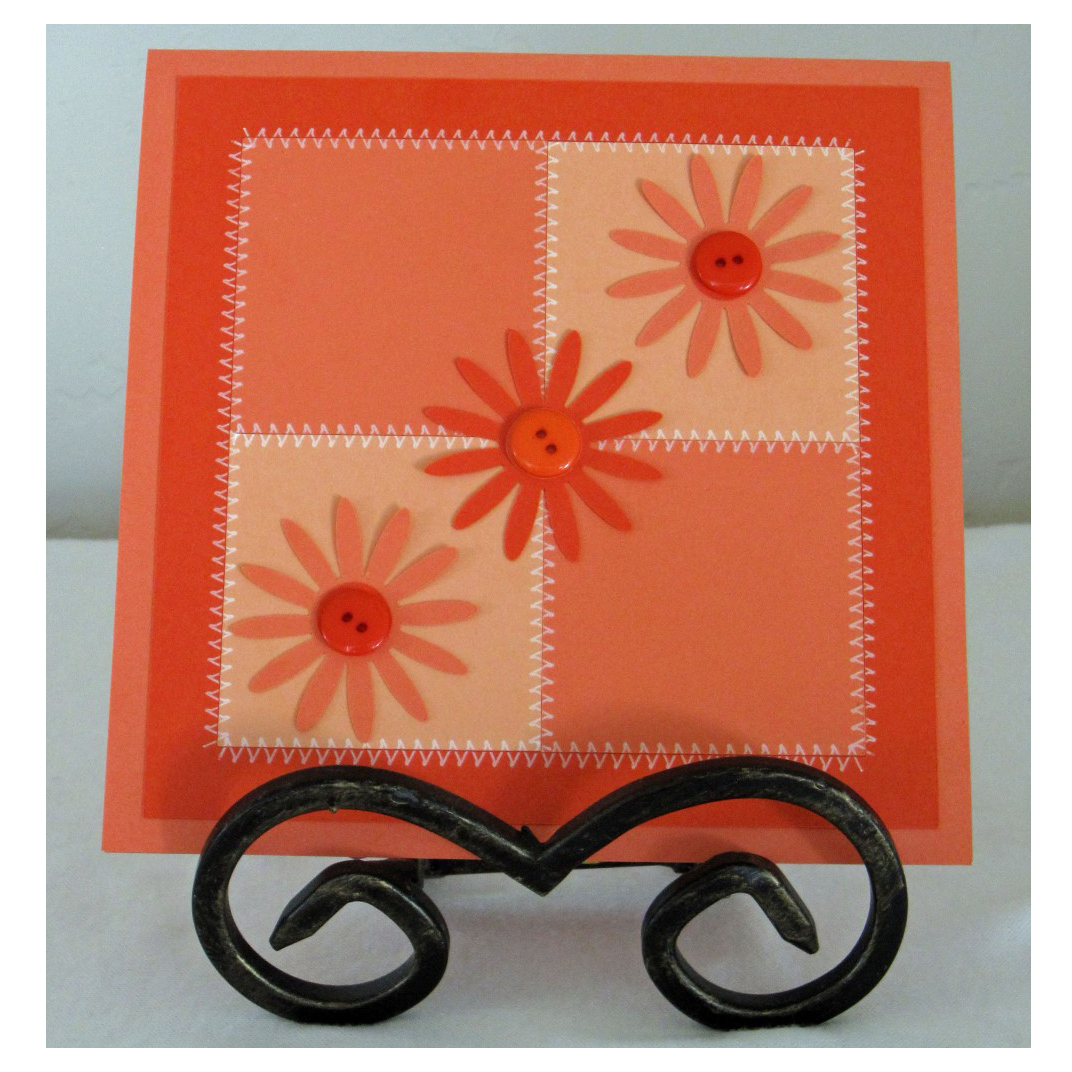
Search Results for : zig zag card


Zig Zag Stitch Card

While perusing the different Scrapbook and Cardmaking magazines, I noticed that using a sewing machine to stitch around paper is really popular. In my past life, aka Before Pazzles, I did a lot of sewing, so I love this look. However, I don’t have room to keep my sewing machine up and I hate hauling it out for a little project. I have already been using the fabulous Pazzles Pen Tool for stitched or dashed lines on my projects. But I wondered; could I make my project look like zig zag stiching that is joining 2 pieces of paper together?


Pazzles DIY Thanks for the Stash Card with instant SVG download. Compatible with all major electronic cutters including Pazzles Inspiration, Cricut, and Silhouette Cameo. Design by Renee Smart.

Thanks for the Stash Card

This thank you card is nuttier than most and will be sure to put a smile on the recipient’s face, especially if you’re a crafter and they got you something to stock your (overstuffed *grin*) craft room.


Pazzles DIY Recipe Card Holder with instant SVG download. Compatible with all major electronic cutters including Pazzles Inspiration, Cricut, and Silhouette Cameo. Design by Renee Smart.

Yum Recipe Card Holder

This cute and functional DIY recipe card holder is a cinch to make as a housewarming gift or as a birthday gift for a baker or cook.


Zig Zag Border Template

This template is for a border, use just one piece or cut them both and layer them on your pages.  You can also make them smaller and layer them on a card.


Distress Tool Birthday Card

My Design Team project for this week was to use a Pazzles Tool. I use the Pen Tool all the time, so I decided to use a tool I have had for years but haven't used much, the Distress Tool. Now my hubby's birthday is coming so I figured I’d make his card. I found the Birthday Title file in the Craft Room Library and thought that it would be perfect. The first thing I did was ungroup and move the candle and flame off to the side. I then made a rectangle the size I wanted the topper to be. Then using the engraving fill with S sweep, I filled in the rest of the file. I then resized the whole file, candle and all, to fit within the square topper. I find it much easier to fill the file before making it smaller to fit my card. For a little extra I added zig zag lines with the scissors tool to the top and bottom.


Pazzles DIY Giant Carrot Easter Wreath with instant SVG download. Instant SVG download compatible with all major electronic cutters including Pazzles Inspiration, Cricut, and Silhouette Cameo. Design by Renee Smart.

Giant Carrot Easter Wreath

This giant carrot wreath is a clever way to add interest to your holiday decorating! A thrifty upcycle made from inexpensive materials you likely already have in your home.


Single Line Font: Feels Like ...

A single stroke font with special touches like accents on the tails that make it a playful yet very readable font. This font is versatile and can be your go-to font for almost anything!


Great Grandma Layout

Great Grandma Layered Floral Layout

Hello crafty friends, Melin here to share a fun and easy layout with you. I started by using my software to design the layout. I used the Autumn Bouquet file for the flowers and then used my software to create the circle, the scalloped border strip and the zig zag border. I then used the Flourish Sticks file for the flourish accents. I used the software and a free font to create the title. All of the patterned papers are from the Die Cuts With A View Whimsical World Stack.


Polymer Clay Pendants With the ...

I am so excited about this project! I made these pendants using the Pastry Tool, Pastry Mat and polymer clay. Just like all other types of mediums you cut on your Creative Cutter, the possibilities are endless! It’s amazing the detailed cuts you can get using clay! To get started, watch Klo’s Polymer clay video for some fabulous instructions. It is in the January 18th – 21st Marathon classes, sessions 10 & 11. The files I used are found in the Craft Room Library and are listed at the end of the instructions. First, I rolled my clay out using a pasta machine using a thickness of 5. I placed my rolled out clay on my Pastry mat and patted it down until I was sure it was firmly stuck to the mat. Then I chose my design and cut it out. I used a pressure of 13 and a speed of 2. The blade is stationary so you do not have to adjust it. I cut two of my design out and layered them on top of each other so I would have the thickness I wanted and also to hide the jewelry pin inside.


Special Effects

Lest you think I am the Special Effects Pro, let me state right away that the title does not refer to any 'super' powers I might have! However, the Inspiration Studio Pro software does make me feel like I am a pro at creating special effects with my cutter. Not only that but all the special effects tools are available to me with the click of a button.


Inspiration Studio Software

Inspiration Studio Pro Welcome to the Inspiration Studio Software tutorials! If you have just purchased the Inspiration Studio […]


Tools, Kits, & Accessories

Tools, Kits, & Accessories Welcome to the Tools and Accessories! If you are a new Creative Cutter owner […]