
-
» Home » Design Team » Design Team » Distressing Tool Slide Show -

 View Larger Image
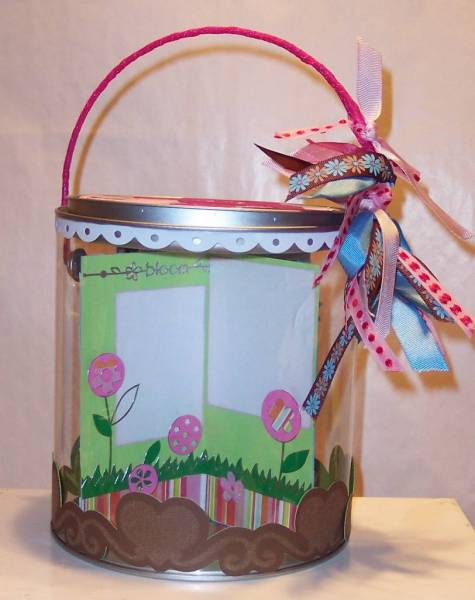
Photo Bucket
Photo Bucket
by Melinda Beltran
Supplies
Pazzles Distressing Tool
Pazzles Swirls N� Twirls CD
Coordination's Chocolate Box Paper
Stampendous Paint Bucket
Stampendous Class A Peels Stickers-Assorted
Stampendous Velvet Stickers
Various Colored Cardstock
Assorted Ribbon
Assorted Patterned Paper
Instructions
I created a border from the Pazzles Swirls n� twirls CD using image 68 D. I welded them together and created an outline. I distressed
the image using the distressing tool and then cut the image out. I cut two of them and created the border around the outside
bottom of the bucket.
I created four different scrapbook pages. Each one represents a different season. I decorated them with various stickers, papers
and embellishments. I adhered them together and placed them inside the bucket.
I decorated the top of the bucket and added a scalloped border around the top with Stampendous Velvet border stickers.
Finally I added ribbon to the bucket handle. You can just add pictures to the different photo mats and you have a great all season
bucket album!
Visit my blog, MyPaperCrafting.com for more details. http://www.mypapercrafting.com


-
Photo Details
-
melin 
Melin
See all User Photos
Registered: April 2013
Location: Central Florida
Posts: 442
Additional Categories: Melin's 3-D and Other Projects Date: 9/11/09
-
-
-
