
-
» Home » Member » » Amanda's Creations Slide Show -

 View Larger Image
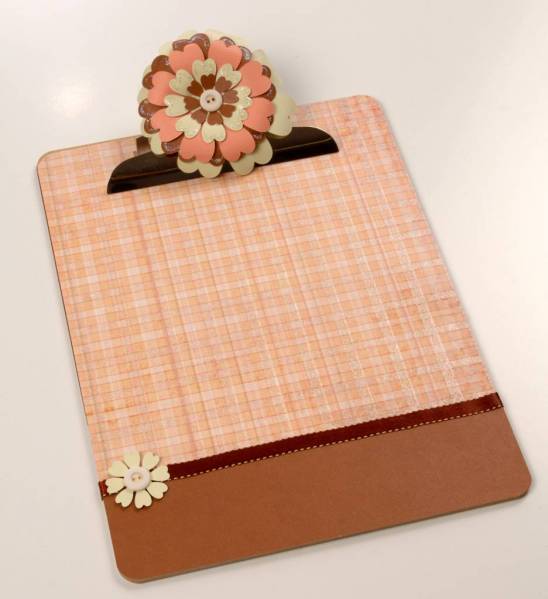
Blooming Clipboard
Blooming Clipboard
By Amanda Vander Plaats
I have some teaching friends and I really can’t think of a better gift for a teacher. These clipboards are so fun! I wasn’t really sure how I wanted to decorate my clipboard but when I saw the patterned plaid paper everything else just fell in to place and I am really happy with the results!
Supplies:
(1) 12x12 Sundress “Sweetness” Afternoon Plaid paper from My Mind’s Eye’
(1) 12x12 Brown Cardstock (used Core’dinations “Quicksand”)
(1) 12x12 Light Green Cardstock (used WordlWin Treasures “Honeydew Green”)
(2) Cream or White buttons
Appr. 20’’ of Dark Brown Ribbon
Stickles “Star Dust”
Instructions:
All the colors in the cutting files should match the color of your cardstock. The plaid paper is represented by yellow lines. After cutting all the pieces, I took the flower pieces and rolled each petal around a pen to get them to curl. This gave the flower some volume and depth. I also put stickles on the petals of alternating layers of the flower. To finish the flower I glued one of the buttons in the center. After the flower is made, simply assemble as pictured!


-
Photo Details
-
See all User Photos0
Additional Categories: Clipboard Date: 11/5/09
-
-
-
