
-
» Home » Design Team » Design Team » Wordbooks Slide Show -

 View Larger Image
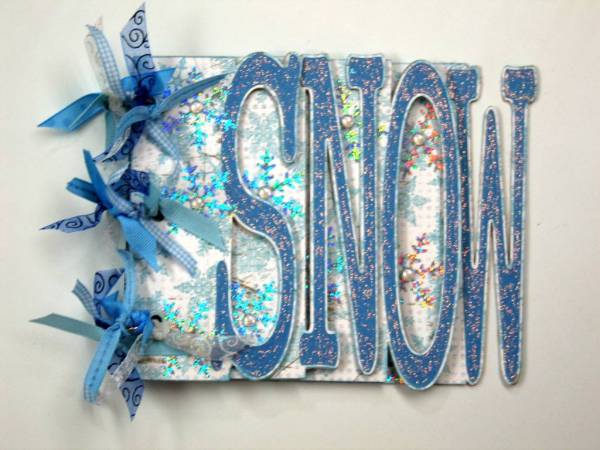
Snow
SNOW Word Book
Designed by Mary Kerr, www.anangelsart.com
Materials Needed:
(1) 12x12 Sheet Thin Chipboard
(2) 12x12 Sheets Reminisce™ Snowglobe Paper
(1) 8.5x11 Sheet Hygloss Silver Holographic Self Adhesive Mylar
(2-3) 8.5x11 Sheets Light Hawaiian Blue Worldwin Cardstock
(3) 1” or 1.5” Book Rings
Robin’s Nest™ Golden Berry Dew Drops (Pearl Only)
Liquid Adhesive (Tombow Mono Multi)
Photo Splits (Hermafix Tabs)
Glue Dots™ (Smallest Size Possible)
15” Ribbon in Six Styles/Shades of Blue
Stickles™ Diamond Glitter Glue
Clearsnap™ Cats Eye Ice Blue Chalk Ink
Crop-A-Dile™ or other heavy duty larger hole punch
Cut the base of the book from thin chipboard.
Cut the two sheets of Reminisce paper, once with the first set of base book cutting files, the
second with the mirror image of the base book cutting files (paper will be adhered to both
sides of the chipboard). Adhere the patterned paper to the chipboard with printed sides
out, using liquid adhesive such as Tombow Mono Multi. Take care to match up the edges
of the paper and the chipboard.
Cut the set of letters that spell the word SNOW from Light Hawaiian Blue Worldwin
cardstock. Adhere the letters to the front side of each book page leaving a narrow even
margin (mat) around each letter.
Cut 22 small snowflakes from silver holographic self adhesive mylar. Peel from release
paper and adhere to the edges of each of the book pages, cutting some in half as needed
to place at the edges of the pages.
Cut one Light Hawaiian Blue mat measuring 3.75x4.25, another measuring 3x5.25, a third
measuring 3x4.25, and the last one measuring 5.25x7. Crop photos to 3.5x4, 2.75x5, 2-
7/8x4 (this one can also be 2.75” wide if you can crop your photo down that much), and
5x6.75. Mat photos onto cardstock. All photos will have 1/8” margins on all sides except
for the third photo which will be flush left with the edge of the mat (unless you started with a
2.75x4 photo).
Cut smallest matted photo in half vertically and mount inside pages 1 & 2. Adhere the
second photo flush right with the straight edge of the page to page 3, and the third photo
flush left with the edge of page 4. Cut the last photo 2.75” from the left edge. Mount the left
side of the photo flush right with the edge of the page at the center of the spread for page
5, and the right side of the photo flush left on page 6 so both halves meet at the center.
With a pencil, mark three holes 1/2” from the spine edge of the book at these places: 1”
from the bottom and top, and one at the center of the book approximately 2-7/8” from
either the top or bottom. Punching one page at a time, punch holes in these locations with a
Crop-A-Dile taking care to match up all holes as you go.
Insert book rings through holes to bind the book. Cut each ribbon piece into a 5” length. Tie
one 5” piece to each of the three rings.
Using Glue Dots (cutting them down if necessary by sandwiching them between two
pieces of release paper then cutting with a scissors) adhere white pearl Dew Drops to the
center of each full snowflake that surrounds the photos.
Apply Diamond Stickles to the top of each of the blue letters on the front of each page of
the book and allow to dry completely before handling.


-
Photo Details
-
See all User Photos0
Date: 9/16/09
-
-
-
