
-
» Home » Member » » Amanda's Creations Slide Show -


 View Larger Image
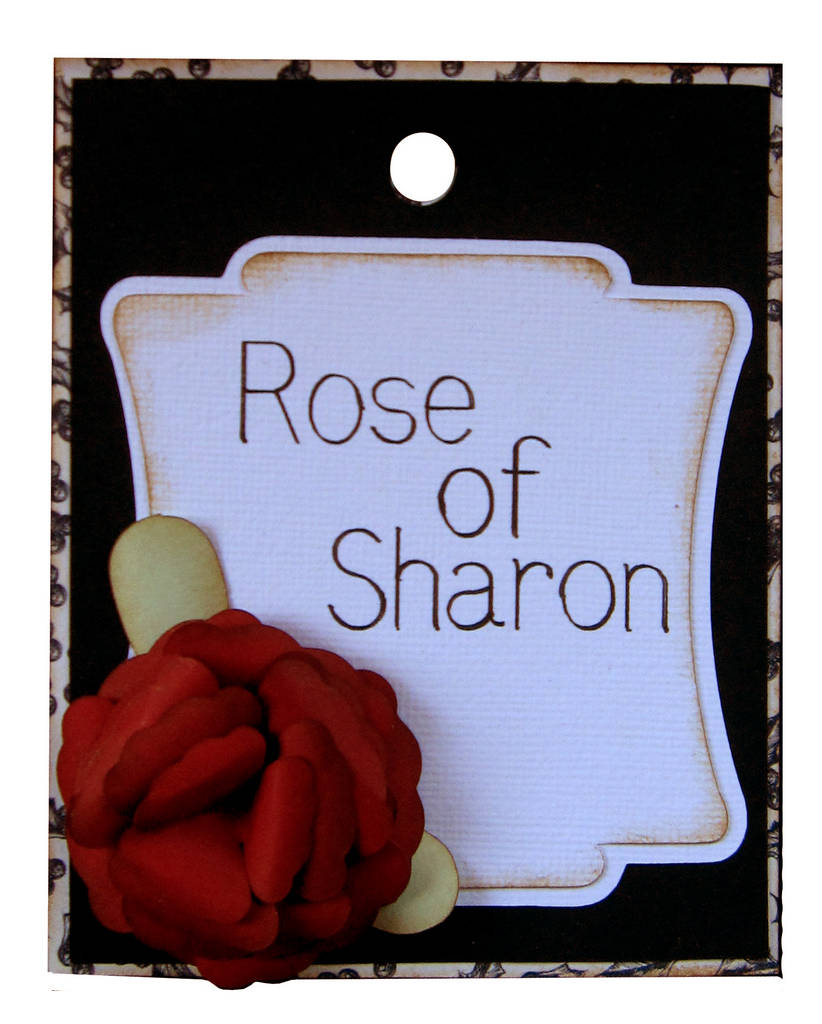
Rose of Sharon Tag
This was my first dimensional flower and I was so proud of it. I have to say a huge thank you to one of our users, melin, for inspiring me to give this a try!
Supplies:
Pen tool and black Sakura gel pen
White cardstock
Black cardstock
Black and White patterned paper (I used Midnight Blue Berry Toile by The Paper Patch)
Dark Red cardstock (I used Dark Berry Red by Worldwin Colormates)
Light Green cardstock (I used Light Spring Green by Worldwin Colormates)
Brown Ink (I used Walnut Stain Distress Ink by Tim Holtz)
Tombo Mono Multi Liquid Glue
I used the black pen to write the “Rose of Sharon” text then switched to my cutting blade without removing the mat and cut around it. I then cut all of the other pieces. After cutting all the pieces, I inked the edges of the patterned paper and the edges of the smaller white frame. I then assembled everything but the flower. I then inked all of the edges of each layer of my flower petels. I also used a gold Pearlex to dust the petals in, I did this dry but it didn’t stay very well. There is a wonderful thread about how to use Glimmer Mist or Pearlex effectively on our forums so check that out. I then took each petal and gently rolled it around a ballpoint pen to give it dimension. Once I got to the very smallest petals I switched to the handle of a paintbrush because it was thinner. I then used the Tombo glue (I love this glue!) and layered the flower together with the largest piece on the bottom, gluing each layer down. I tried to be careful not to make anything look to uniform. I then glued my flower to my tag and I was done!


-
Photo Details
-
See all User Photos0
Additional Categories: 12 Tags of Christmas Date: 12/15/09
-
-
-
