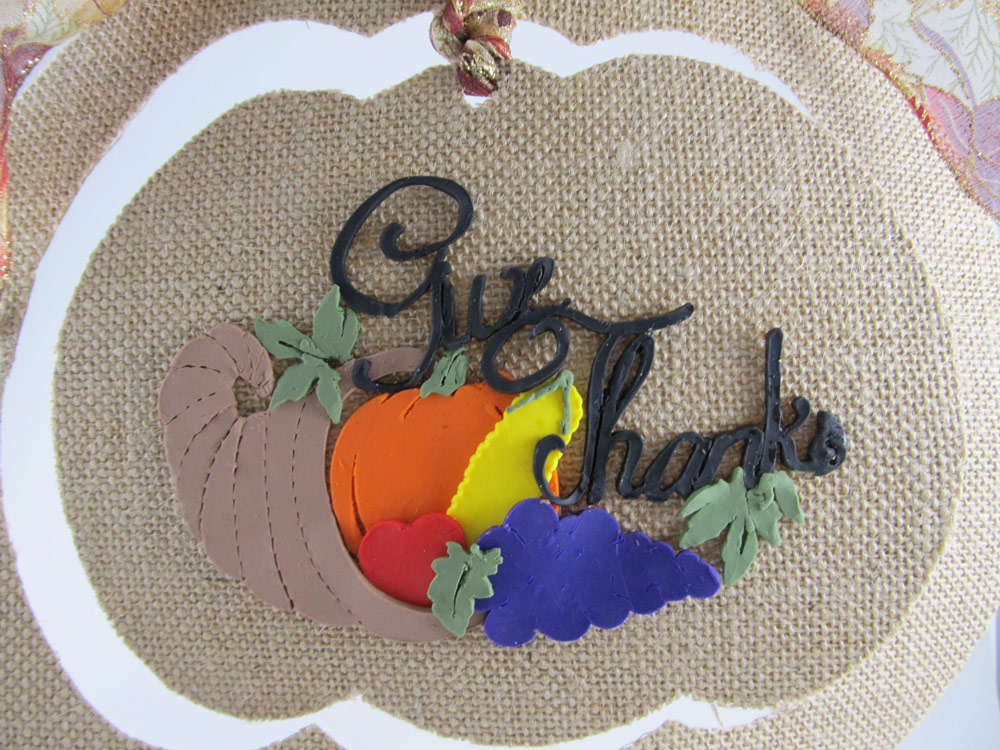
I was privileged to be able to play with cutting clay using the Pazzles Pastry Kit on my Pazzles Vue! I had cut clay only once before when Klo taught a class on how to do this. Be sure to view the video for some helpful tips.
I wanted to make a piece to decorate my home for Thanksgiving, and the idea for a clay cornucopia was born. I searched the Pazzles Craft Room Library for a suitable design, and found a very nice Horn of Plenty file to resize to about 4” wide, and use for this purpose. The Give Thanks design, also from the Library, provided the text and some leaves for the project. I added some score lines to the cornucopia, and thickened the text with an outline of .02” to make it a bit less fragile for cutting from clay. I added some additional dashed lines between connecting letters of the text to make it a bit easier to read.
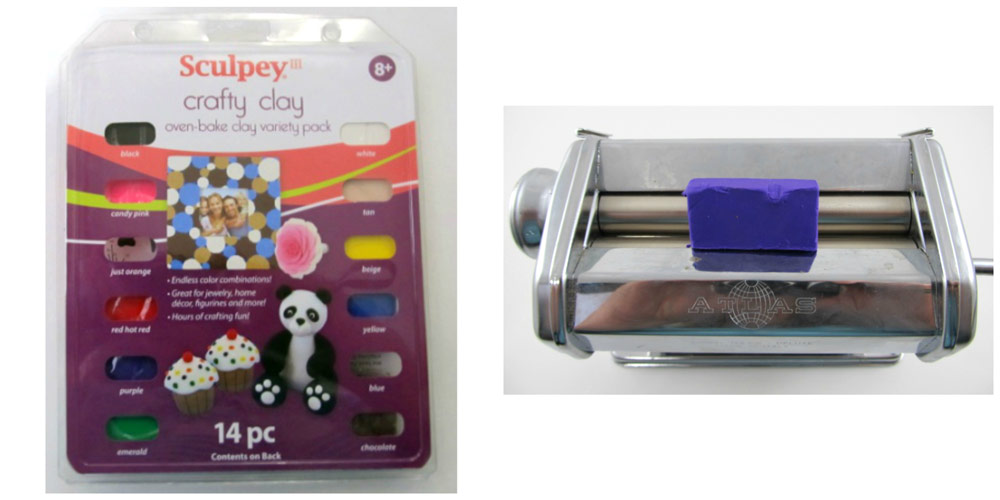
In shopping for clay for this project, I decided to purchase from Walmart, a single set of Sculpey III clay that included small amounts of 14 colors. I purchased a pasta cutter at a rummage sale some years ago, so I didn’t need to get a new one. (You can roll the clay out using a rolling pin if you don’t have one of these machines.) I noticed that Walmart does sell a Pasta Machine for work with clay. My machine has 5 settings, with 5 being the thinnest. I set mine to 4 and rolled the lump of clay through the machine two or three times.
The first pass produced a long, strip of clay. I folded that in half a couple of times, and put it through the machine again using the same setting.

I placed the resulting flat piece of clay on the mat that came with my Pazzles Pastry Kit. I set the cutting pressure to 15 and speed to 2, and cut the pieces I needed, one color at a time. I peeled away the excess clay, then carefully lifted the cut piece using the Pazzles Spatula tool. I placed the cut pieces directly on a ceramic tile I found in my stash, so that it would be ready to bake once I finished cutting all of the pieces. I layered the pieces on the tile in the same manner I would do with paper pieces, starting with the cornucopia, followed by the pumpkin, corn, apple, grapes, leaves, and finally the text. I used a larger kitchen spatula to carefully lift the text for placement on top.

I placed the ceramic tile containing the layered cut pieces in the oven, and followed the package directions for baking the clay.
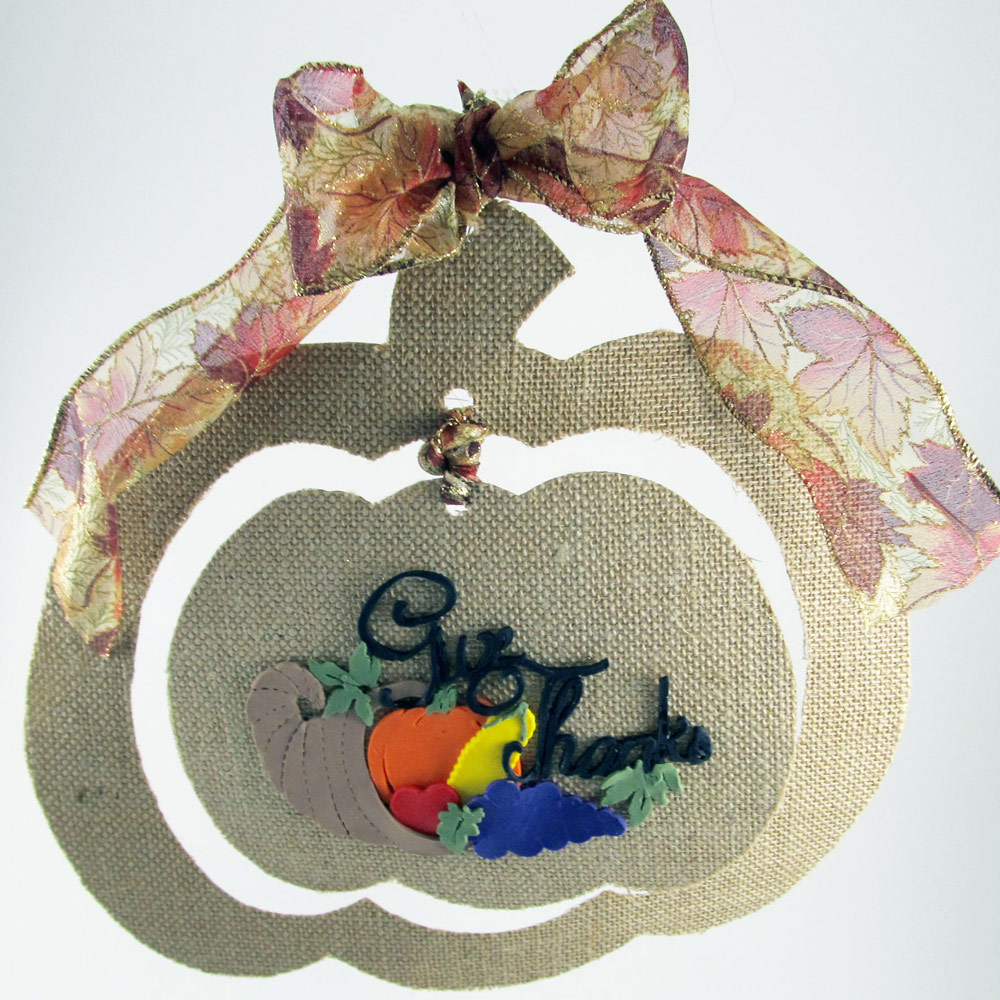
I wanted to frame the cornucopia design, and decided to make a mobile style pumpkin for the frame while the clay was baking. I found some pumpkins in the Library, ungrouped, and selected one for this design. I welded the top stem to the pumpkin, and I resized the pumpkin proportionally to 11.8” wide in the InVue software. I duplicated the pumpkin twice, resizing those duplicates to 9 and 8 inches. I added several ¼” circles for threading the ribbon and hanging.
I selected a nice 12” x 12” Premium Stack of Natural Burlap by DCWV to serve as the frame for this project. The fibers of this paper would not cut all the way through with my cutter, so I placed it front side down on my cutting mat, mirrored the image, and cut the design on the back side. I was able to follow these cut lines with scissors to cut out the pieces. I found some ribbon at Michaels to use for hanging the project.
Once baking was complete and cooled, I used Aleene’s Clear Gel Tacky Glue on the backs of all the pieces to glue it to the center burlap pumpkin. I threaded about 12” of twisted ribbon through the hole in the smaller pumpkin, secured it at the top of that piece, then threaded it through the bottom hole in the larger pumpkin frame and knotted it, trimming off the excess. I cut a longer piece of ribbon to make the bow for the top of the stem.
I decided to hang the completed project on my front door. I threaded a paperclip through the top hole of the pumpkin stem, and pinned the top of the paperclip to the curtain. It hangs nicely there for all who enter to enjoy.
I have included the adjusted cutting files for this project.
Become a Member!
By becoming a subscriber to Pazzles Craft Room you will have access to this project as well as hundreds of other projects, thousands of cutting files, and so much more!Get Pazzles Craft Room!
Join Now for only $19.95!
Buy Now!
Purchase this project now and get it in SVG, WPC, and AI formats.~Julie



Cool ideas, this is the only tool and mat I don’t have
This turned out soo cute! I love how the Vue cuts the clay so cleanly and the details are not lost.