
I thought about making this box because when I am working with my glue bottles and they are not quite full and when they stand upright, the glue goes to the bottom of the bottle. Then when I go to use it again, I have to shake and shake the bottle so the glue will come back out of the tip.
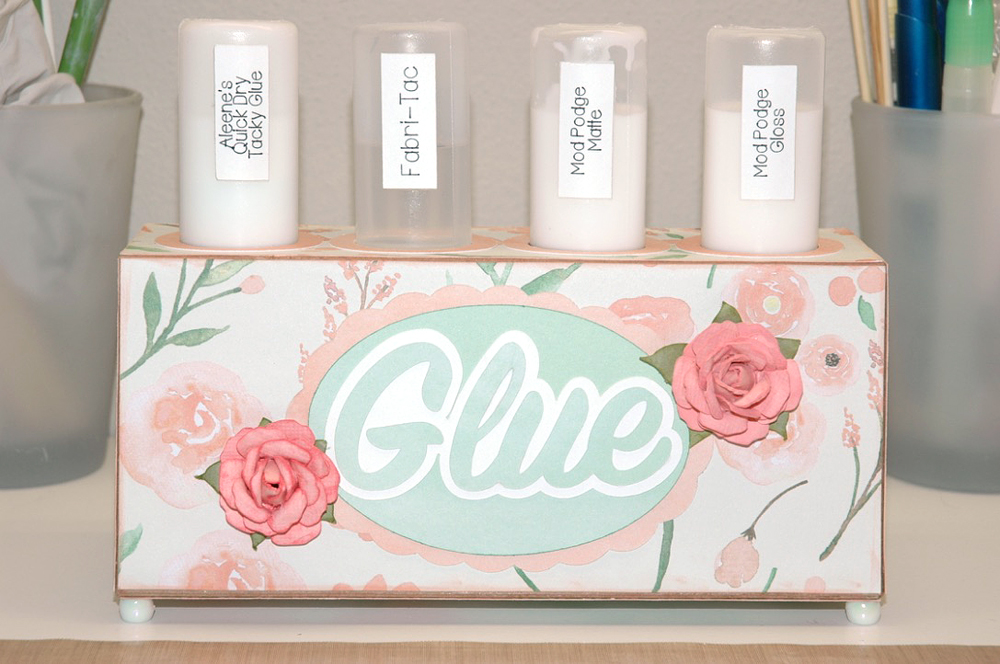
With this glue box, I can leave them upside down, (just make sure to put the cap back on) and the glue will be ready to apply at all times. I purchased a package of six glue applicators at Joann’s for $2.10 with a 40% off coupon. This definitely makes doing my craft projects a lot easier. You can change the hole size to match your favorite glue bottles.


Instructions:
- Cut out the walls for the box out of chipboard or a cereal box or a box similar to this.
- Tape the chipboard or cereal box to the mat with painters tape so it won’t move while cutting.
- Glue the larger chipboard piece tab (marked B) to the bottom chipboard piece with the four circles (marked A).
- Glue the lower tab of the triangle to each side of the chipboard piece (marked B) to the section with the tab that was just glued.
- Cut the large piece with the smaller and larger circles out of thick white cardstock.
- Turn the side with the four smaller circles over to form a box and glue the end side to the larger piece.
- Fold the top piece with the larger circles, over to form a box over the smaller box and glue the piece to the smaller box side. You should be able to see the smaller circles through the larger circles.
- Now fold the tabs and tuck in the big flap and it should look like a rectangle box.
- Glue this piece (with the holes facing up), in the center of the large piece with the triangle sides. Be careful not to glue it over the fold lines. Let dry.
- Glue the large piece with the circles to the triangle tabs, one side at a time, lining it up nicely. Let dry.
- Glue the top with the circles to the top of the triangle pieces and the tabs, again lining it up nicely. Let dry.
- Glue the last side to close the box up and let dry.
- Cut out the rest of the pieces with designer cardstock.
- Distress the box corners and the designer paper with distress inks.
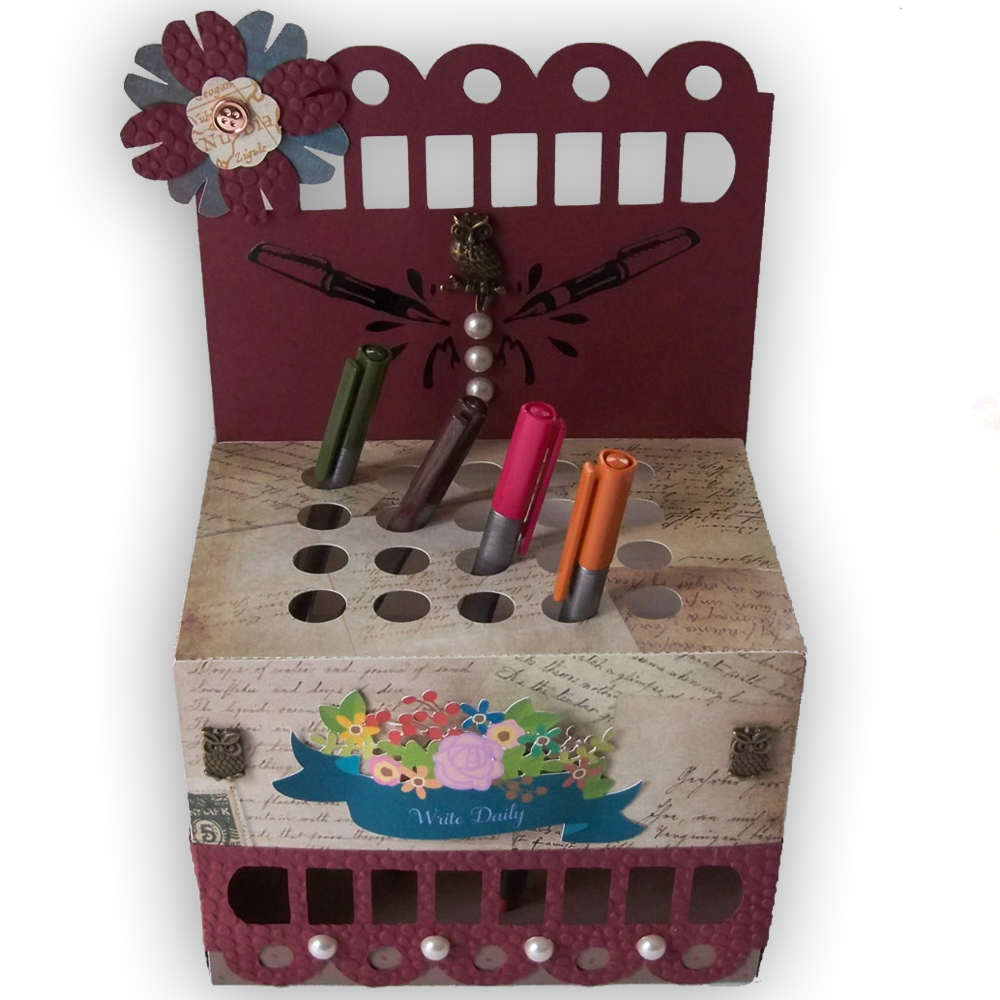
- Glue the designer paper to the box and all the decorative pieces. I glued the perler beads to the bottom of the box corners for legs. I glued flowers from my stash to the front or you can decorate it your own way.
Become a Member!
By becoming a subscriber to Pazzles Craft Room you will have access to this project as well as hundreds of other projects, thousands of cutting files, and so much more!Get Pazzles Craft Room!
Join Now for only $19.95!


Fantastic project, I will have to make this one.