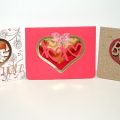
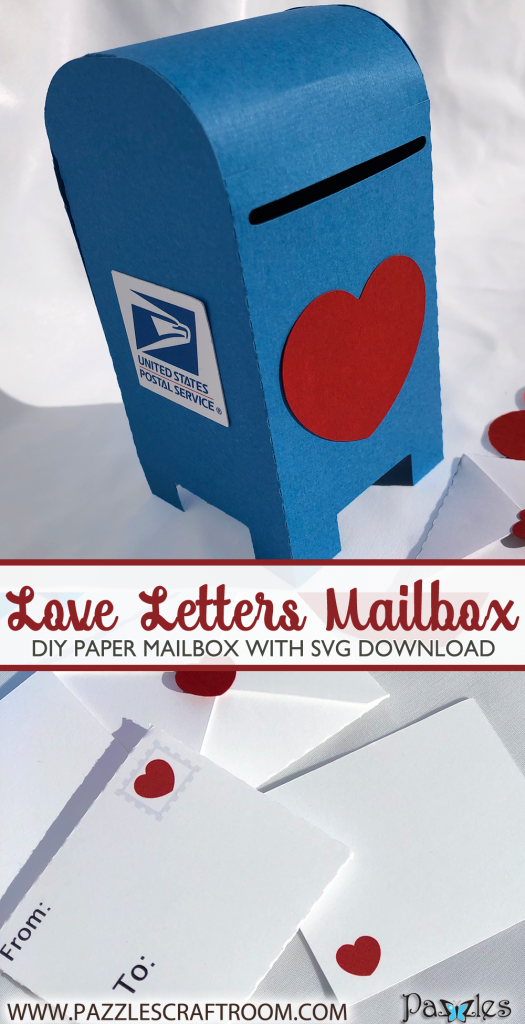
DIY Love Letters Mailbox
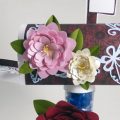
Wait a minute Mr. Postman! Love letters need to go into the mailbox. Make this cute mailbox filled with love letters or notes to a loved one. Mailbox can also hold treats or a special Valentine’s gift. Cut from different colors or add pattern paper to make it your own.
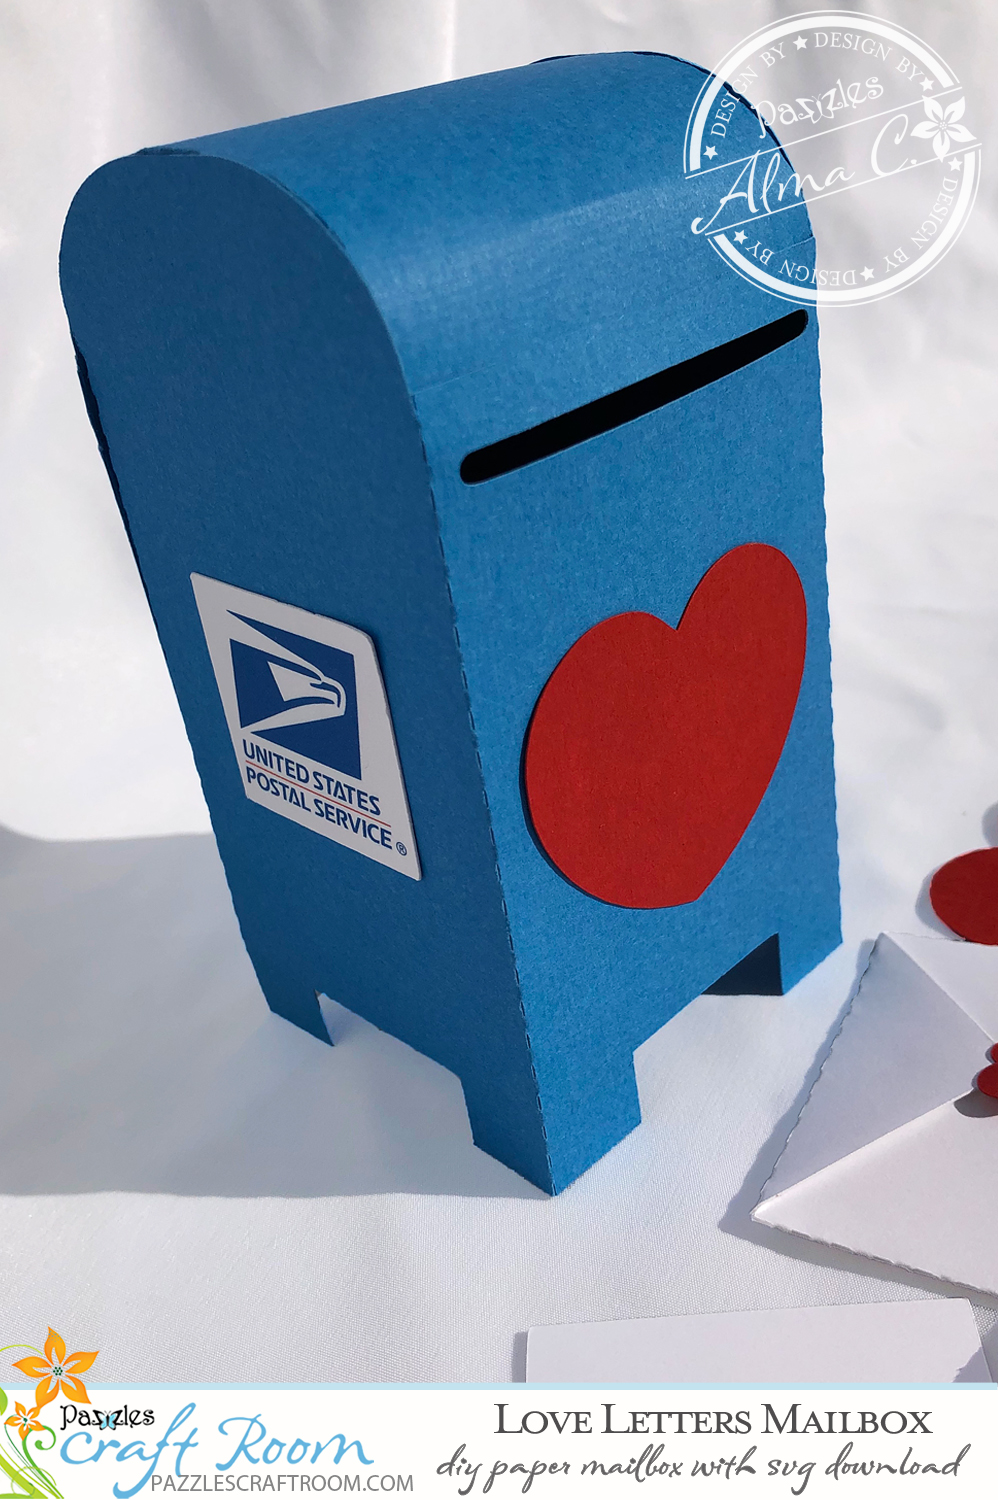
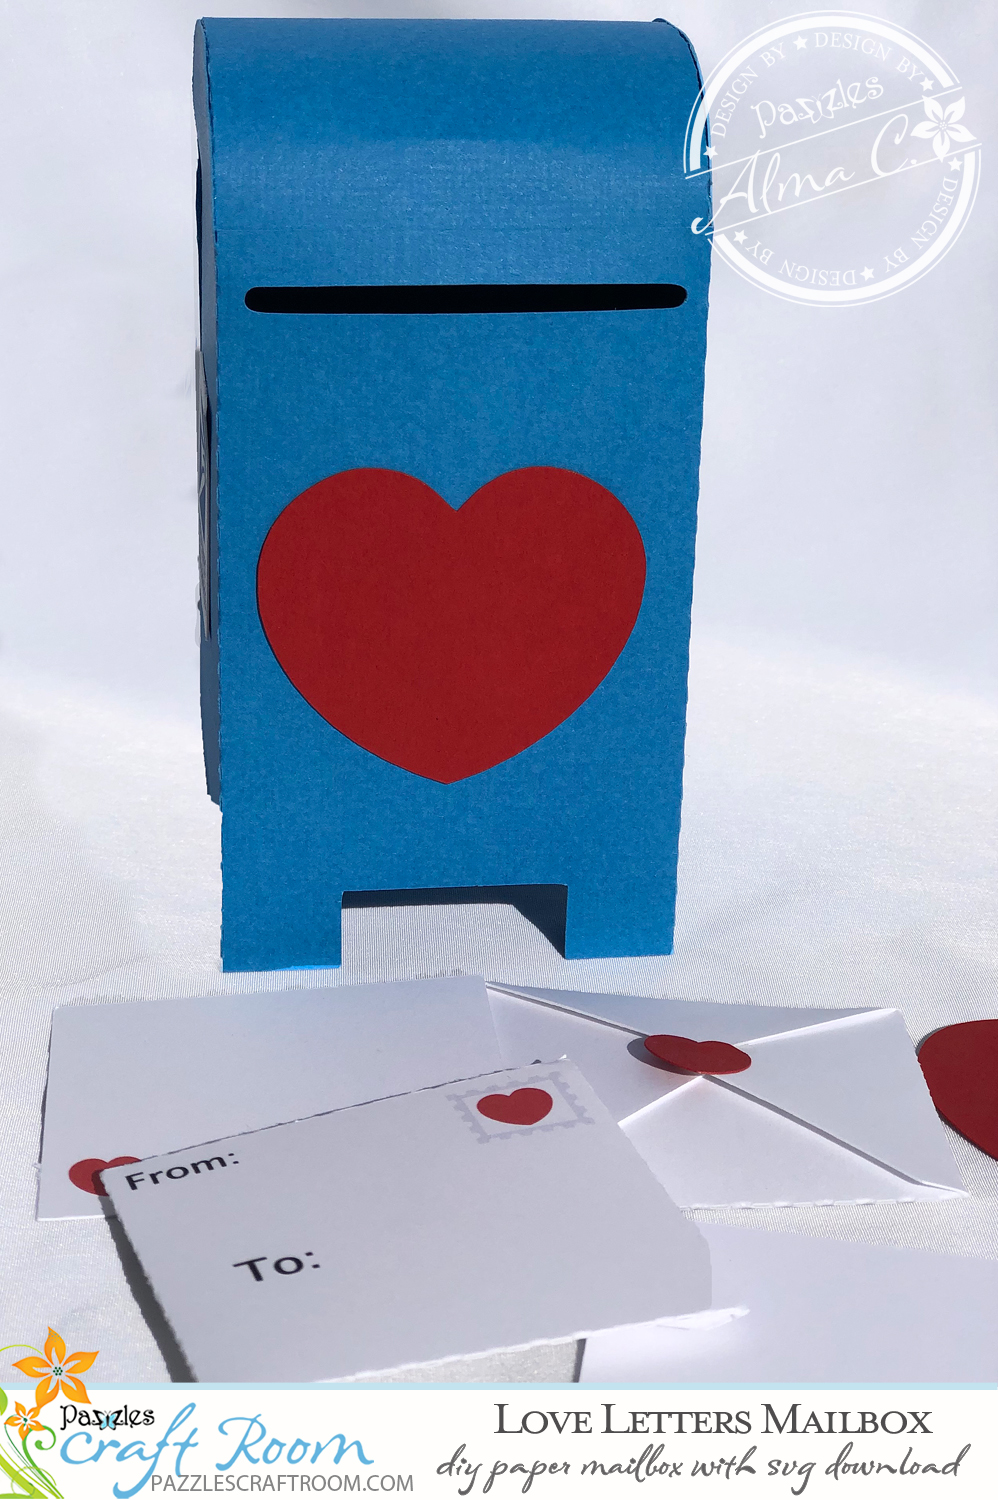
Customizable Size
This dimensional paper mailbox stands a substantial 5 inches tall and is 2.5 inches wide (both are approximate depending a little bit on your assembly). There is room to enlarge this mailbox and still fit it on a 12″x12″ sheet of paper if you wish. You can also shrink it down some to make an even more miniaturized version depending on what your plans are!
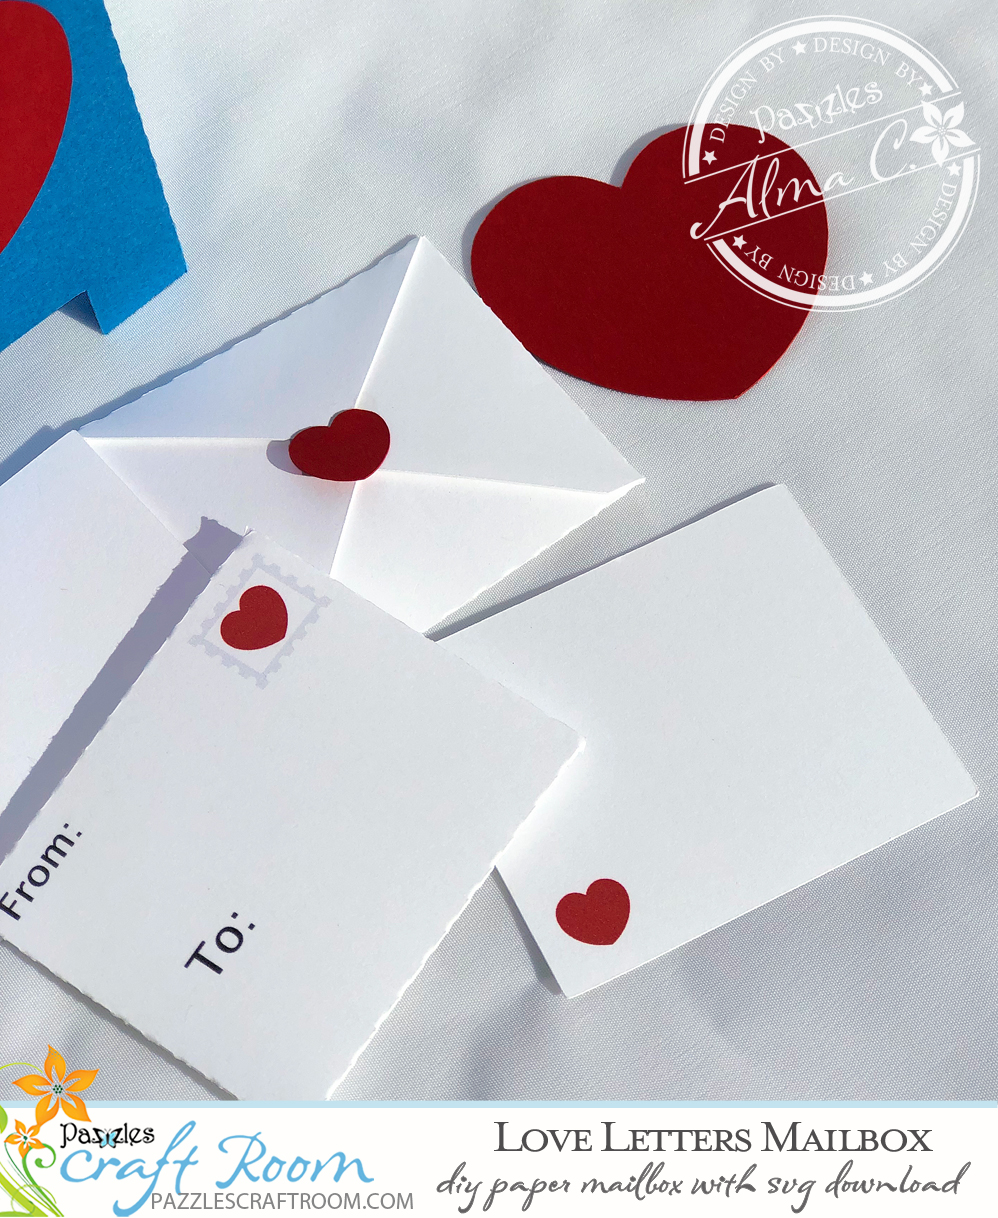
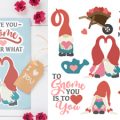
Heart Envelopes and Postcard Inserts Included
The envelopes and postcard-like inserts you see are also included in the file. You can print and cut these (like I did) to produce in mass or if you prefer the paper-pieced look you can cut them.
Make a Memorable Gift with Your Own Special Touches
This makes a very special gift and there are lots of options for personalizing. You could put a little love note in and number them so that the recipient has one to open for each day of the week (or each hour of the day!). Add some candies inside for a sweet tooth. Put poems, favorite songs, or pictures too! This is a gift they won’t soon forget!
This also makes for a great classroom activity! Have each student put in something nice about a fellow classmate (you may want to assign them so everyone gets a letter) and on Valentine’s day you can distribute them out to each student so they can read their “love” letter!
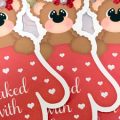
Designed to Be Used For Paper Piecing or Print and Cut
You can use these images as paper piecing or print and cut. The USPS graphic is only a print-and-cut. I opted for print and cut for the letters as well. If you are new to the print and cut technique, here are some videos showing you how.
How to Print and Cut or Cut and Print
If you have an any computer based electronic cutter, you can print and cut -or- cut and print. What’s the difference you might ask? Print and cut requires your electronic cutter to have an “optical eye” which can see where the image is printed on your paper (because every printer prints just a little differently). If your electronic cutter has an optical eye, Print and Cut is the method for you! Here is a video tutorial showing you how to print and cut using the Pazzles InVue software with the Pazzles Inspiration Vue.
Print and Cut: Basics

This video will take you through the basics of a basic Print and Cut. We have included the image that we used in the video.
If on the other hand your electronic cutter does not have an optical eye, fret not! There is an easy and fail-proof method to we call “Cut and Print” that works great! Here is a video tutorial showing you how to do Cut and Print using the Pazzles InVue software and Pazzles Inspiration machine. You will need a Craft Room membership in order to watch this video.
Cut and Print

This video will teach you how to use the Cut and Print method. This is a wonderful option to use if the Print and Cut method is not available to you.
SUPPLIES:
- 1 – 12 x 12 sheet of blue cardstock
- 1 – 8 ½ x 11 sheet of red cardstock
- 2 – 8 ½ x 11 sheet of white cardstock
- Tombow multipurpose glue
- Inkjet printer
Love this DIY Love Letters Mailbox? Make sure to pin and share it!
Become a Member!
By becoming a subscriber to Pazzles Craft Room you will have access to this project as well as hundreds of other projects, thousands of cutting files, and so much more!Get Pazzles Craft Room!
Join Now for only $19.95!