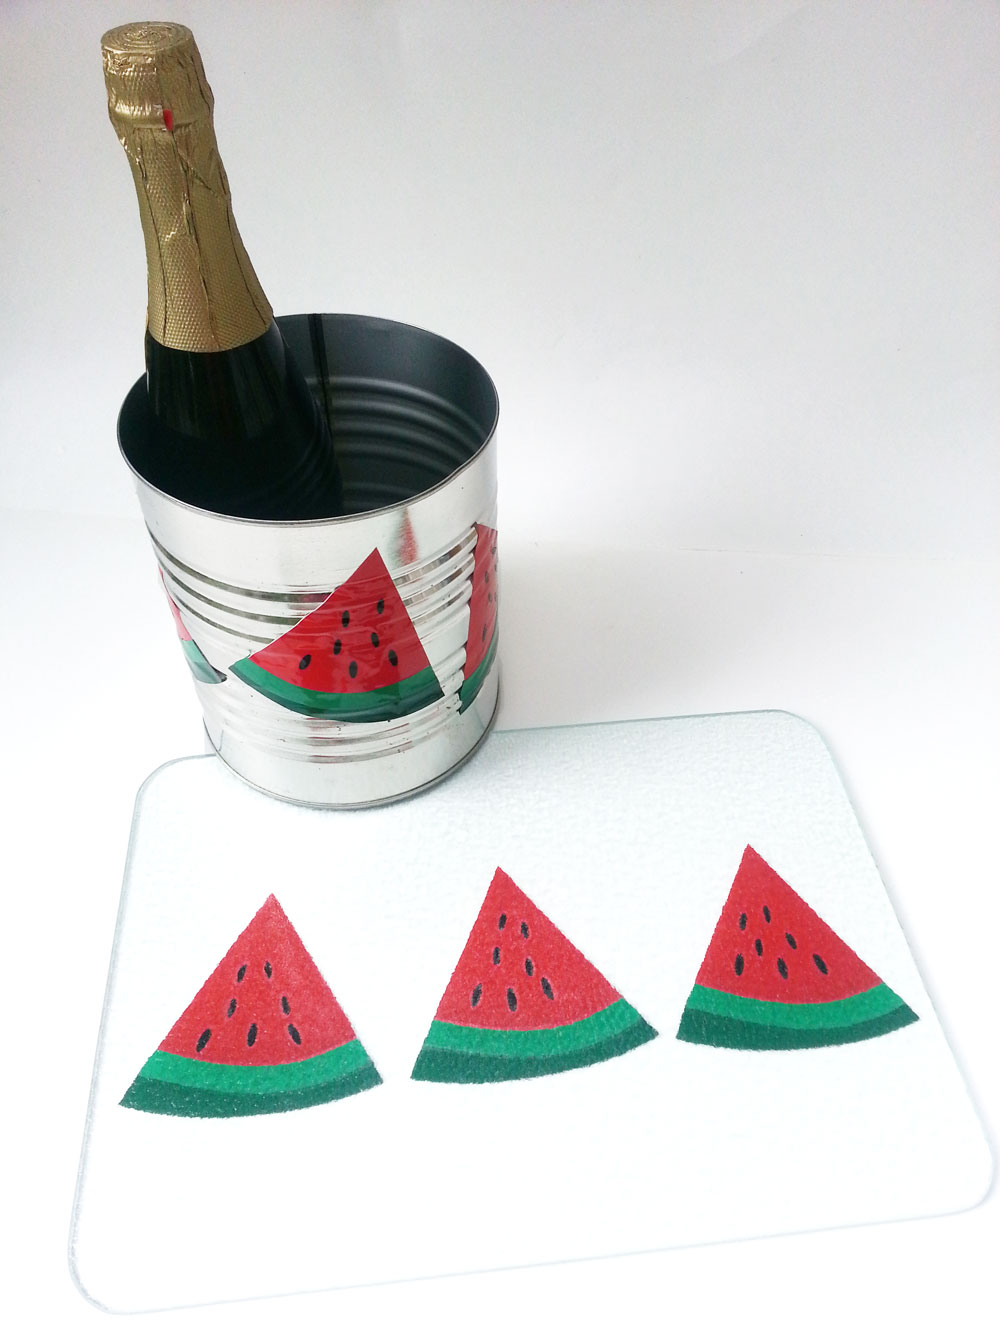
 For this quick summer project I grabbed an empty #10 can (that never made it to being a stomper for my kids AND that was opened with a safety opener to avoid sharp edges!). I also grabbed a glass cutting board that I got at a thrift store and have had for quite awhile and use regularly. I washed them up, dried them, and spray painted the can only (inside and out) with clear Krylon to seal it so it won’t rust and any rust already present won’t get onto other things. I used the new Backyard Summer Collection: Watermelon wedge to create layered vinyl embellishments for a shabby chic ice bucket (or plant pot, or plastic utensil/napkin holder, or vase, or throw some colored tissue inside and fill it with mini muffins for a housewarming or hostess gift. . .) and matching, washable cutting board.
I resized the entire watermelon wedge to about 4 inches square, separated the parts and created a 0.02 inline of just the red wedge. I then created a 0.04 inline of the new smaller red wedge and the light green rind piece and cut 3 sets of these from white vinyl to layer directly behind the red wedge and light green pieces on the can; the white pieces were only used on the can. I cut six sets of the whole watermelon wedge (using the smaller red wedge, not the original) from the corresponding colors of vinyl and adhered them to the can in this order: white wedges, red wedges, dark green (outer) rind, white (of lighter green/inner rind piece), light green inner rind and the black seeds.

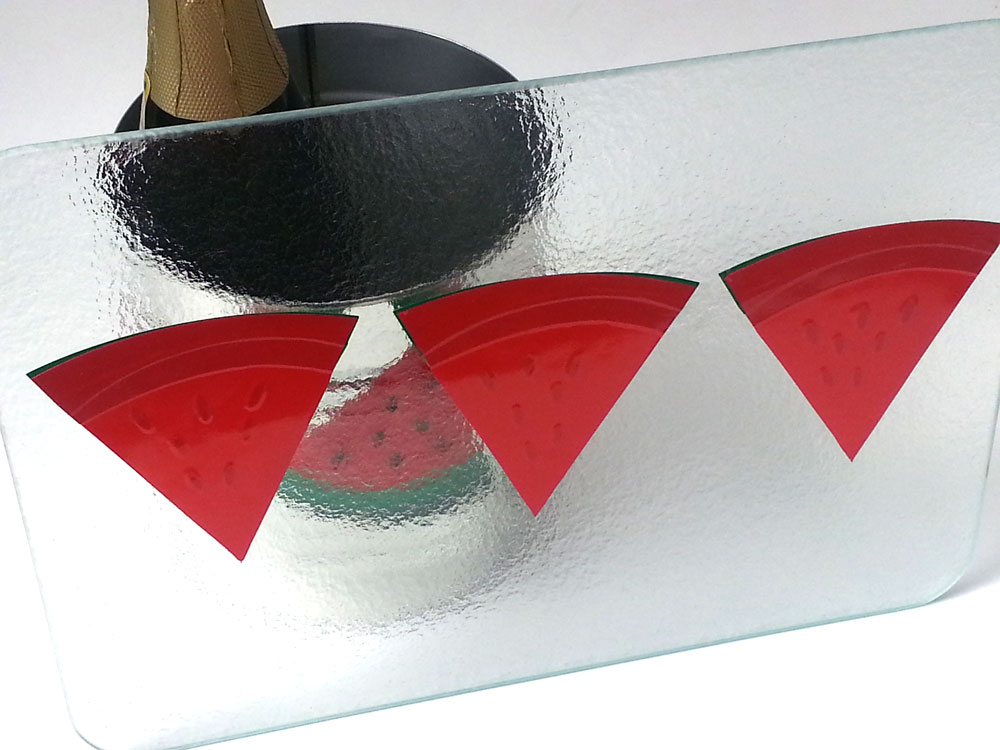
For the cutting board, I used the vinyl backing from the red wedges that were cut for the can to place as guides on the rough side of the cutting board, securing them with Scotch tape. I attached the vinyl pieces to the smooth side, aligning with the guide wedges in the following order: black seeds, light green inner rind piece, dark green outer rind piece, red wedge, smoothing out all air bubbles and making sure the edges were securely attached. Don’t worry about little bubbles, though, as the rough side will hide these. The critical part is the edges so that it has a good seal so you can wash it. When cutting I followed the recommended blade depth, pressure and speed which pops up with the media choice of vinyl in the Pazzles Inspiration software cutting window. It cut perfectly, leaving the vinyl backing intact. Just add a plastic bag liner, a bottle of sparkling cider and some ice to the can, cut up some yummy fruit on the cutting board and celebrate summer!
~Renee
Supplies:
Clean, empty #10 can
Krylon clear gloss or matte spray paint
Pazzles Vinyl: white, dark green, green and red


What a great project Renee! Love it. I may have to try something like this. Thank you for the wonderful inspiration.
I have some glass cutting mats from the Dollar Tree that I will have to try this with. Thanks!