 I cannot believe that summer is over but the crisp air and changing colors on the trees definitely say FALL. I have to admit I am a summer kind of gal, I love the sunshine, warm weather and summer activities. One of the things I do love about this time of year is the holidays that arrive every month. I am just itching to make cards and projects for Halloween, Thanksgiving and Christmas.
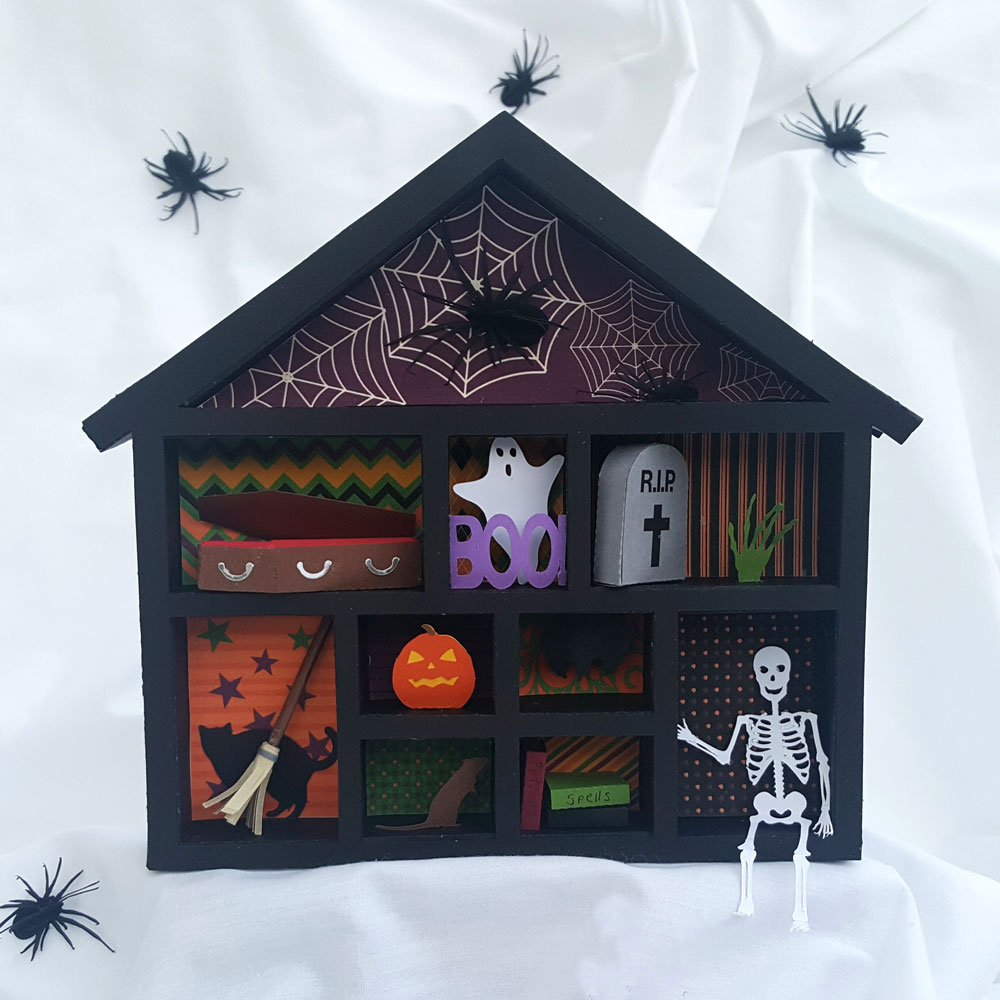
Recently, I was designing a Halloween party invitation using a Haunted House from the Craft Room library. It was cute but….it needed something more. That was when I thought of the cut away cards I have seen in the card store at the mall. Well, of course I thought, “Why Not? My Inspiration can do anything!”
 It is amazingly easy to do. Start with an image and add an outline to it. Next, create 2 rectangles, one should be the size of the card when open and the second rectangle should be the size of the card when closed. (For a standard card that would be one 8.5” x 5.5” rectangle and one 4.25” x 5.5” rectangle.) The rectangles should be layered on top of each other so that the smaller piece is aligned to the left side. You now have the card frame work. Move the image to the right side of the ‘card’ and size it so that it slightly overlaps the middle line.
Now, look at the card and decide what you want cut away and resize the larger rectangle to show the cut away parts. Weld the 2 rectangles and the image outline, add fold lines and you are done!!
Explaining it in print is a lot more involved than showing it in a video. Be sure to watch my tutorial, you will be surprised at how fast this project can be designed!!
Happy designing!
Chris
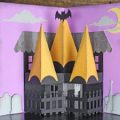
(I’ll show you the Haunted House Card next week!)

This is so awesome. This is one of those things that I’m going…’why didn’t I think of doing it that way”….this is so easy, thanks Chris, you are awesome as usual.
Really enjoyed this video Chris, great idea and can see many uses for this. Thanks for sharing:-)
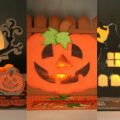
Love the jack o lantern card with the candle behind him, so cute!
Christine,I love all of the cards off to see the video. Thanks for such a great file.
What a great idea..these can be pricey in the stores!
This way is easier than the way I was doing it before! Thanks for the easier tip! I’m in the midst of making grad. cards for my daughter. This opens a new door on making them! Thanks
oh my!!! love love love these! was gonna do the pop up cards for thanksgiving, halloween & christmas but i like these, too
This opened up another world for making cards…Very easy following the video.
Thanks!
Wow, you make this look so easy! I do believe I can create cut-away cards now. Thank you for the cutting files – you know, just in case 🙂
Thank you for this tutorial, I have been having a heck of a time using the kiss cut line. I didn’t know to hold the shift key. Being new at this machine has been frustrating, but I’m learning bit by bit!