 Have you discovered the Photo Cut feature yet? Maybe you have stumbled across it in the Image menu and wondered what it was and how to use it. Often, when I mention Photo Cut, I get a puzzled look. It doesn’t take long for the puzzled look to turn into one of determination when that person begins to understand what it is. They become very determined to find a way to use it in their projects or home décor.
Photo Cut is a way of slicing a photo or graphic into lines. When cut out, it creates a very ‘artsy’ look, like something you would find in an art gallery or expensive home. It begs to be placed on a wall where it will catch someone’s eye as they walk by.
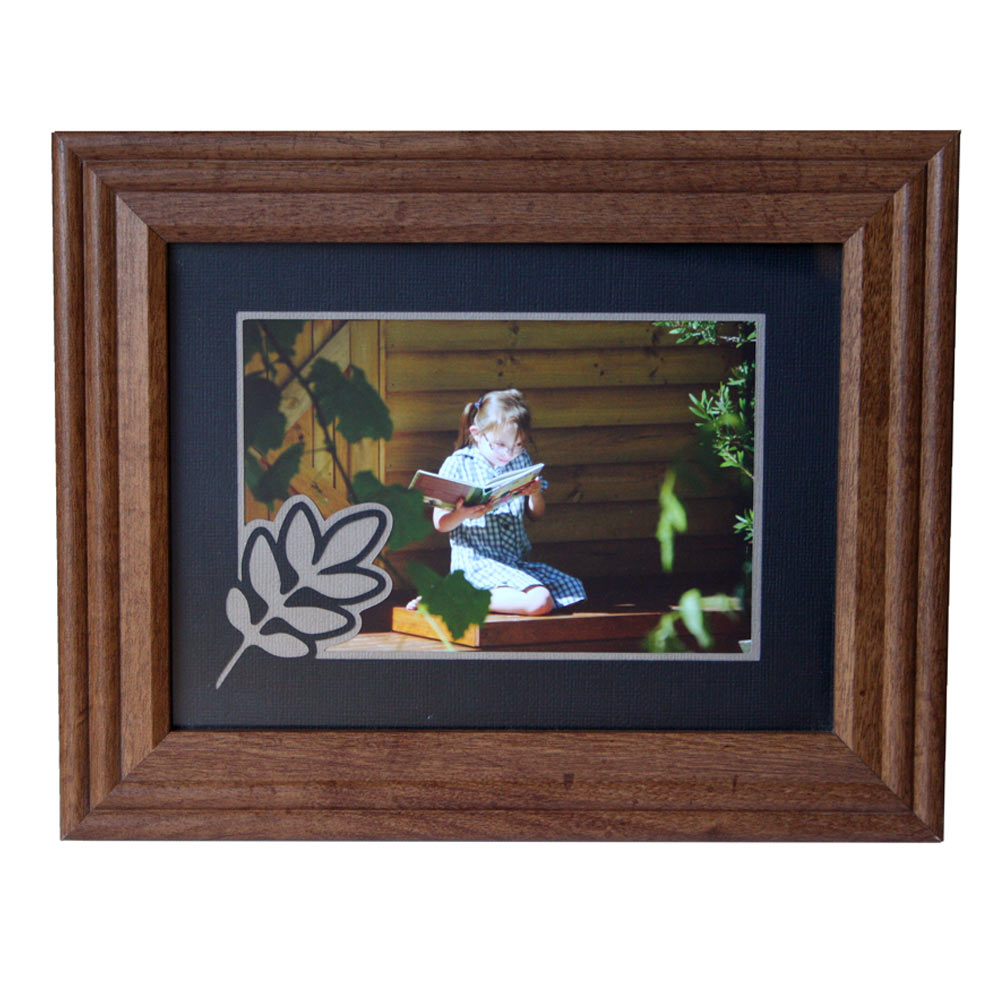
It can also become the cover of a photo album, a stunning front piece to the album or an amazing floating picture when adhered to the front of the glass in a photo frame. The ideas for this seem to pop out of unusual places and it makes a very unique statement in your home.

You find the Photo Cut feature in the Vectorization menu. Find Image at the top of your workspace and navigate to the Vectorization menu. You will find Photo Cut right under Enhance Curve. You do need to look further down the menu to Photo Cut Settings too. You will want to make sure that you slice your photo into enough lines to get the best detail. You also will want to make sure you lines are not going to be cut too thin. I recommend 45 lines for an 8” x 8” photo. Try setting the line thickness to 0.06 and 0.015 and see how you like it.
Your choice of photo is key to success. It should be crisp, with a black or white background and strong contrasts. Close up photos of children work really well! (That must be the grandma in me talking.) If the background to the photo is too busy you can create a mask for it using hand tracing and filling it with white or black.
Be sure to watch my video to learn this technique. If you are a veteran Pazzles cutter, this is one project that will take you to a new level. If you have never cut vinyl before this may just push you over the edge!
Chris


Nice quality video. Klo had taught this lesson live…which was a great class..and now you taught it again up close. That gives us the best of both worlds!
Pingback: photo cut