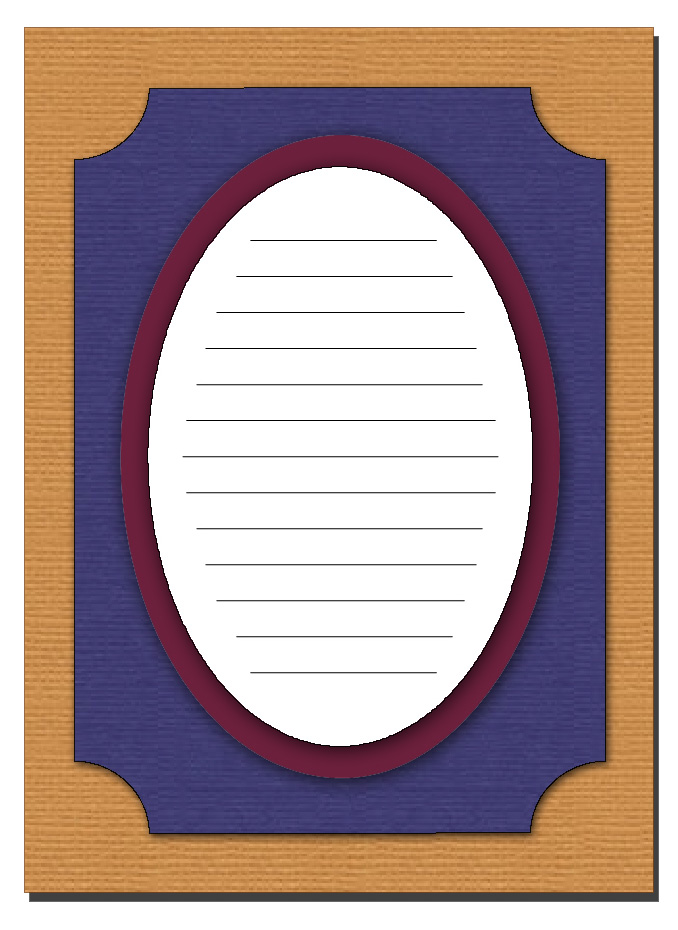
Have you ever looked at a project and thought to yourself, “Wow, wonder how they did that?” Recently, several of our Craft Room members have called in to ask how to make corners that curve into the square. In other words; how do you invert the corner? It is a technique worth learning and once you have mastered the skill you will find all kinds of ways to use it. 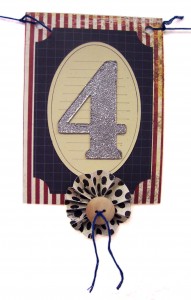
Amanda made a fabulous 4th of July banner that showcases this technique. By inverting the corners, she made the layers distinctive from one another.
It is not hard to learn this technique. It is the same as rounding corners with one small added step: you need to add a negative (-) before the number assigned to the radius. So, instead of a radius of 0.25, the radius will be -0.25. Doing this one small step will cause the corners to bump into the square rather than round out.
Once you have tried inverting the corners, I recommend you try creating new designs. Inverting corners can be the beginning of beautiful frames and journaling spots. Watch the short video below to see how it’s done. I also show you how to make a simple frame that begins by inverting the top two corners of a rectangle.
Chris


I love using inverted corners for shaped cards and frames on my cards. In fact this week I posted a card in the members gallery called JUST CHILLIN using the very same technique! Here is the link http://www.pazzles.net/gallery/showphoto.php?photo=4245&title=just-chillin-21&cat=500
Wonderful example pinkalicious! I love the look of inverted corners. Great job!
Great presentation. Could you demonstrate how to use the rounded corners and inverted corners on circles to make scalloped edges and their inverted starlike effects? Your tutorials are fantastic!
Unfortunately, the round corners tool will not work on circles. It needs a distinct angle or corner to work. But you should be sure to watch the tutorial called Scalloped Circles in Building on the Basics in our Video library. It will show you a great trick for doing exactly what you are talking about.