
From Start to Finish
The air is crisp, school has started and the leaves are turning colors. Yes, Autumn has really arrived. I may want summer to last but I have to admit, I do love the colors of fall. One of my favorite things to do in the fall is to visit the local pumpkin patch. Round orange pumpkins lie all over the ground with leafy vines trailing everywhere. Inevitably, I am inspired to make a card featuring a pumpkin.
I often feel that no matter how many lessons you watch on the software, you do not truly understand how all the features work until you see them in action on a project. That is why, from time to time, I will show you how a project is made from start to finish. That way you can see the progression of using the tools to make a specific project. Perhaps you will learn something new, even if you are an old pro at the Inspiration. If you are a novice, this is one of the best ways to see how to construct your own projects.
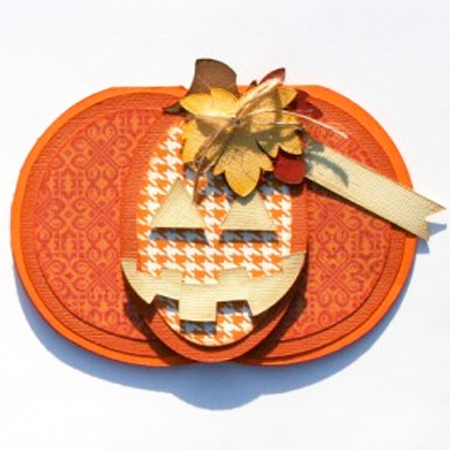
This Pumpkin Scroll card started with a pumpkin cutting file from the Pazzles Craft Room image library. I used my Pazzles Inspiration Studio Software to create the pumpkin vines, the frame and the title. The scrolling vines are created from the scrolls in the pumpkin. In the software, I cut, resized and redesigned the scrolls to get the look I wanted. Then I joined everything together using the Welding tool in the software. I really love the fact that I can use my Pazzles Inspiration to cut the entire frame in one piece. No need for cutting 3 or 4 copies of the pumpkin and hand trimming to get what I want. Instead, I can enlarge, reduce, stretch, add or take away parts, creating as I go to get the perfect look.
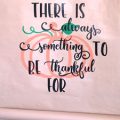
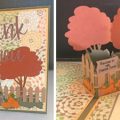
For the word thanks, I used a font from a popular scrapbooking site. I tweaked it a bit in the Inspirations Studio Software to make it fit and added a vine to it as well. I also typed brackets from a different font and used it as the foundation for making the frame and the card. Why settle for a plain rectangle when you can get any shape you want so easily?
Be sure to watch the tutorial and don’t forget to download the instructions and the finished card cutting file as well.

Chris, that is beautiful. Thanks for the demo with ALL of the steps. Yo make it look so easy!
This is so neat. Thanks. Wanda
Great lesson….I picked up all sorts of shortcuts…like the space bar! Who knew?! Thanks.
Wow, so many neat tricks in this video… love it! Especially the space bar trick! Thanks 🙂
Thanks Chris – this is a very good, helpful tutorial!!
Ann
Ive learned so many neat tricks for card making. Loved the video!
Loved the video! I want to try this but I can not find the pumpkin
on the pazzles web site. Can you direct me please. One other question, can you just go between the rotate tool and the move point tool with the space bar? Thanks so much.
It is also in the cutting file for the finished card right here with the video. It is probably easier to just snag it there.
Unfortunately no, you can’t get to the rotate tool that way. The shortcut is Ctrl + R. If you are lucky enought to have the Pro software, you can rotate by hovering your pointer over the bottom right corner of the design.
Thanks Christine, that’s what I finally did!