
or…Taking it apart so that you can put it back together again.
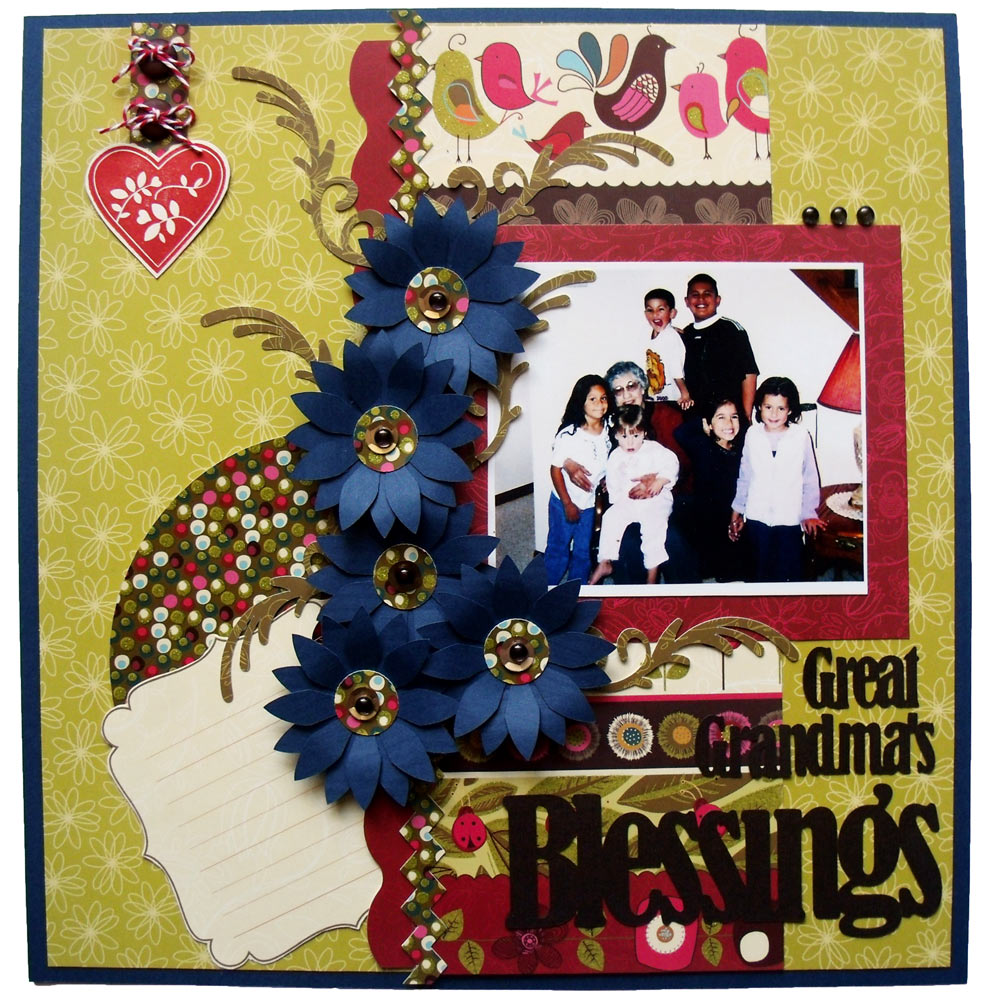
It is funny how we can so clearly see the way a finished scrapbook page is put together. There is a bottom layer which is usually a full sheet of cardstock. Then there is another large layer: maybe a scalloped circle. Over that is a title with a mat: 2 more layers. The title has a flourish; there are some cute flowers and leaves and frames for holding photos. Layer over layer that we have no problem understanding.
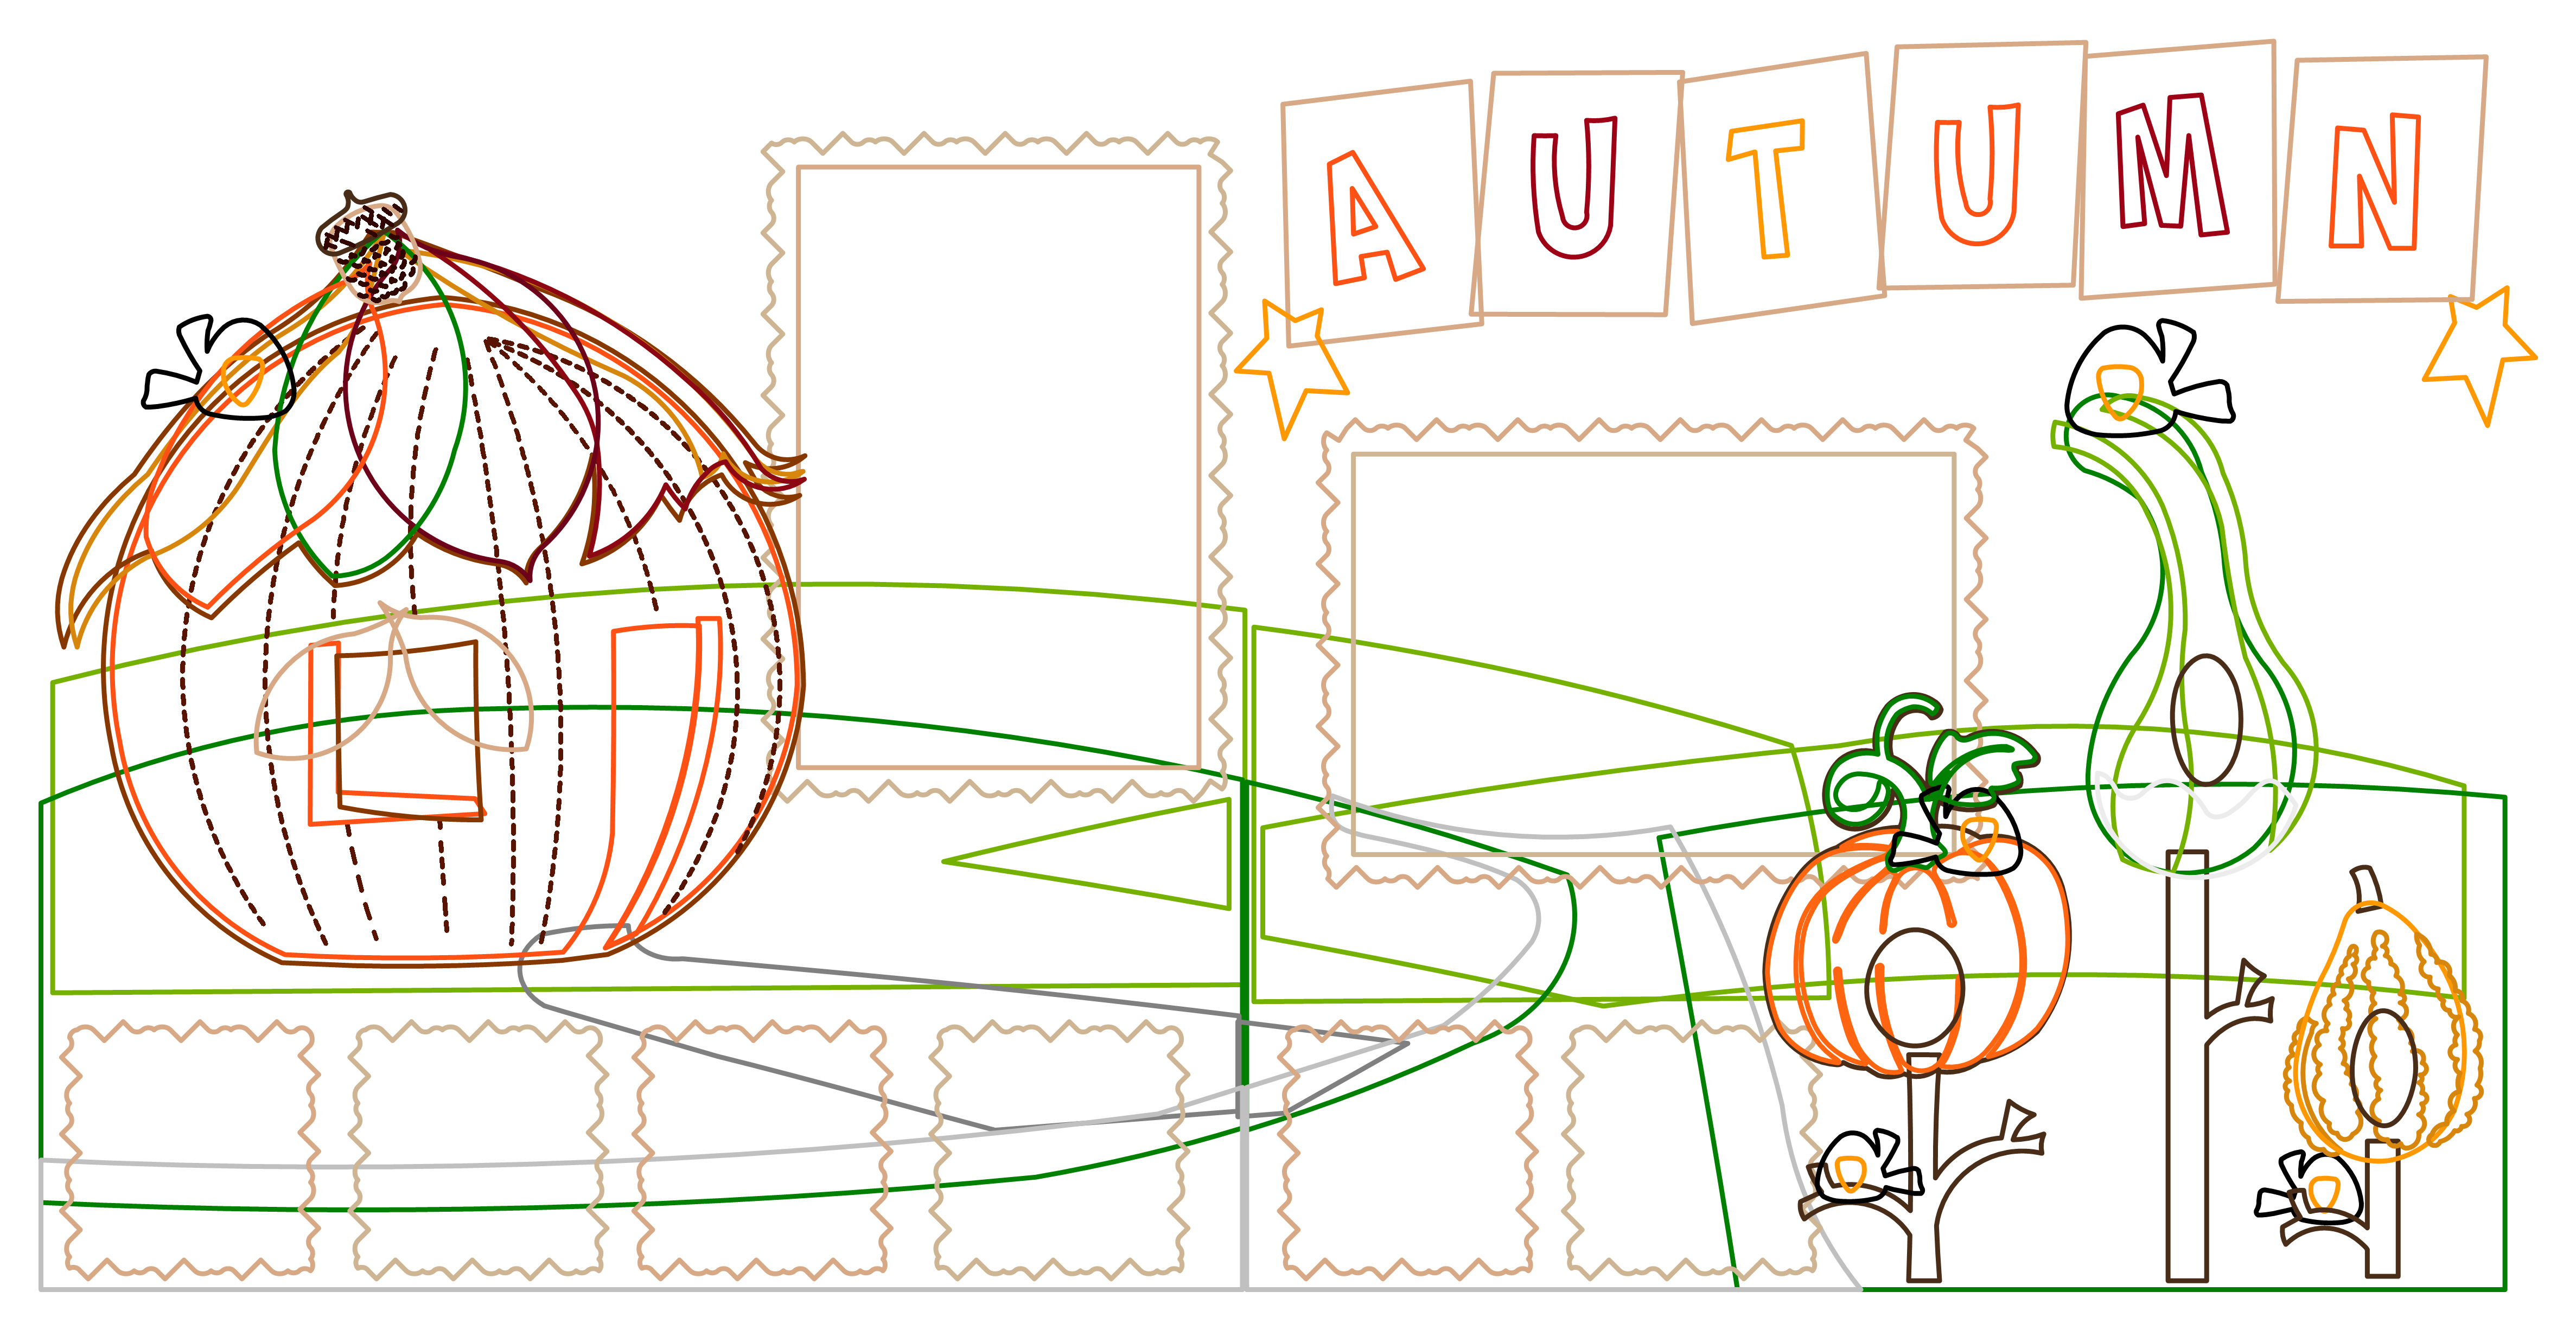
 And yet……when we look at a cutting file of the same page we get all confused. What to cut with what? How do I keep these pieces together? How much paper do I need? Why does it show that these two pieces are cut from the same color paper but the line color is different? There are so many lines!! Aargh!
It is nice to have the pieces of the project all put together and filled with color so we can see how the finished project looks. If we opened a file with the pieces all separated and organized according to color we would have no idea how to put it all together. But in order to cut the project we will need to break the layers apart. In other words: we have to take it apart to be able to put it back together again.

Here at Pazzles we usually try to give you the cutting file assembled so that you can see how it will look when put together. If it has a lot of layers, we will often give you a picture of the finished project and break the layers apart for you. But, you may have cutting files that you have purchased elsewhere or that you have made yourself and they are not separated yet. You will need to know how to break them apart to make the cutting process more efficient so that you will not waste paper or time.
The scrapbook layout in this tutorial will be available as a Craft Room project on Friday. It will be broken into parts for you, but I am going to use the file today to show you how to break layers apart for cutting. Apparently, this is a frequent question so I thought a tutorial was the best way to help everyone understand how to “peel” the layers apart. 🙂
understanding-multilayered-projects

love the boo pop up card
Can’t wait to us this 1
Nicely done Chris
Can we have the cut file for that two page spread please? That is very cute and now that we know how to seperate it apart easier I would love to try to cut it out. Thank you!!
This is a great tutorial, the design is great.
Well I learned something new today. I never used the color selection tool before. I will now. What a great tool!
I too, have learned how to use the color selection tool. Thank you
Thank you Christine, that was very helpful. Now i just have to get out of the “cricut” mode of doing things. Argh, they make it so hard. Sold my expression thought would keep the create for quik projects. Ha Ha there isn’t any “quik” projects with cricut.
The cutting file will be available Friday.
Thank you Christine, I look forward to cutting it out and trying out the color selection tool!!
Nice job Chris and thank you to steph for the file
Thank you Christine! This will help so much! I can’t say Thank you enough!
I have watched the beginning of this about 100 times, but every time she moves up the pumpkin and talks about the Kiss cuts, I get the Opening Screen and the video repeats up to this point again and again. Obviously there are 12 people who could view it without problem, what am I doing wrong? I am logged in
Try the Lo-Res version or the I phone version. I have really poor internet where I live. If the video is slow to load or stalls, I will walk away and let it load before trying to watch it. I just go fold a load of laundry or fill the dishwasher and when I come back, the movie is ready to go.