
I love, love, love collecting fonts! In fact, I have so many fonts that I needed to take some of them off of my computer. 🙂 Who wouldn’t love to have a collection of fonts to choose from? Especially since we can use any True Type Font with our Inspiration cutter. I imagine most of you wanted to make words and titles almost from the moment you took your machine out of the box.
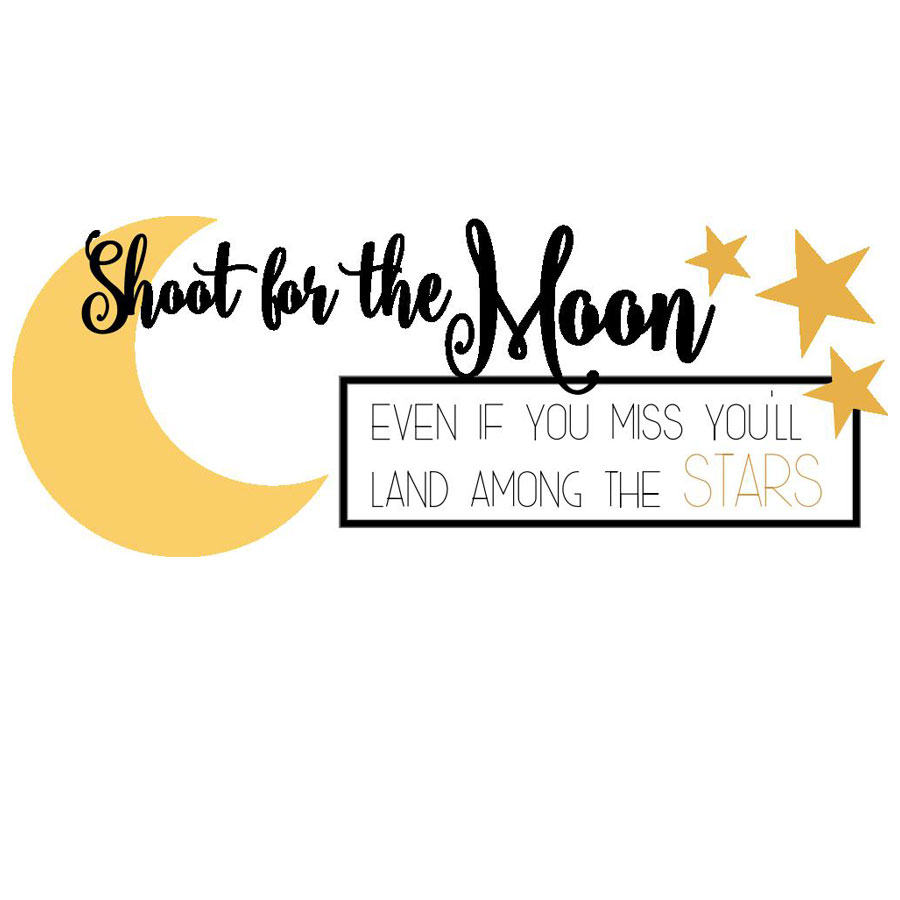
I can remember making my first word with joined letters so clearly, and that was MANY years ago. I used Brush Script font to make my husband’s name. I was thrilled! Being the cautious person that I am, I made a lot of my titles from the Brush Script font. It has lots of nice, regular tails that make joining letters easy. Eventually, that got boring and I ventured out into the wide world of Fonts. That is when I discovered that many fonts have some very pesky problems!
I would venture to guess that most of you have encountered these very same problems.
- How do I attach the dots and apostrophes?
- The letters I, H, and N can seemingly merge into one square, unidentifiable mass when they are next to each other. Especially when using a block font.
- How do I make just one part of a letter longer, bigger, shorter?
- The tail on a letter is not quite long enough to meet the letter next to it.
Over the years I have found many ways to overcome those problems. As usual, there is more than one way to solve a problem in the software but today I am going to share with you some of my “go-to” methods. If you are newer to the world of “Inspirational” creativity you will want to be sure and watch the video.
I encourage all of you to share your favorite fonts. I think most of us have several that we seem to use over and over again. Just type their names in the comment boxes below. Who knows? I may discover a few more to add to my collection!
Chris
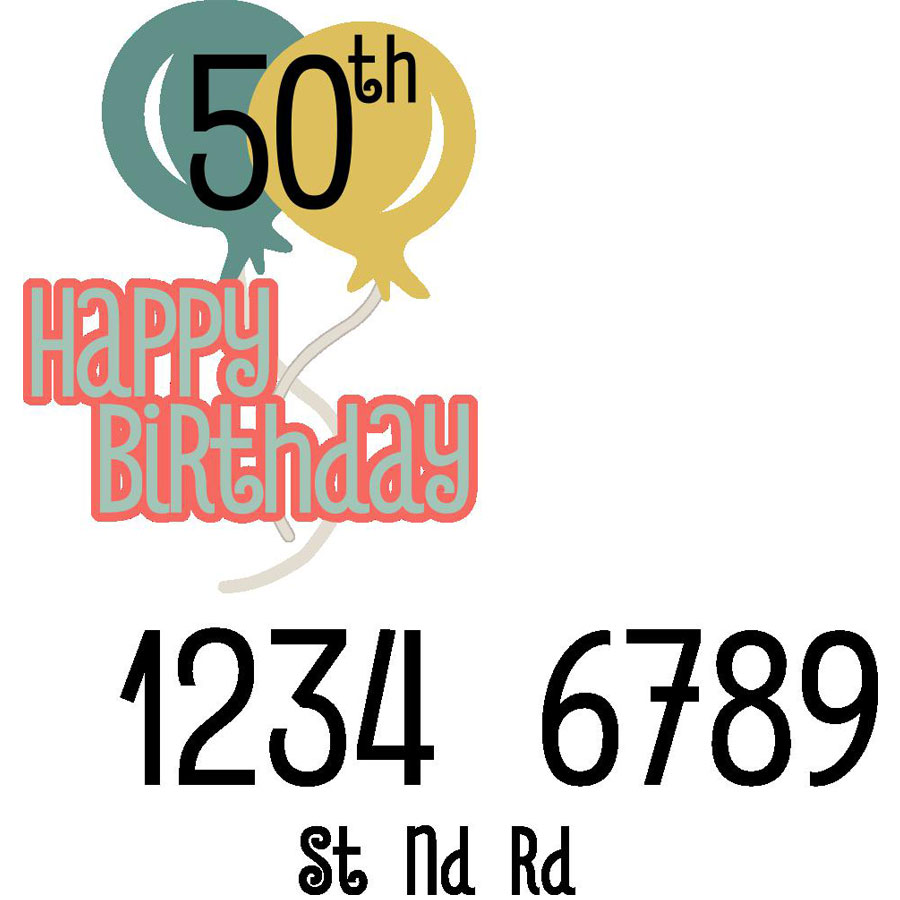
A Craft Room Membership is required to access additional content. Please Join Now or Login! This video lesson will show you how to solve several of the problems commonly encountered when creating words and titles with joined letters. You will learn how to determine where the problem spots might occur and how to correct them. The tutorial will show you how to add pieces if needed and how to lengthen or shorten parts of letters. You will also learn what to do with dots on letters such as i and j as well as where the best location is for apostrophes.


Inspiration! I love that font!!!!
Nice video. When I was in the original software, I used to use the rectangle to connect the letter as you do in your video. But, since I have had the Pro, and have discovered the Draw button…love that feature(!), I sometimes use that to connect the letters and then weld. What is nice about it is that before welding, I can shape the line however I like and then weld. But, there is more than one way to skin a cat.
A Yummy Apology
Baby Kruffy
Apple Script
Black Jack
Curlz
French Script
Girls Are Weird
Vicki,
I sometimes use the draw tools as well, or segment from path. As you say, there are many different ways to do it. I think the draw rectangle method is easiest for a beginner to understand.
ooh! I just looked up the Inspiration font. I love it!
Thanks, Christine! I sure learned a few things from this video. Great Job!