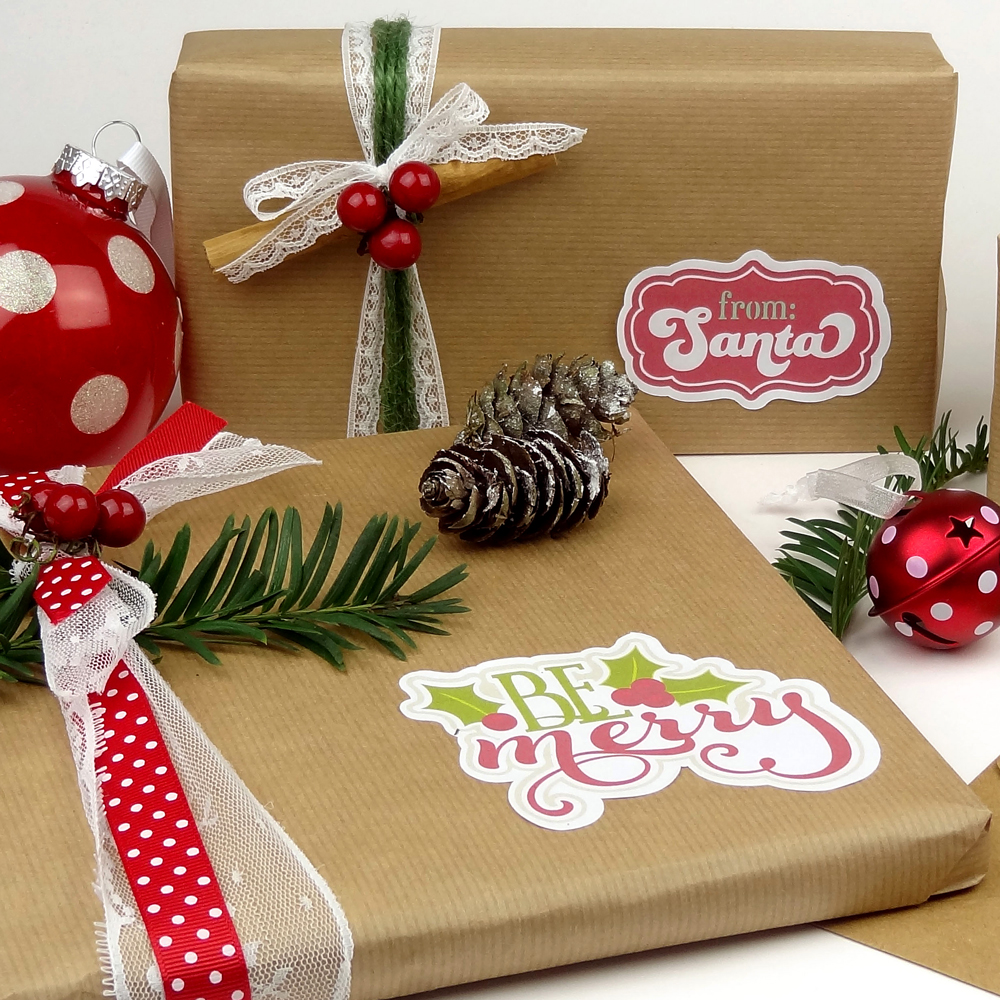
 Ever buy glitter letter stickers and discover they were the wrong color? Or did you use all of the letter E and now you’re stuck with extra Zs and Qs that can’t be used? You can find and cut glitter-covered paper, like Chris did recently, or you can make your own glitter alphabets and embellishments!
Instead of sticker alphabets, I like to get double-sided adhesive sheets, cut only the letters and shapes I want on my Pazzles Inspiration, and then cover with glitter to match my project. It’s a lot cheaper than buying individual sticker sets to match my projects, plus I get custom shapes that I don’t get with sticker packs! Here’s how to do it.
You’ll need thick double-sided adhesive sheets. I made mine with DesignaTac Double-Tac sheets from La D’ore. It’s a really heavy, thick sheet which gives nice clean edges when cut. I’ve tested some thinner adhesive sheets without success: the adhesive was prone to warping and the edges tore easily. I cut mine at a blade depth of 4 and a pressure of 30 in one pass. You will absolutely want to do a test cut to make sure you go through all three layers of the adhesive paper (the front and back liner and the adhesive itself). Depending on the brand you have, the blade and pressure settings will be different. When you find a successful setting for your kind of adhesive sheet, write it on the package with a permanent marker for future reference.
After you’ve cut your sentiments or shapes from the adhesive, peel the back off the your shapes and place them on your project. Be very careful when aligning your shapes: once the adhesive goes down it is not repositionable. Use your Pazzles Chizzel or bone folder to gently but firmly press the adhesive into your project. This makes sure there are no bubbles and that the adhesive doesn’t stick to the top liner when you lift it off.
Prepare for glitter! I like to rub my project with a dryer sheet so the excess glitter comes off easier. I also have a Tidy Tray from our Rhinestone Kit that I use to catch the excess glitter. With your area prepared, pull the top layer of liner off your adhesive letters. Pour glitter on your shapes. While the glitter is still on the letters, press it in to the adhesive with your finger. I covered my fingertip with the excess plastic adhesive liners so I didn’t get glitter on me! Tap and shake off the excess, use a paintbrush to remove errant glitter bits. Put the excess glitter back in the container and you’re done!

What I love about this method, aside from the fact that it’s cheap, is that the glitter sticks to the adhesive paper much better than it does to glue. I feel like the glitter doesn’t fall off the finished piece the way it can with glue. If I need a piece to be super-durable and never have the glitter come off, I will seal the glitter to the project with a spray sealant or, if I only want to seal a small area I’ll use a little bit of liquid sealant, like Mod Podge, just over the glitter.
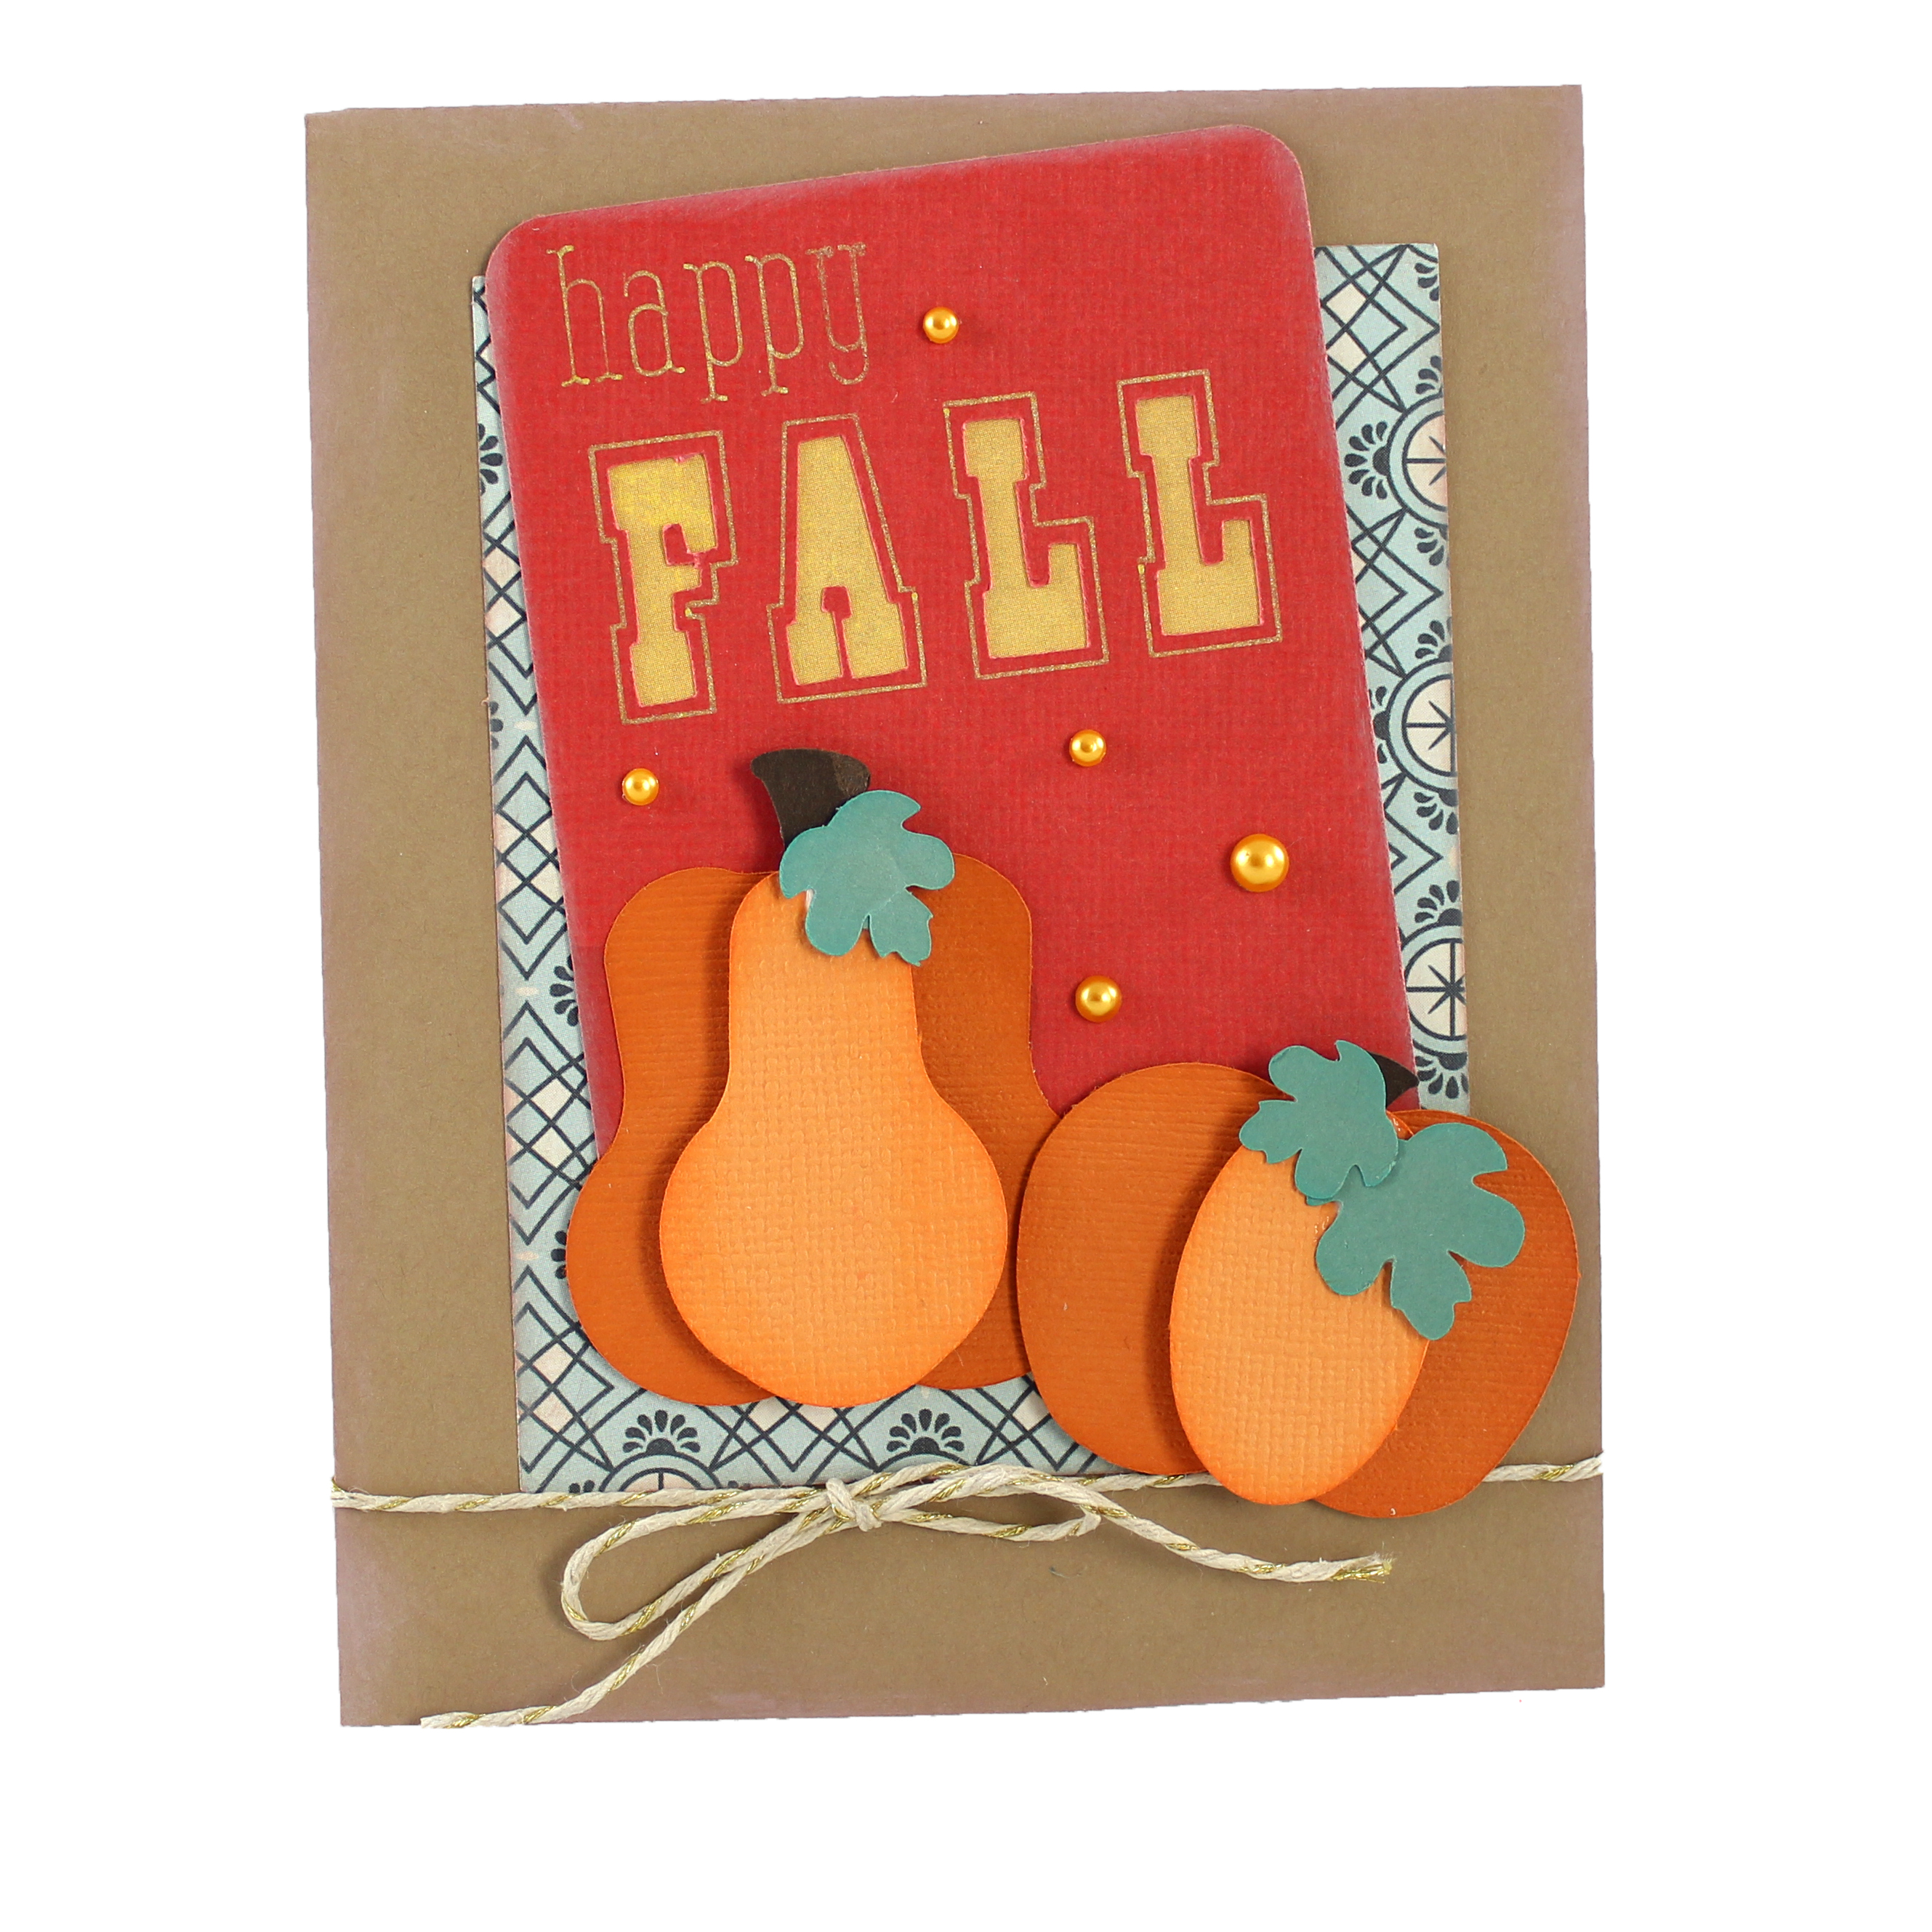
Speaking of cheap, how much money do you save by using this method? A package of glitter stickers might run you $3–6. You’ll have more letters than you need (or not enough of some!) and you’ll only get one color and font. The adhesive paper might cost a little more than a sticker pack—the La D’ore is $5 for two 9″ x 12″ sheets—but you have unlimited font choices, you can cut just the letters and shapes you need, and you’ll have plenty left over for future projects. Not to mention the alternative techniques available with this method. Check out my second card and the rainbow of glitters I used over the reversed-out sentiment. Try doing that with stickers!
Happy Crafting
-Amanda_H-


Thanks for the tip Amanda. I wonder if using the xyron would work also? You can run you piece thru (clear plastic or what ever you want. Take the sheet off (leave the clear on) and run it thru again then you have done both sides. Then cut it. I have the creatopia, which is wonderful becuase it does 12″ wide paper. Will have to play with it when I get caught up on other things.
I bought an entire set of 24 glitter colors from MS on sale (50% off) and I don’t use them enough. Thanks for the ideas of making glitter stickers.
The Xyron works beautiully. Cut out your letters or shape (paper, chip board, cereal boxes, etc.). Run through the Xyron. You may need to place letters through the Xyron upside down so that the adhesive goes onto the correct side. Peel off the clear sheet (the adhesive is only on the cut-out,and apply glitter. Viola! Glitter letters!
Chris, I am wondering about running the glue through the machine. Does it muck up the blade? Will it get into the housing? I have wanted to try this for quite some time, but was afraid of ruining the machine after reading some of the negative reviews about using adhesive sprays…just trying to be safe.
Sorry…I addressed my comment to Chris and just realized that this article was written by Amanda H. Sorry about that!
Victoria, the glue won’t get in to the carriage or housing when you use double-sided adhesive sheets because there’s a liner on the front and back of the sheet that keeps the glue pretty well contained. I haven’t noticed any problems with mine. If I were going to do A LOT of adhesive cutting, I would probably pull my blade holder out and check it. But I’ve not gotten glue inside the holder, carriage or anything like that with this method. Hope that helps!
Chris here, I have cut adhesive backed materials and these types of adhesive sheets for years with no problem. If you are concerned, just apply a coat of Cutter Glide to the blade before cutting the adhesive. If you have the Cutter Glide kit you can use the cleaner included to clean the blade afterwards. Remember, take the blade out to clean or treat it! And be sure to let it dry before using.
where do you find the La D’ore adhesive sheets?
I also use the Xyron method, but I actually cut the pattern, run it thru the Xyron, remove the clear plastic cover and press the pattern into the glitter. This gives a full, even coverage that doesn’t come off. I will run the pattern back thru the Xyron so the glittered side is up and now I can apply the cut out directly to my project. I have used this method on cards, pages, tags and not had any glitter come off, but I am going to apply the spray Varnish next time to make certain, thanks for that tip.
To find the adhesive sheets click on the link above ‘DesignaTac Double-Tac sheets’. You can also do a search on the internet. ~Chris