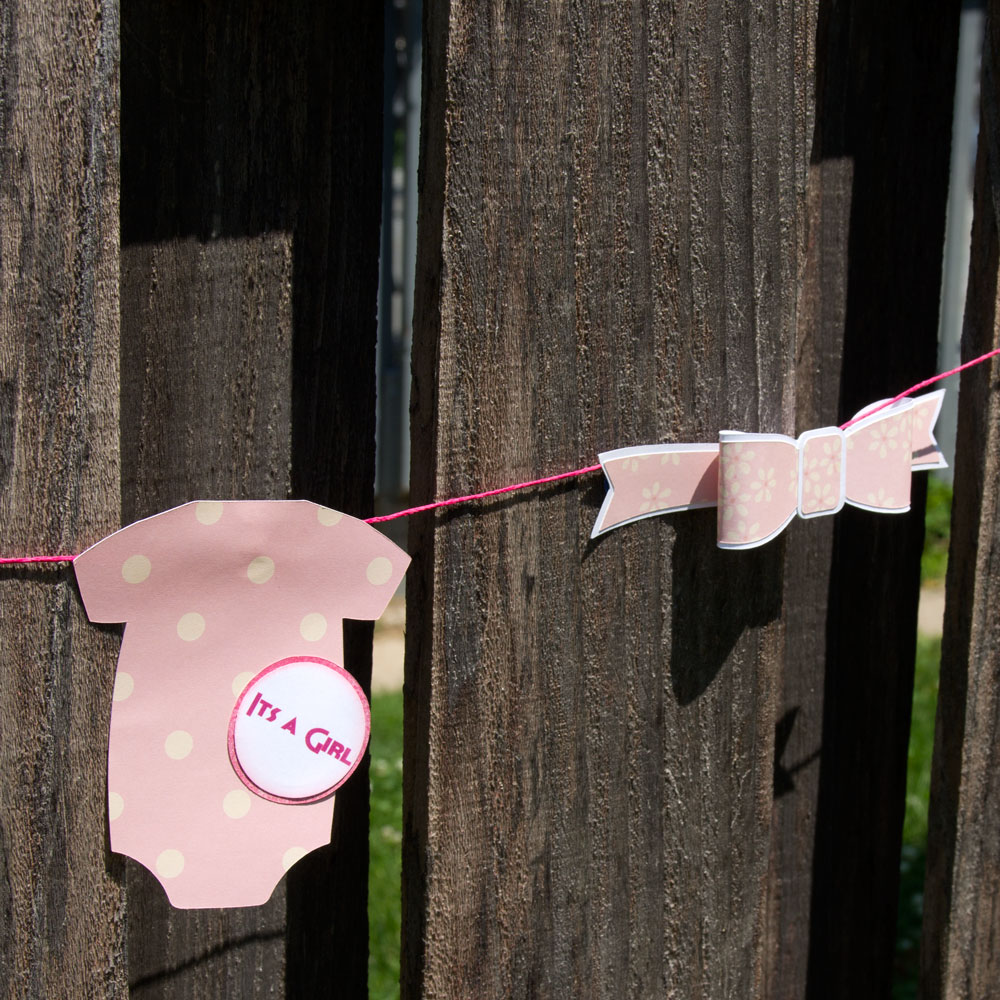
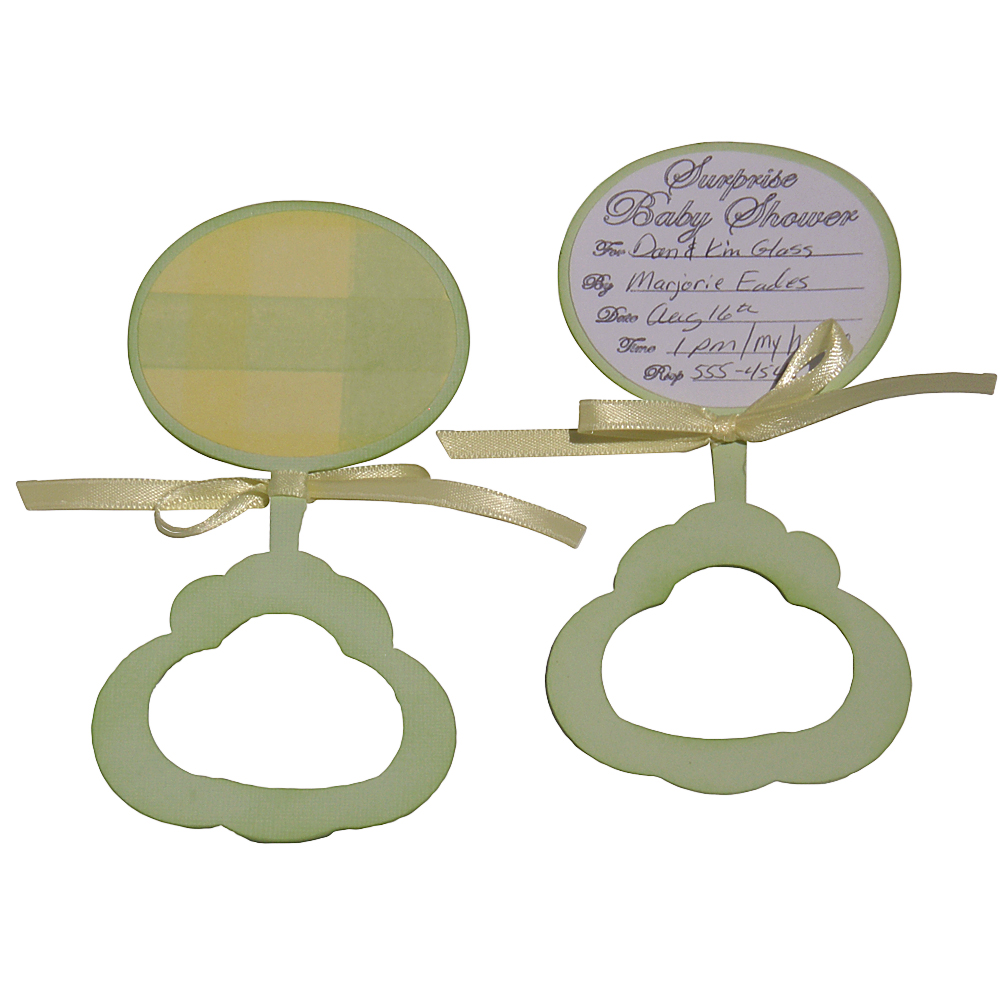
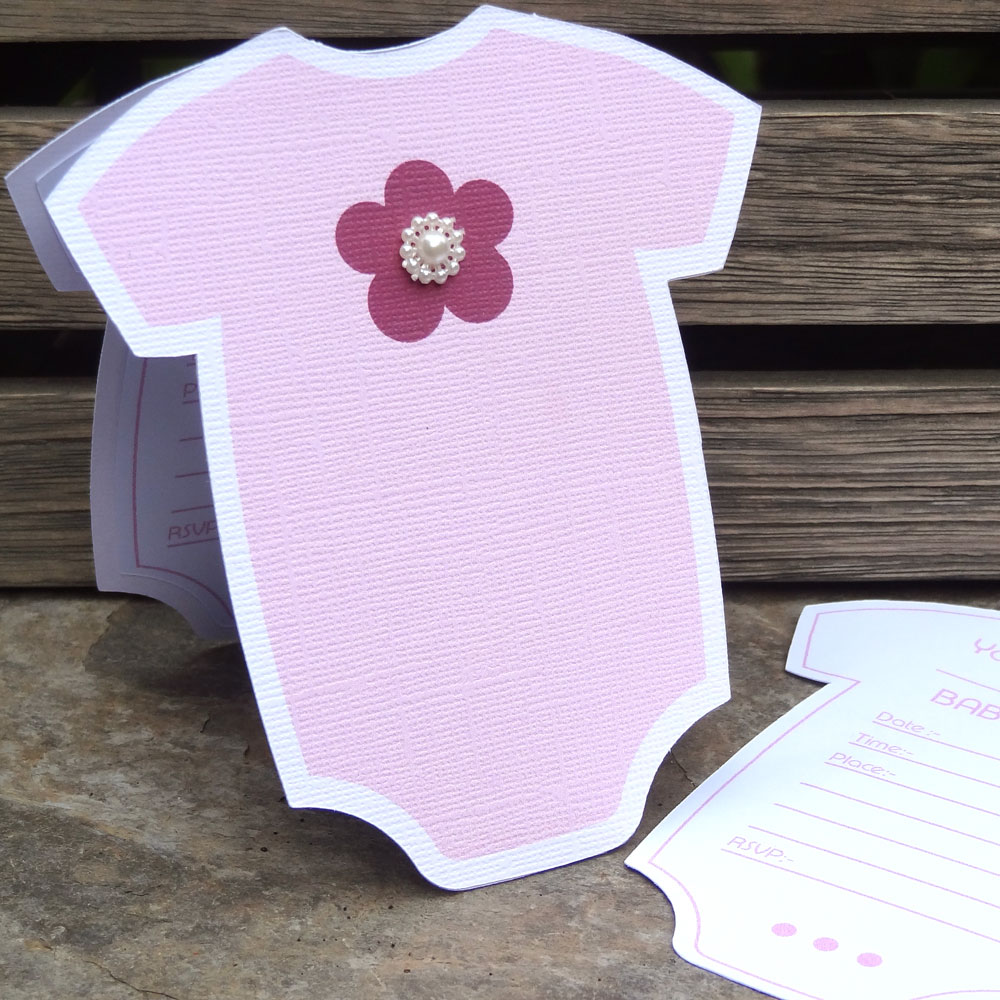
 It’s Baby Week at Pazzles! Join us as we share baby themed projects all week. We’ve got ideas for all the pieces of a baby shower party and even baby gifts. Be sure and check out our Baby Week Pinterest board for even more inspiration!
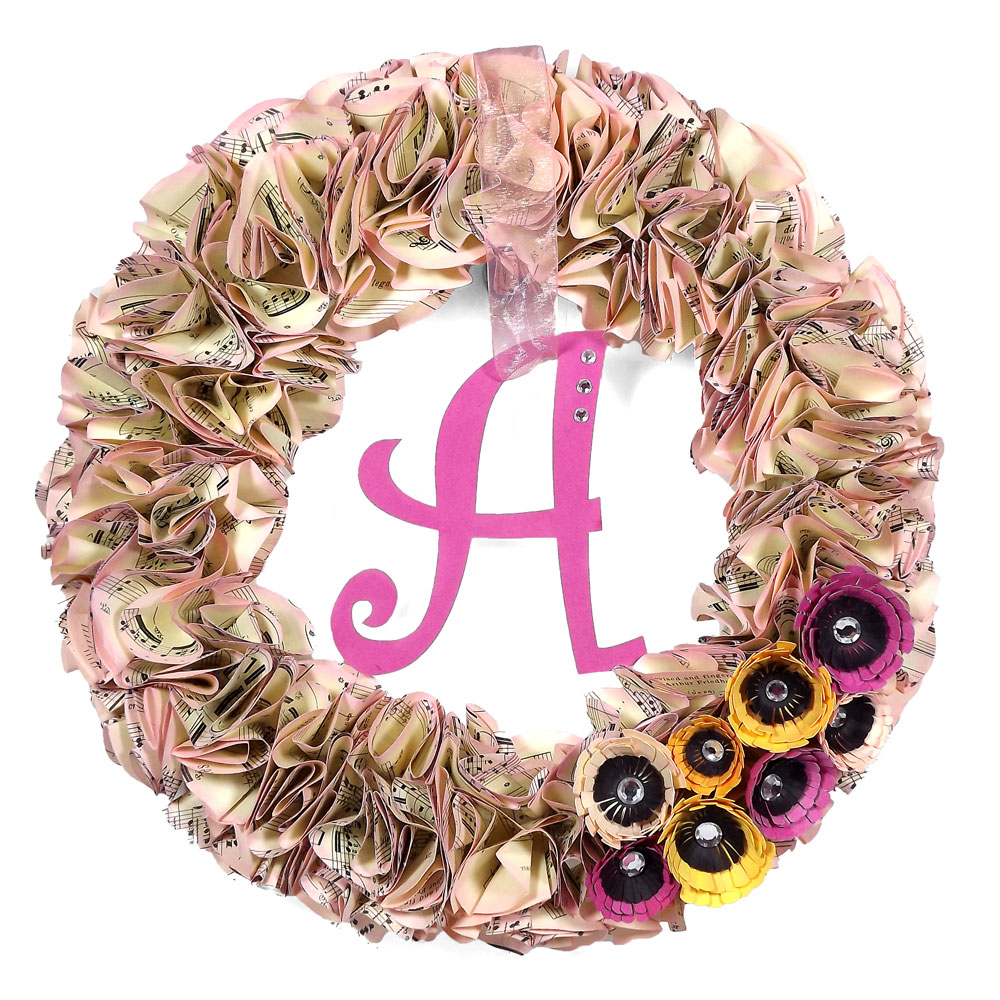 This wreath will welcome your guests as they arrive to your baby shower. It will set the tone and get your guests excited before the baby shower even starts! Once all your guests arrive you can move your wreath inside and use it for an indoor baby shower decoration too! It can easily be changed from girl to boy with just a little tweaking.
Instructions: I cut about 130 3.25 inch circles. Yes, I know this sounds like a lot but it goes super-fast using your Pazzles Creative Cutter! I used a 90 year old music book for mine but you can buy a cheap book at a thrift store, use printed scrapbooking paper, print your own on your printer or just buy colored copy paper. I think it would be precious to use an old nursery rhyme book. *NOTE: The paper you use for the circles needs to be the thickness of copy paper or the pages of a book. You don’t want to use cardstock for this project. The paper needs to be flexible as you are gluing them very close together and cardstock creases easily, giving your wreath a more angular look. Instead, we are going for a softer feel since it is for a baby shower. 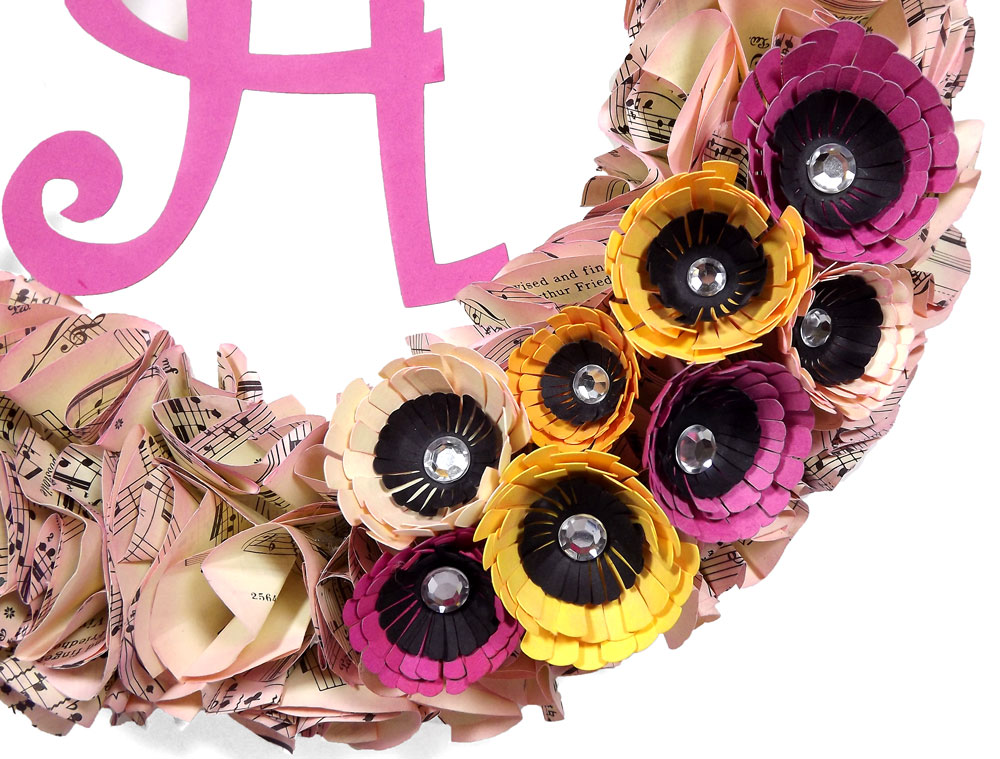 Wrap your Styrofoam wreath in coordinating paper. I cut my paper into strips and glued them around the wreath. Don’t worry about any wrinkles or if your wreath looks less than perfect at this stage. Any flaws will be covered with the ruffles. You will be using a glue gun to attach your circles/ruffles to the wreath and the Styrofoam will melt if you glue the circles directly to the wreath without the paper barrier. I chalked the edges of my circles. You can use an ink pad or paint also. Gently fold your circle. I used a pencil in the center and gently wrapped the circle around it. You don’t want creases at the top of your circle, just flowing folds. Glue the circles to your wreath. I started by placing the wreath on a flat surface and then gluing the folded circles on the top center of my wreath. I glued them in a ring so I had a single line of them on the top center of my wreath. Then I just filled in the inner and outer sides until I got it full enough for my liking. I kept the pencil in my folded circle and put a dot of glue on the bottom of the circle and used the pencil to gently apply it to the wreath. I packed them pretty tightly. I wanted my wreath really full but you can alter the thickness to your liking. Just start with one and keep going until you are happy with the shape and thickness of your wreath. The process is very fast as the hot glue dries instantly and you don’t have to worry about being perfect in your placement. Once your wreath is done all you have left to do is decorate it. I used the Daisy Bunch file for the flowers. Then I hung a monogram in the center of my wreath. There are tons of baby themed files available in the Craft Room that you can personalize your baby shower wreath with! So get those invites out and get ready to wow your guest before they even walk through the door! ~Heidi

Such a pretty wreath Heidi. I love using my Pazzles to speed projects up. Impressed you cut out 130 circles!!!
Heidi, this is fantastic! Wow – no need for any other decorations – this does it all!
Beautiful wreath!! I especially love that the mom to be can still use it after the baby shower:-)
Gorgeous! Gorgeous! Your wreath is amazing Heidi. Great directions too!
I’ve always wanted to make one…now I will.