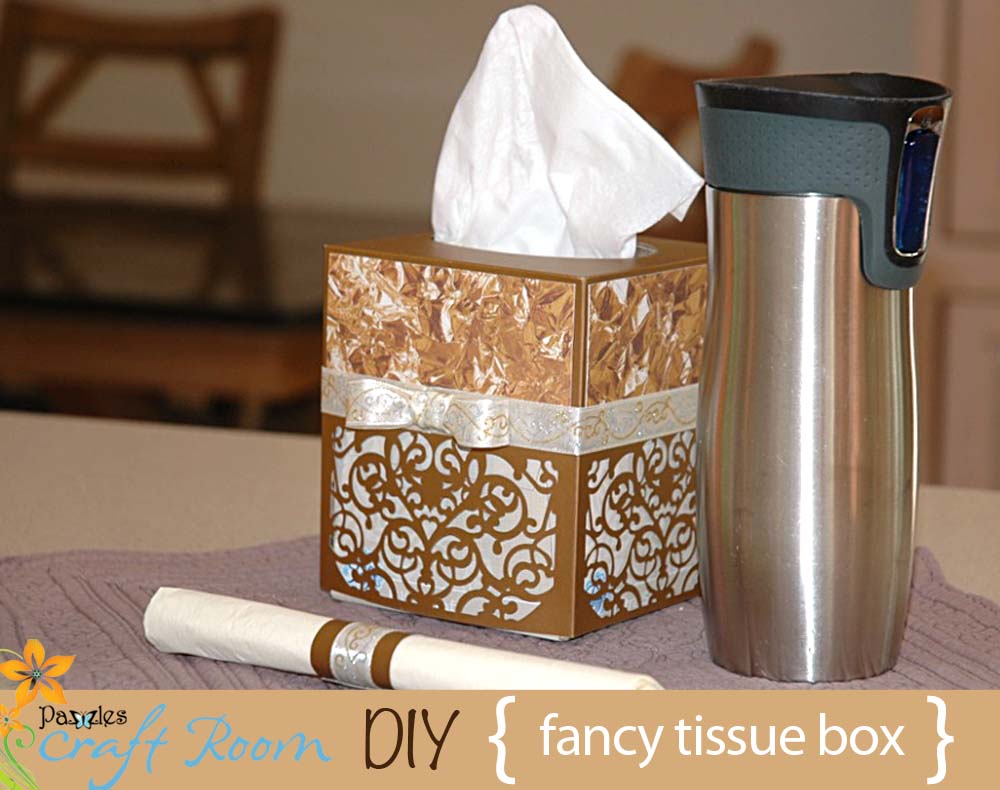
I thought this would cheer someone up in the winter during the cold season and maybe add a container of homemade soup. It’s really simple to make too!
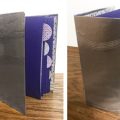
I started with the elegant heart square envelope file from the Pazzles Craft Room library and re-sized it to fit the box. I love these files and couldn’t wait to make something with them. I used my Pazzles embossing tool for scoring and then cut out the file.
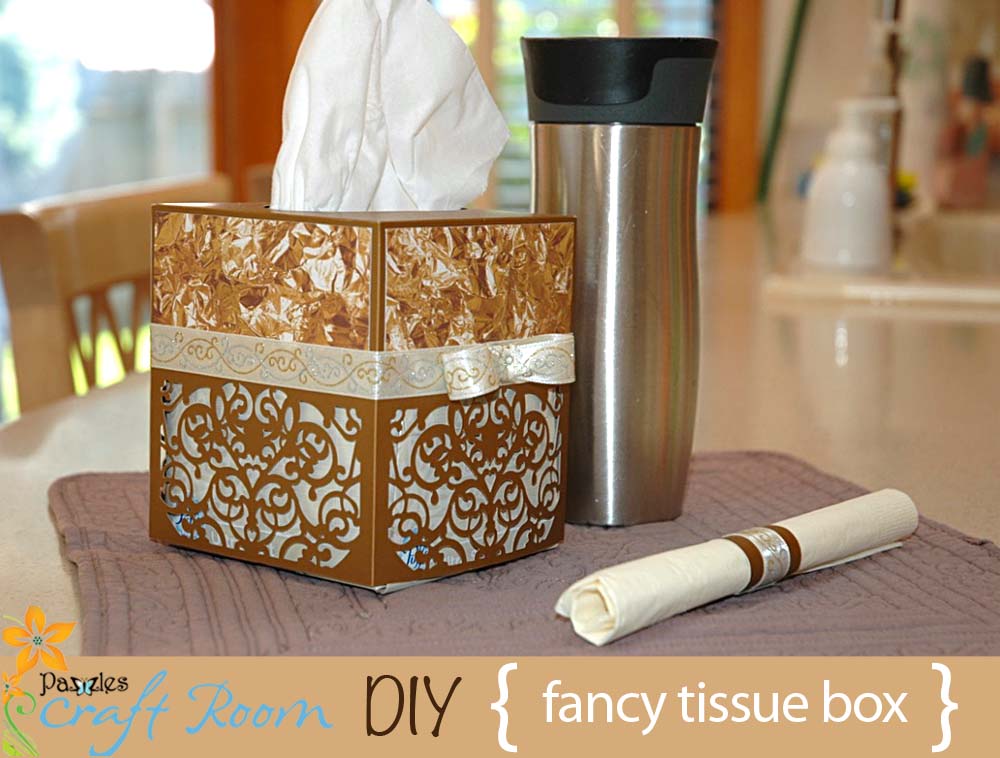
I folded all the score lines on the embossed pieces and laid them flat again. I applied double-sided adhesive to the tabs of the top piece and I placed double-sided adhesive to the tabs of the lace pieces. I attached one side of the lace paper to the other to make one long piece and then laid it flat again. I cut out four decorator paper pieces to match the paper and applied double-sided adhesive. I then lined them up above the lace and in between the score lines and glued them down, making sure to space them evenly at the top and sides.

I then attached the top piece of the box, starting with the second square of the lace and continue with the next two forming the box. The last square will be attached to the top and under the last lace square glued previously. Now take matching ribbon the size of the circumference and apply double-sided adhesive to the back and glue it evenly over the decorator pieces and just above the lace cut outs all the way around the box. Now apply a matching bow and place over the top of a box of Kleenex. That’s it!
Supplies:
DCWV Neutral Metallics ( 2 12” x 12” sheets of brown)
DCWV Solid Gold (1 12” x 12” decorator sheet)
Scor-Tape double-sided adhesive
Ribbon
Become a Member!
By becoming a subscriber to Pazzles Craft Room you will have access to this project as well as hundreds of other projects, thousands of cutting files, and so much more!Get Pazzles Craft Room!
Join Now for only $19.95!

So pretty!!!! Making this!!!!!!
Pretty!