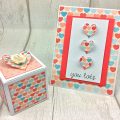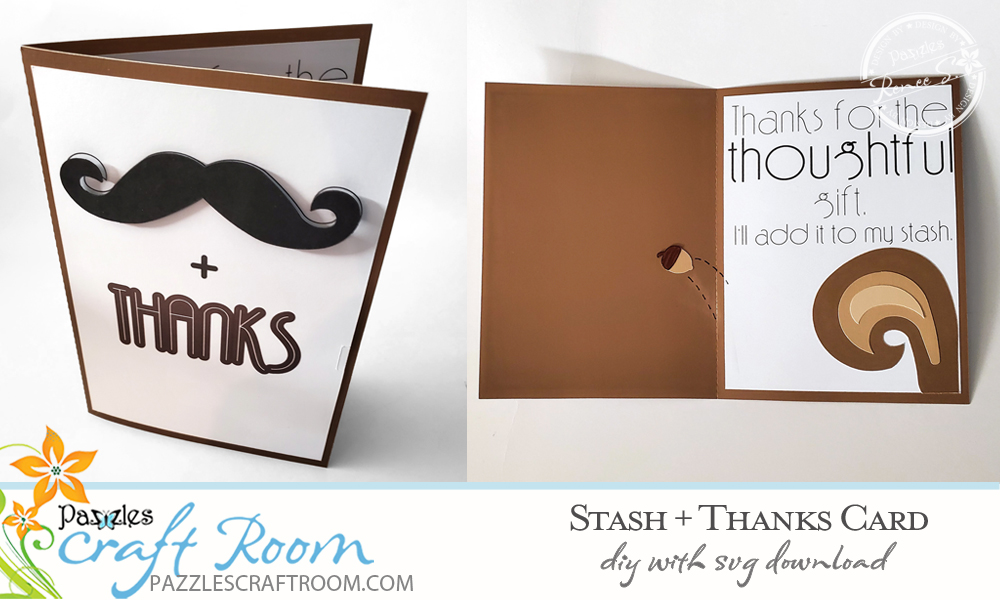
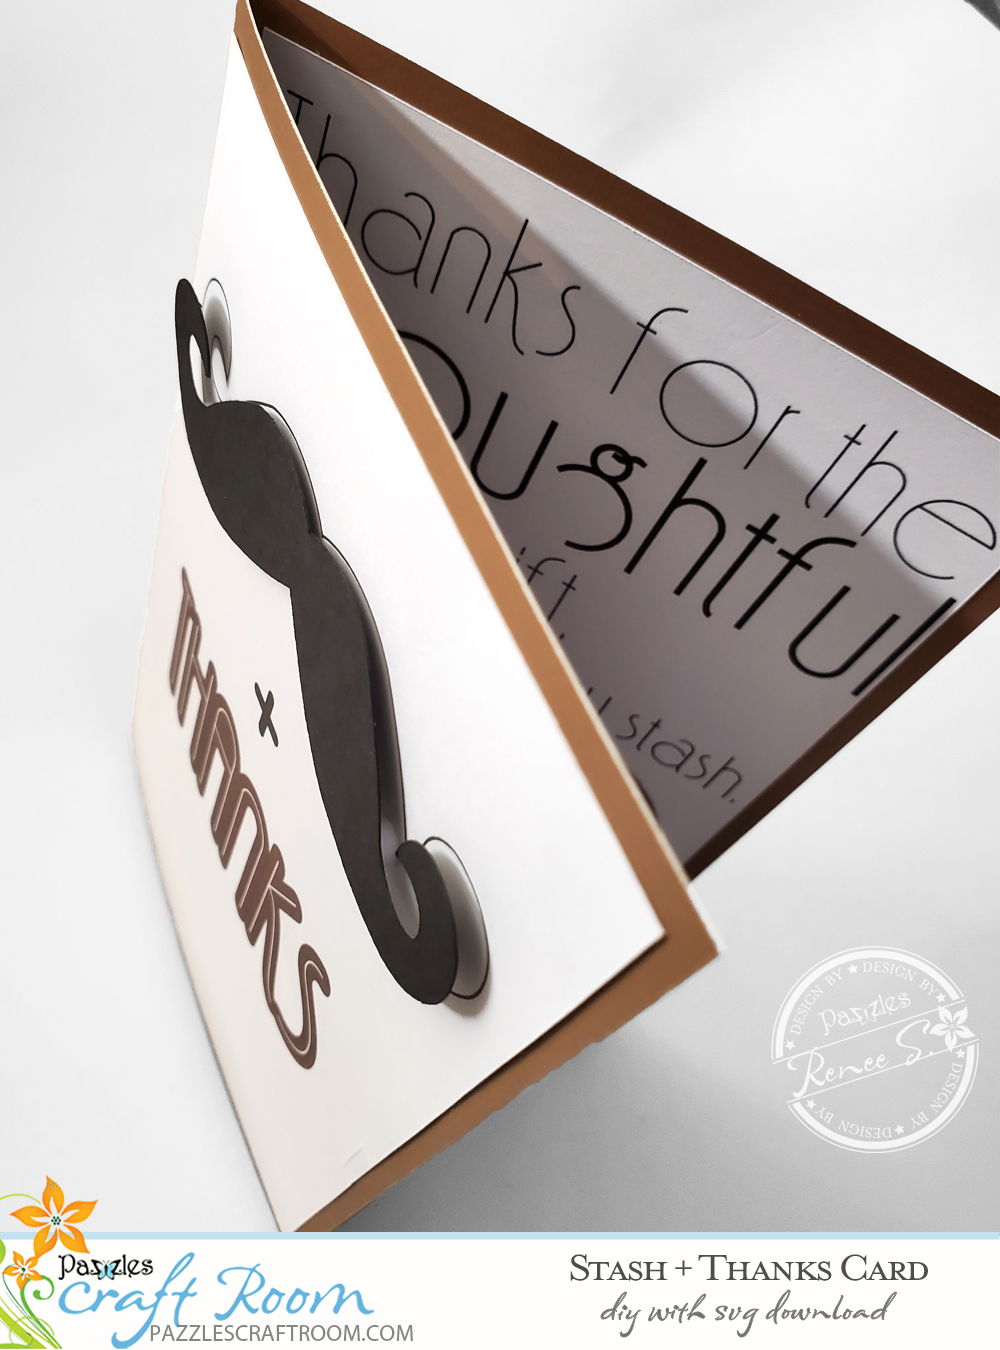
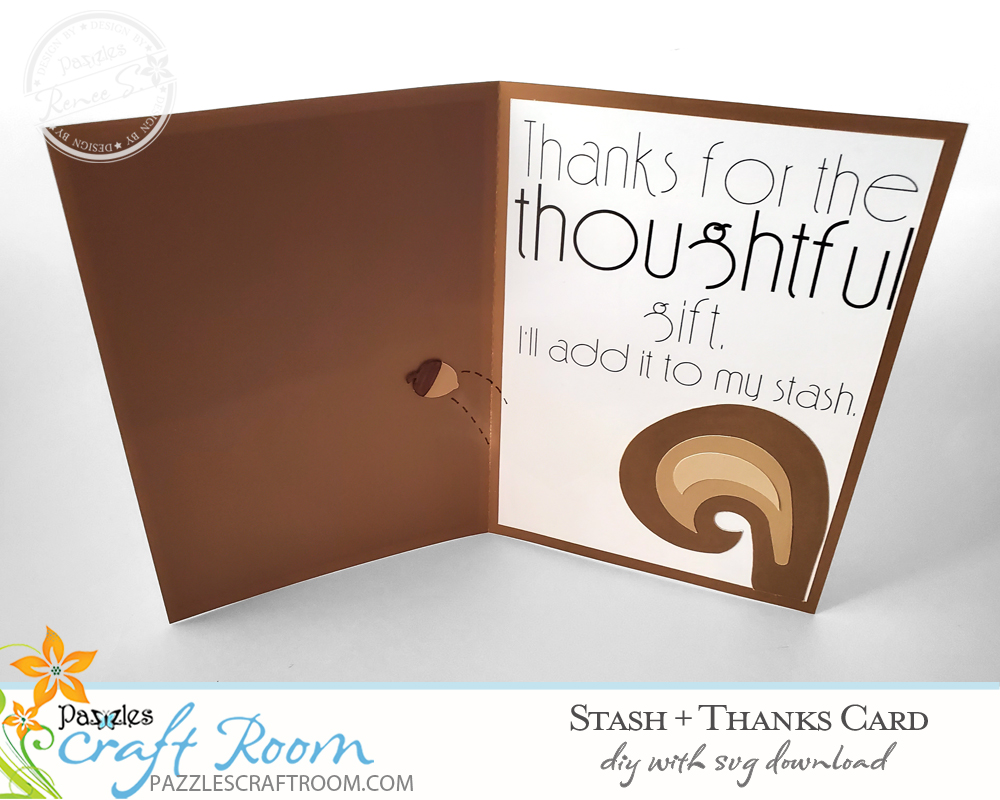
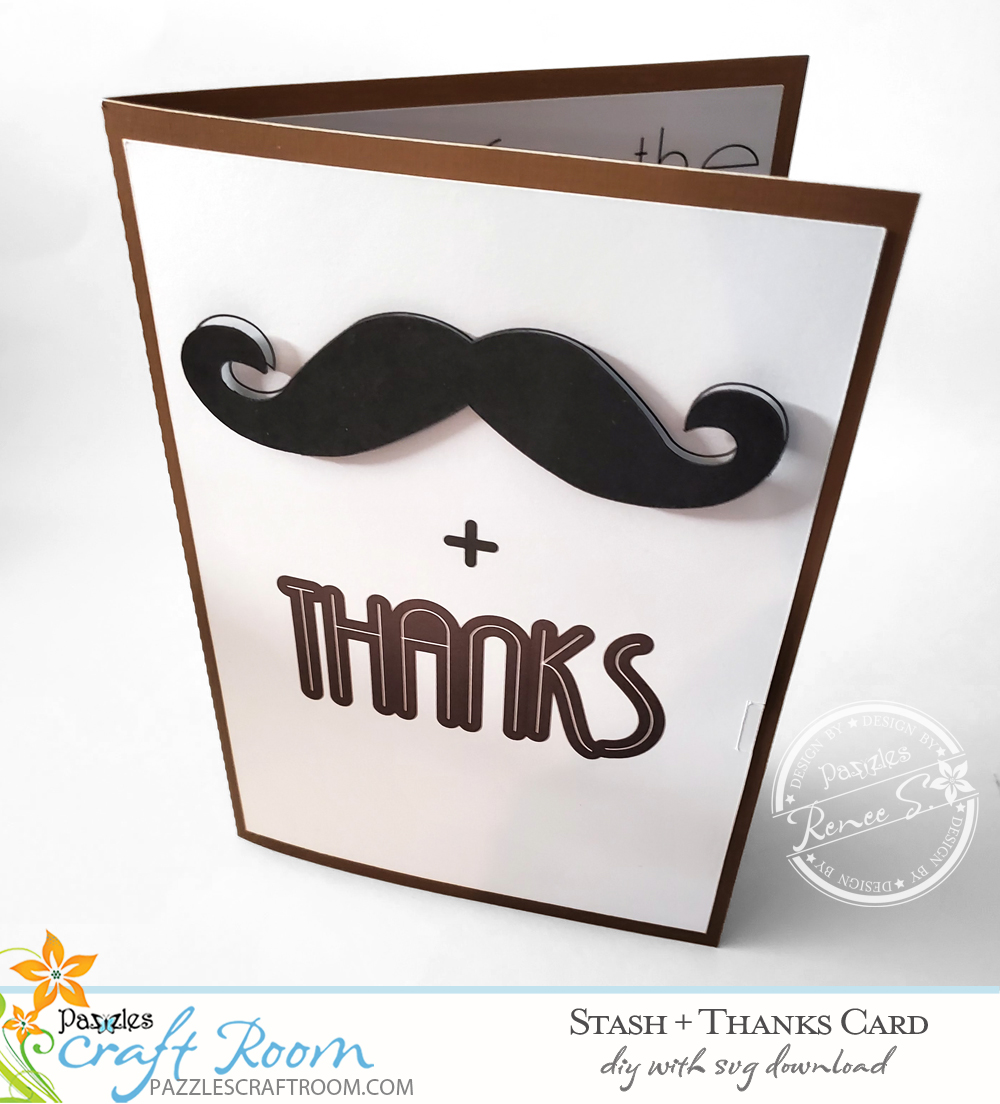
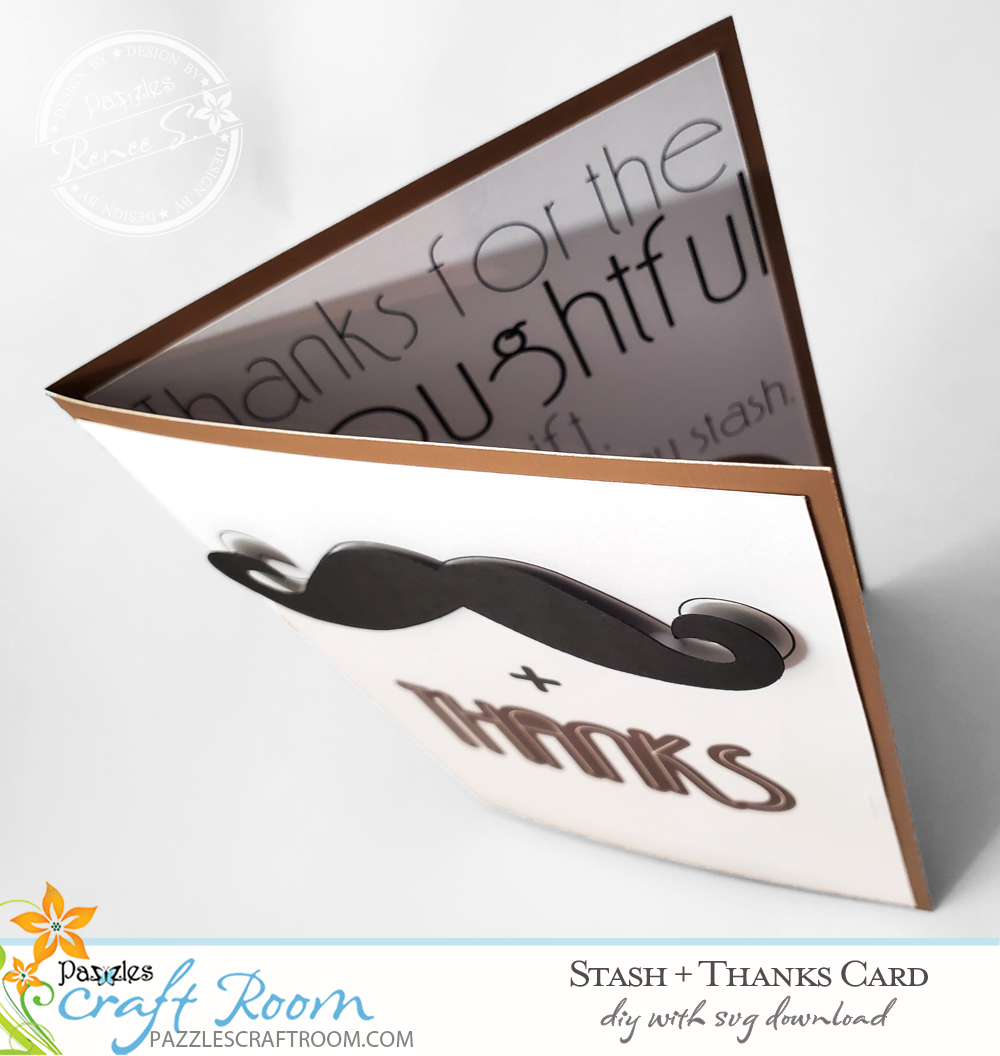
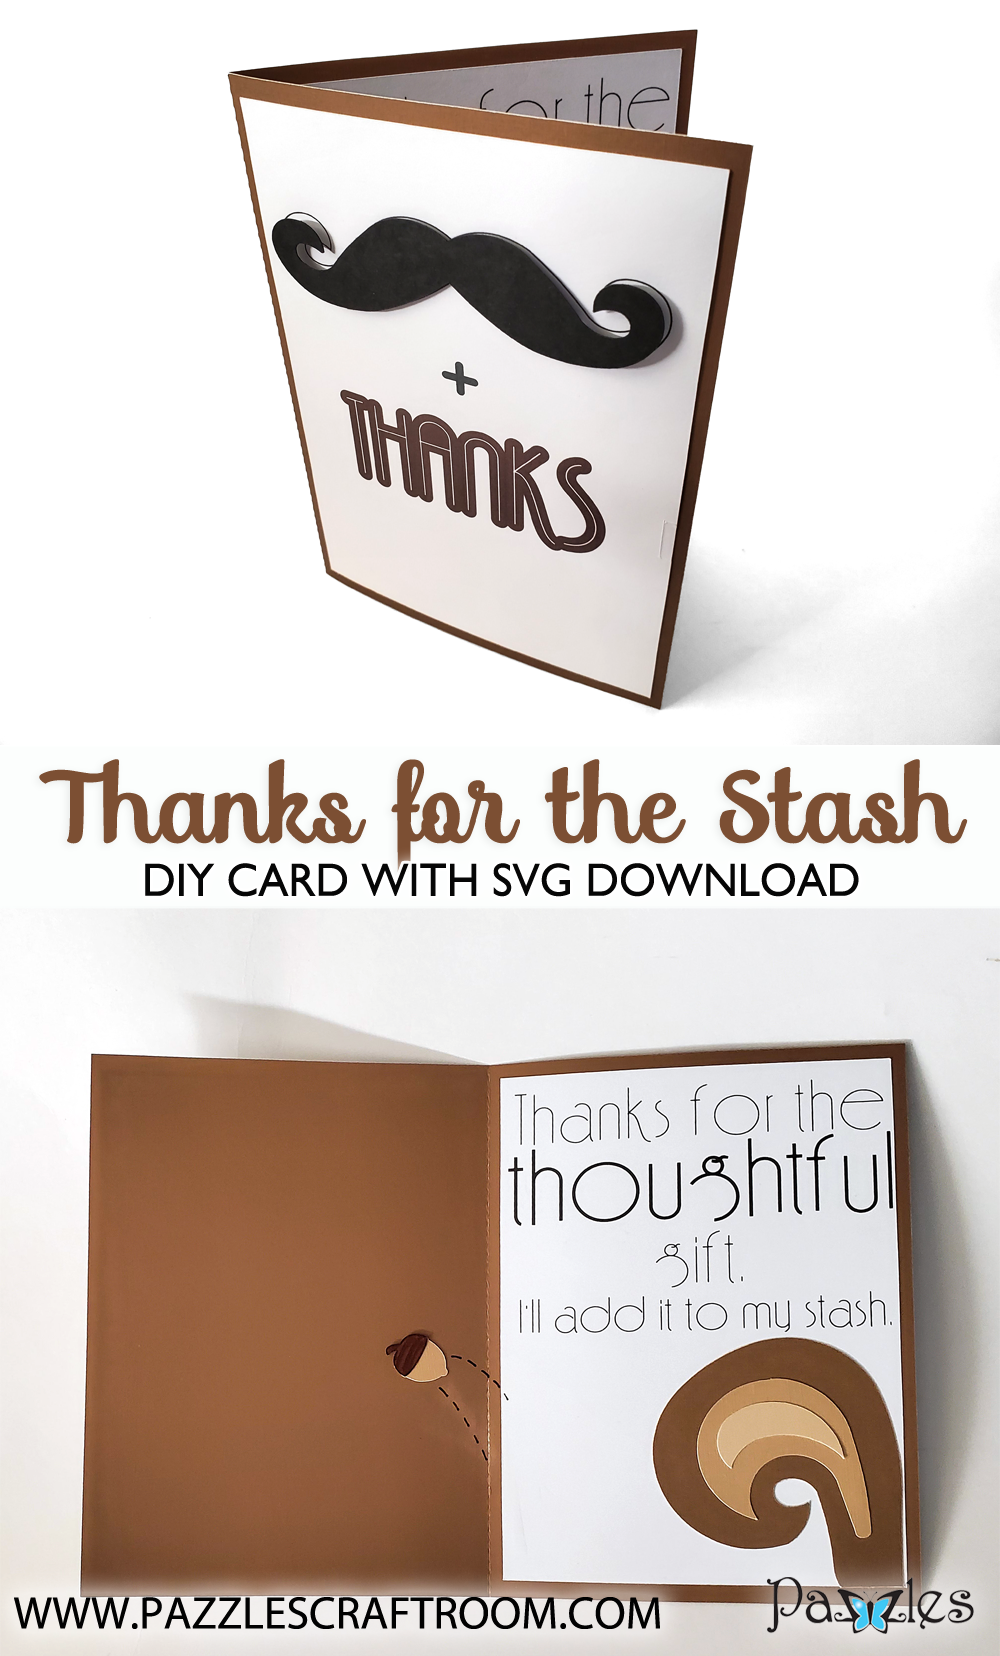
DIY Thanks for the Stash Card
Thank you cards are always useful especially after the holidays where gifts are given and received as part of the celebrations. This thank you card is nuttier than most and will be sure to put a smile on the recipient’s face, especially if you’re a crafter and they got you something to stock your (overstuffed *grin*) craft room.
Simple Supplies and Construction
This is sized as a standard 5 by 7-inch card but could be reduced if desired; it fits in a standard 5 by 7-inch envelope. The card components and tools are basic supplies most will have in their own stashes, such as cardstock, dimensional foam stickers, Sharpies, and crafter’s tape. If you don’t have the same colors, or you would like to color this project differently, put together your own color palette, even use the Pazzles Craft Room Digital Paper Packs, and change the sentiment colors if desired.
Make in 30 Minutes and Adapt to Hold a Picture
Completing this project is a snap and can be done in under a half-hour even if you are fairly new at paper crafting. You could adapt this card into a photo holder thank you card to show a picture of you enjoying the gift: create a card base (A) with corner photo slits in the inside right panel instead of the inside sentiment panel, attaching the front sentiment panel to the front of the card per instructions, then create the second card base (B) using the inside sentiment panel attached to the right inside panel of card base B, then attach card base B’s inside left panel to the back of card base A’s right inside panel taking care to not adhere over the slits so there’s room for the photo corners to slip in between the layers. Be sure to overlap the two card bases such that the card will still fold up and fit into an envelope. Take a picture of you using your gift or creating something with your gift, print the photo, and slip the photo into the corner photo slits. You could fold the two card bases in the same direction so that the finished card stands up as a U shape, or you could fold card base B in the opposite direction so that the card stands up as a zig zag. Give thanks!
Supplies:
12×12 inch cardstock in black, dark brown, brown, light brown, tan, and white
2 Dimensional foam stickers
Crafter’s tape or non-wrinkling glue
Ultra Fine Sharpie – black
Love this DIY Thanks for the Stash Card? Make sure to pin and share it!
Become a Member!
By becoming a subscriber to Pazzles Craft Room you will have access to this project as well as hundreds of other projects, thousands of cutting files, and so much more!Get Pazzles Craft Room!
Join Now for only $19.95!