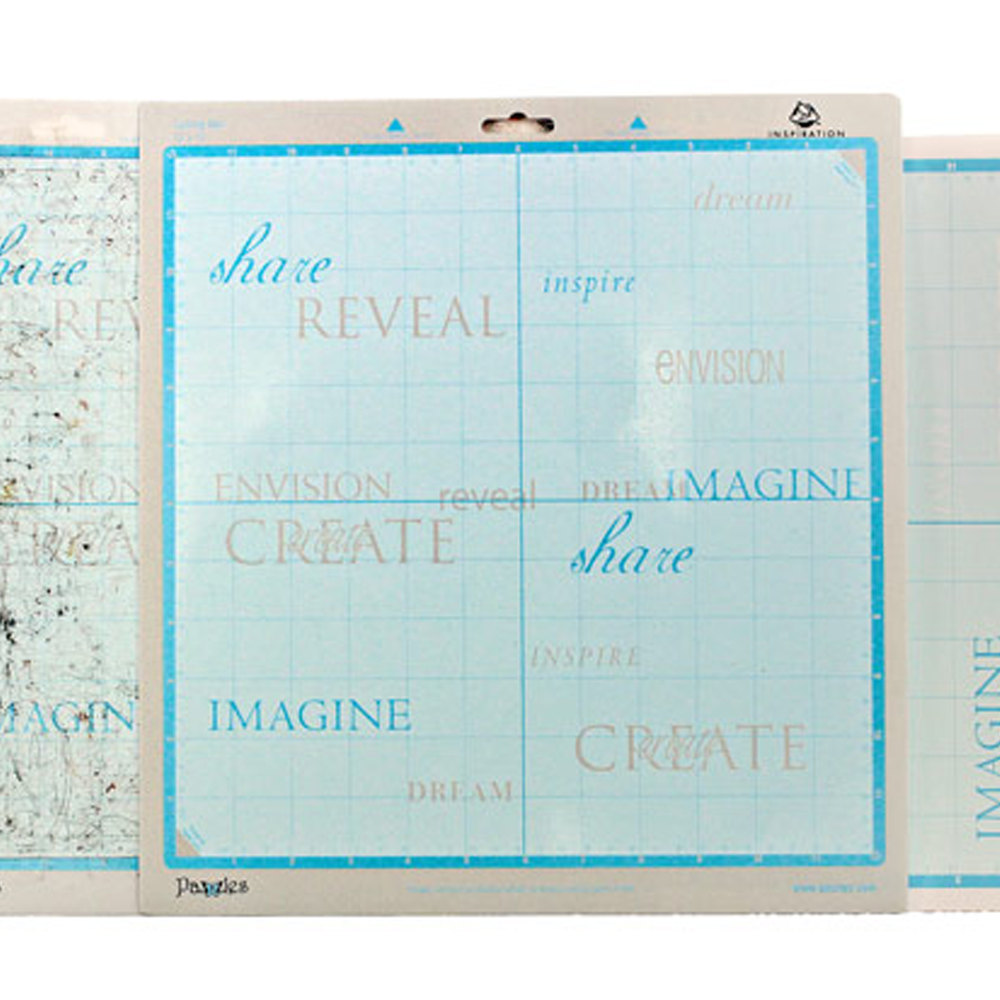
 My Pazzles mat and I used to have a somewhat love/hate relationship. I’d break out a brand new mat and then put a new piece of paper on it, cut my project, and then my mat just wouldn’t let go of the paper! Arg! Then a few sheets of paper later my mat would calm down a little and start behaving more like a gentlemen. It wouldn’t take long till I had almost forgotten the early wrongs of my mat and it was love from then on out.
So what is up with those mats? There are several reasons your mat can be so sticky when you first get it, the major one being humidity. We all live on different parts of the country and that adhesive behaves differently in different humidity. Sometimes that can result in a very sticky mat! So why not make it less sticky all around? Well, we all want our mats to last for a long time and if they are less sticky to begin with that means they will wear out faster. That might be fine if you live in a climate where your mat is ultra sticky to start, but if you don’t then your mat will lose its “umph” very quickly.
So what to do if you have a super sticky mat? It’s actually very easy. I simply pat my hand all over my mat before I use it. The oils from my hand take out just enough “sticky” so that I’m not wrestling my mat for the first few sheets. It takes just a few seconds and then I have a perfect mat. Here are a few more tricks you can use with your mat.
Use a credit card or Pazzles Chizzel and rub it over the mat with the protective sheet on
This will help the adhesive stick to the mat so that the “sticky” doesn’t come off with your paper.
Keep the cover on your mat when you aren’t using it, BUT MAKE SURE YOU PUT IT ON THE RIGHT WAY!
There is a right way and a wrong way to put that protective cover back on and if you put it on the wrong way you may peel adhesive off the next time you take the protective cover off. Most mats have a sticker on them that says “This side up” but if yours doesn’t, mark the top with a permanent marker before you take it off the first time.
Use a heavier stock of paper first on your mat
The mat will naturally be more sticky at first and then lessen over time. Thin papers have a habit of tearing on a new sticky mat. You’ll save yourself some heartache by using a thicker paper first. Even keep two mats around, one newer mat for thicker papers and one older mat for thinner papers.
Keep your mat clean
Just like tape, the more fuzzies, dirt, and hair you get on your mat the faster it will lose its sticky. Even paper will leave residue on your mat, and the cheaper the paper the more residue it will leave behind. If your mat gets dirty, try taking a lint free cloth with soap and warm water to your mat. Gently rub it in circles being careful not to rub so hard as to take off the adhesive. Then let the mat dry.
Cut in different areas on your mat
If you are always cutting in the same spot on your mat that spot will wear out faster than the rest of your mat. Using every part of the mat equally will help it last longer.


Thanks for the great tips and care reminders for this issue! I don’t think there is any one of us who hasn’t been frustrated by the ‘new mat’ syndrome!
I am really pleased with how long my mats have been lasting! One look at them and you can see how much cutting I have been doing, they are pretty ugly right now.
I can vouch for the fact that mats respond to weather differently. Having done scrapbook shows all over the country it is very evident that the mat will be more sticky in more humid climates.Heating and air conditioning also will affect the stickiess so if your mats don’t seem the same as usual check the weather or your air conditioning.
Thanks for the tips. I live in Florida…aka Sticky Central so having these tips as a reminder sure is a help!
I’ve also heard that it helps to cut chipboard the first time or two with a brand new mat. Chipboard is a bit lintier than regular cardstock, and will help “season” the mat to perfection quickly. Sometimes I will just stick a piece of chipboard down onto it and pull it up a few times instead of actually cutting it. This works too.
The tips are great. I have so many mats; one for each type of media that I cut and a few of them are very “seasoned”. I didn’t realize that we could use warm soapy water. Dana
Don’t forget to recycle the mats when you are finished. I have used mine at crops when I am laying things out. The mat is still tacky….but tacky only. My stuff doesn’t slip or slide all over the table if someone bumps something.
I also donated some to a school for their art class. The teacher lets the students use them to keep the little pieces together. She wants more.
As a teacher, I am thinking that they might be good for a child learning to print…or color. Paper slips easily. But the stickiness of the mat would hold it steady for them. The only thing is that they are bumpy.
I keep one for my glitter/embossing messes. Instead of going all over the table and floor, the escaped glitter/powders get caught by the tacky mat.