Hey everyone! Here at Pazzles, we completely understand the importance of taking care of your mats during the warmer parts of the year so here is an awesome compilation of a few posts to help you keep your mats pristine and clean this summer season!
Here is an awesome list made by Christine to help you along the way:
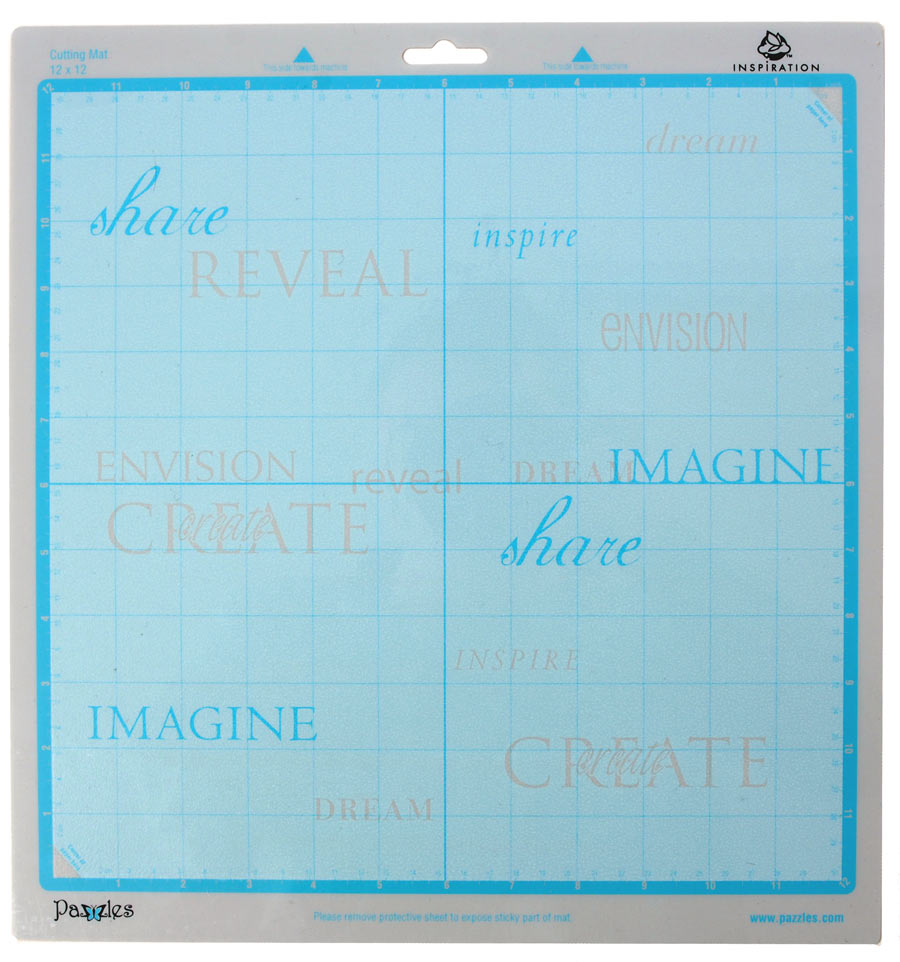
1. Before taking the clear cover off be sure to write ‘top’ on the cover. If you put the wrong side on the mat it will pull the adhesive off.
2. Leave the clear cover on the mat. Using a credit card or the Chizzle tool, rub over the mat in long strokes to press the adhesive into the mat.
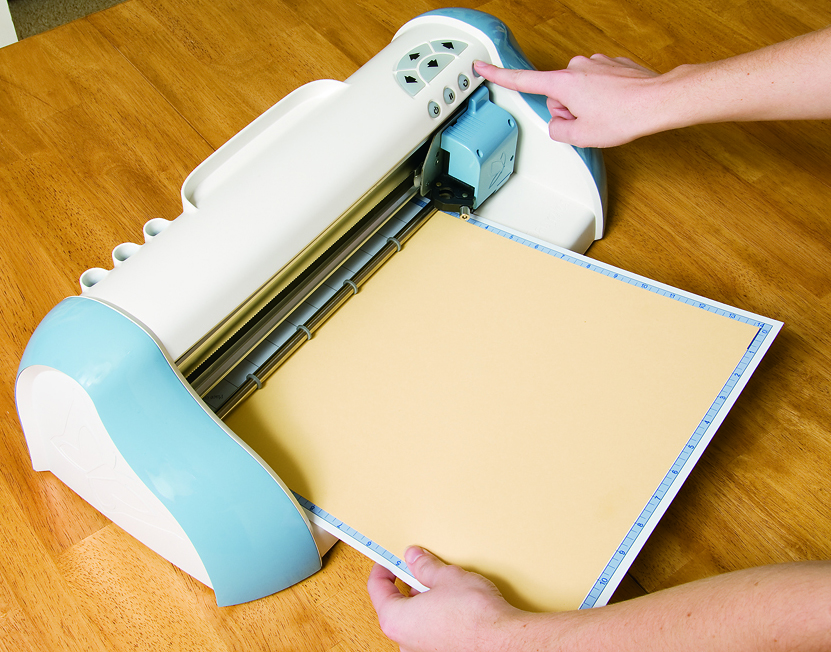
3. Take the clear cover off and lightly place a piece of cardstock onto the mat. (Do not use paper for this step.) Pull the cardstock off. Repeat lightly placing down the cardstock and removing it at least 10 times.
4. If the mat still seems too sticky you can pat the mat with your hands to further neutralize the adhesive.
5. Cut cardstock on new mats and use your more ‘seasoned’ mats for thinner papers.
6. Do not leave paper or cardstock on your mat after cutting your project. Do not leave it on the mat over night.
7. Cover your mat between uses and store it flat or hanging from a hook.
8. Clean your mat by using the Chizzle tool to scrape off as much of the paper scraps as possible. Then use a lint roller or packing tape to pick up any tiny pieces and lint left on the mat.
9. You can wash your mat with with lukewarm water and mild soap. Do not scrub, but you can gently rub the soap over the mat. Rinse and hang to dry. This often revives the adhesive.
10. If your mat is heavily scored it is time to retire it. Deep score marks will affect how smoothly the blade travels across the mat surface.
11. If you are having trouble cutting a project and you have changed the blade and have cut the paper easily at other times, try changing your mat.
Don’t forget the corresponding video as well! It will really help you to understand the points above!
If you still could use a little help, tale a look at this complete Reference Guide To Using Your Mats by Tatum,
and don’t forget: Always remember to keep them covered with the clear protective sheet when not in use and stored on a flat, hard surface.
As Amanda has said before, there are several reasons your mat can be so sticky when you first get it, the major one being humidity. We all live in different places and adhesive behaves differently for everyone. Sometimes that can result in a very sticky mat! So why not make it less sticky all around? Well, we all want our mats to last for a long time and if they are less sticky to begin with that means they will wear out faster. That might be fine if you live in a climate where your mat is ultra sticky to start, but if you don’t then your mat will lose its “umph” very quickly.
Finally, remember that Mats Can Be Sticky Business and that having a new mat can help immensely when you’re doing more detailed projects because it helps the paper adhere to the mats better! That way the blade is able to cut some of those tight curves and details of your project without them bending or lifting.
So what to do if you have a super sticky mat?
Amanda: “It’s actually very easy. I simply pat my hand all over my mat before I use it. The oils from my hand take out just enough “sticky” so that I’m not wrestling my mat for the first few sheets. It takes just a few seconds and then I have a perfect mat.”
I hope this helped during this humid season, guys! Just remember that your mats can truly be your best friend or your worst nightmare; it all comes down to the way you care for them!