What is Christmas without the sparkling lights, the glitter and the shine? Indeed, Christmas would not seem Christmas at all, if it no longer glistened. What better way to remember Christmas than to make that twinkle, a part of the memory. Now, is the perfect time to use glitter cardstock and rhinestones to add shine to your projects. Together they make your Christmas memories reflect the sparkle, just like you remembered it.
I love how you can use the Inspiration Studio Pro software to create and cut custom rhinestone templates for any project. Don’t have the Pro Software? The Rhinestone Kit has lots of great designs that you can use with your current Inspiration Studio Software. The Pazzles Rhinestone kit has heat resistant transfer tape, which means that you can apply the entire design at one time. No more gluing each rhinestone on individually or spending a lot of money on pre-made rhinestone designs!
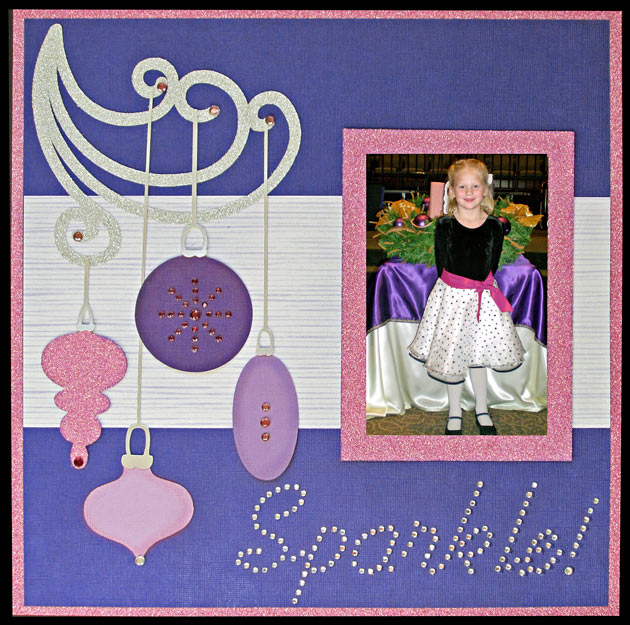
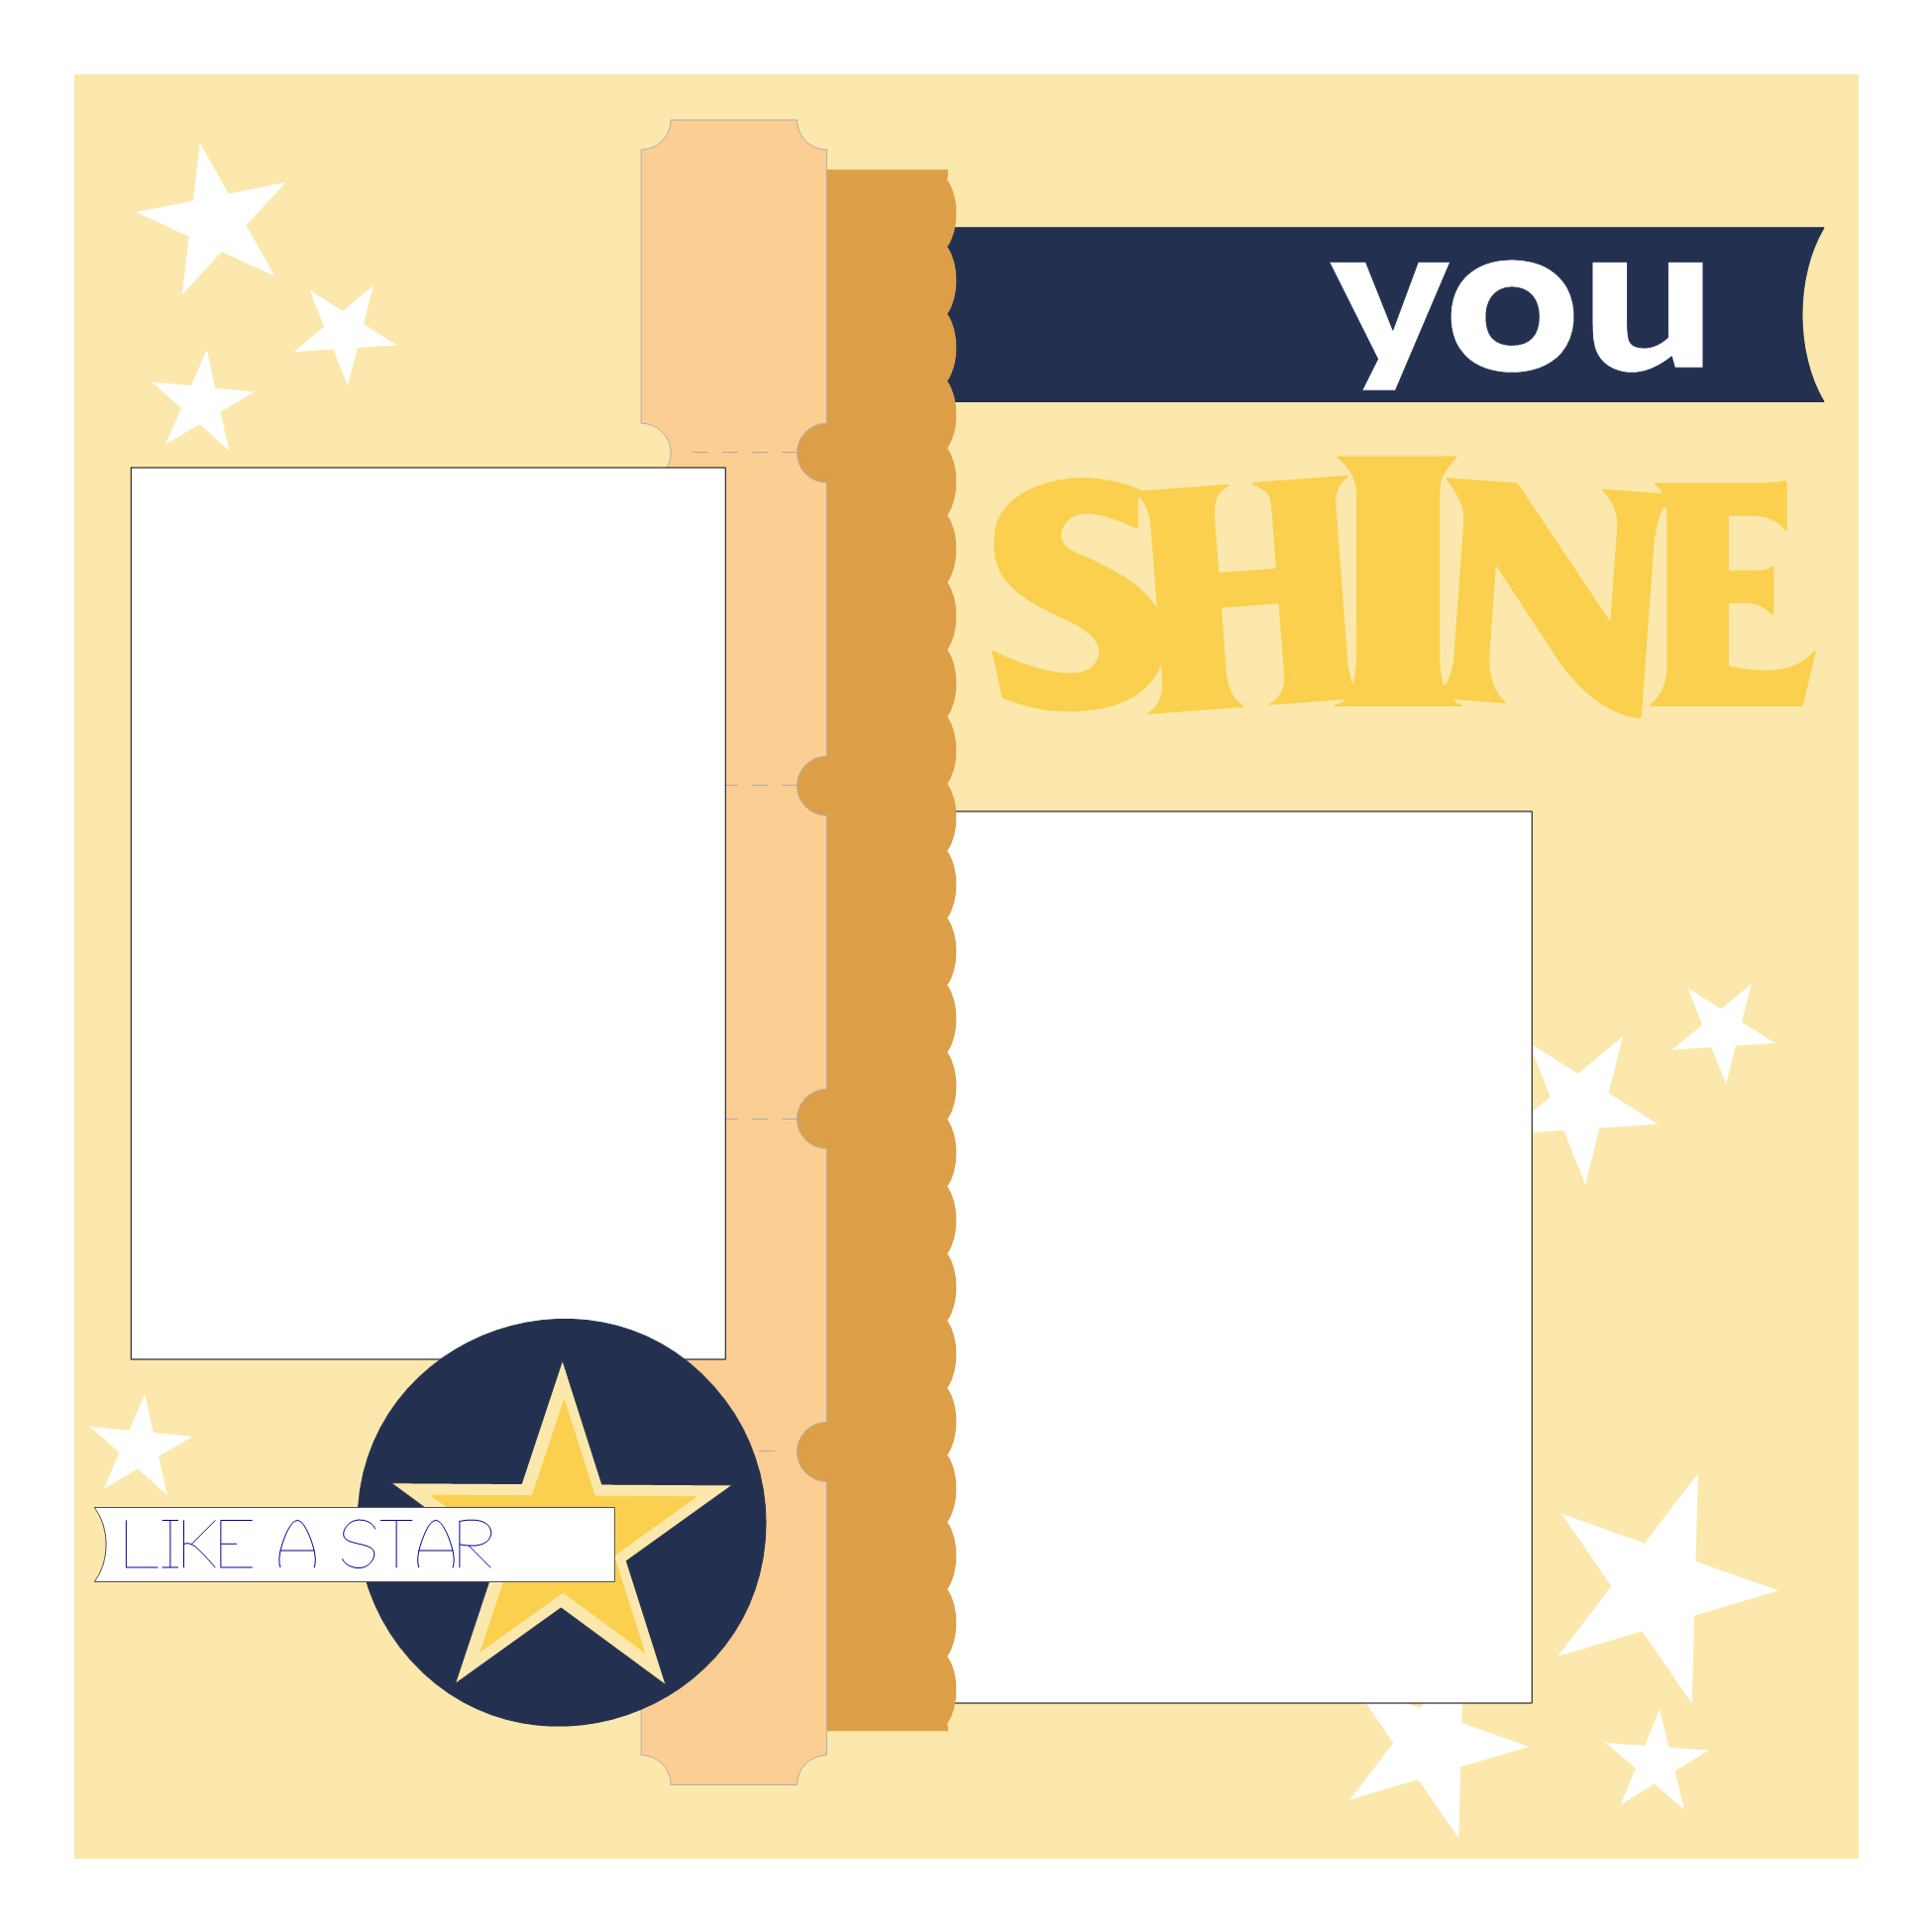
Today I want to share a scrapbook page I designed for a Scrapbooking.com article. It is full of sparkle and shine. Be sure to download the cutting files and instructions below. I also want to share some tips and tricks to make your glitter and rhinestone project even quicker and easier.
I had ever so much fun doing this project, I hope you enjoy it too!
Chris
GLITTER CARDSTOCK
- I used glitter cardstock from Best Creations. It has very little glitter residue and cuts beautifully.
- I have found that you can keep the glitter build up on your blade to a minimum if you use Cutter Glide. Cutter Glide is a great product that you brush on the blade. It extends the life of your blade and makes cutting easier. I recommend using it for all of your cutting.
- If cutting a lot of glitter cardstock, you should frequently remove your blade from the blade holder and wipe off the glitter residue.
- It is best to use a lower pressure and cut twice.

RHINESTONES
- Use the Pazzles Rhinestones!! Amanda did a great job of researching rhinestones to find the best available. I tried using a cheaper brand and was so disappointed. (With the cheap ones, the glue backing fell off making the rhinestone useless. The rhinestones were not a consistent size so getting them into the holes of the template was difficult. The adhesive is yellow so if it spreads beyond the rhinestone it looks ugly.)
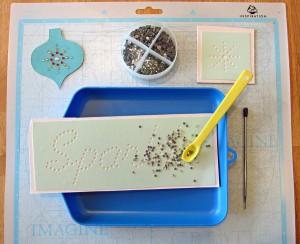
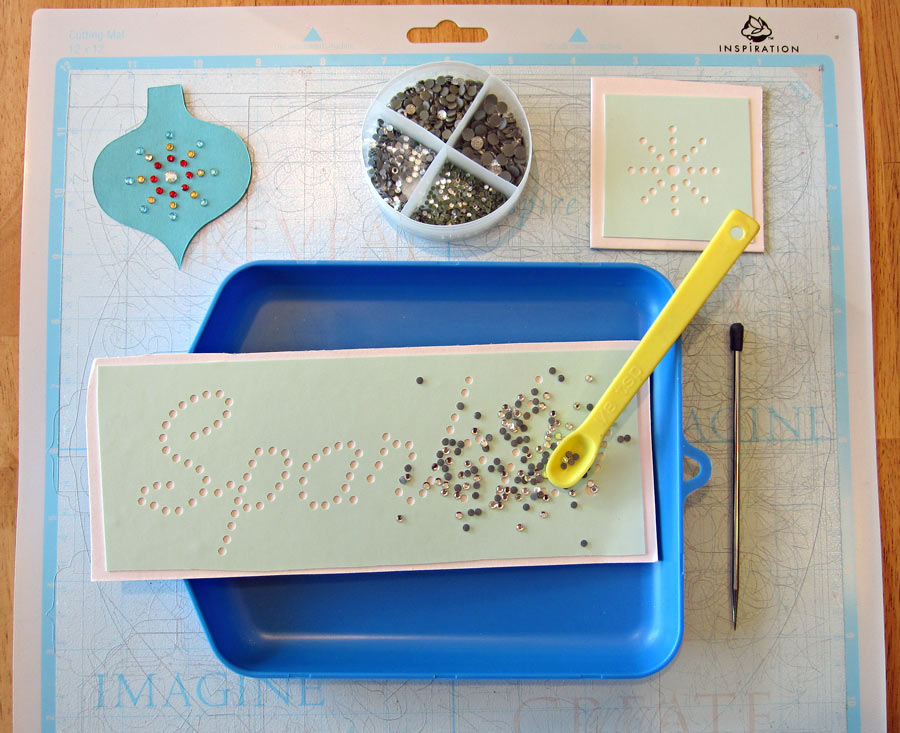
- I work over an old Pazzles cutting mat. If you happen to spill the rhinestones, they won’t bounce all over but will stick to the mat. (I found this out by a happy accident!! )
- If you need a lot of rhinestones for a large project, use a small measuring spoon to scoop them out of the container.
- Purchase a ‘pick up’ tool. They are for stickers, small pieces of paper and paper piecing. The one I have has a blue sticky end and a pointed end. I use the sticky end to pick up a single rhinestone to place it where needed. I use the pointed end to turn over upside down rhinestones or to move a rhinestone out of its hole.
- If ironing on to paper, you should shorten the amount of time you iron. I find that 20-25 seconds usually is enough.
- Set the iron down and take your hand off! You may not realize it but you hand will move and might cause glue to smear or move a rhinestone out of place. When finished heating lift the iron straight up.
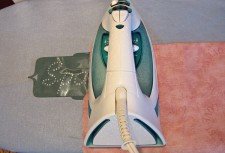
- Wait for the press cloth and plastic to cool completely before touching or trying to lift the transfer tape off.
- If you have a large project like the word Sparkle. Iron it in two parts. Then carefully lift the transfer tape. Make sure all the rhinestones are glued and spot iron any that did not get enough heat.
- You can use a glue like Tombow Mono adhesive to glue down single rhinestones. The ‘pick up’ tool is really helpful for this.

To download the Sparkle and Shine instruction pdf click here
To download the Sparkle and Shine cutting file click here

Chris , this is beautiful. I love all the glitter and sparkle. Especially the ornaments.