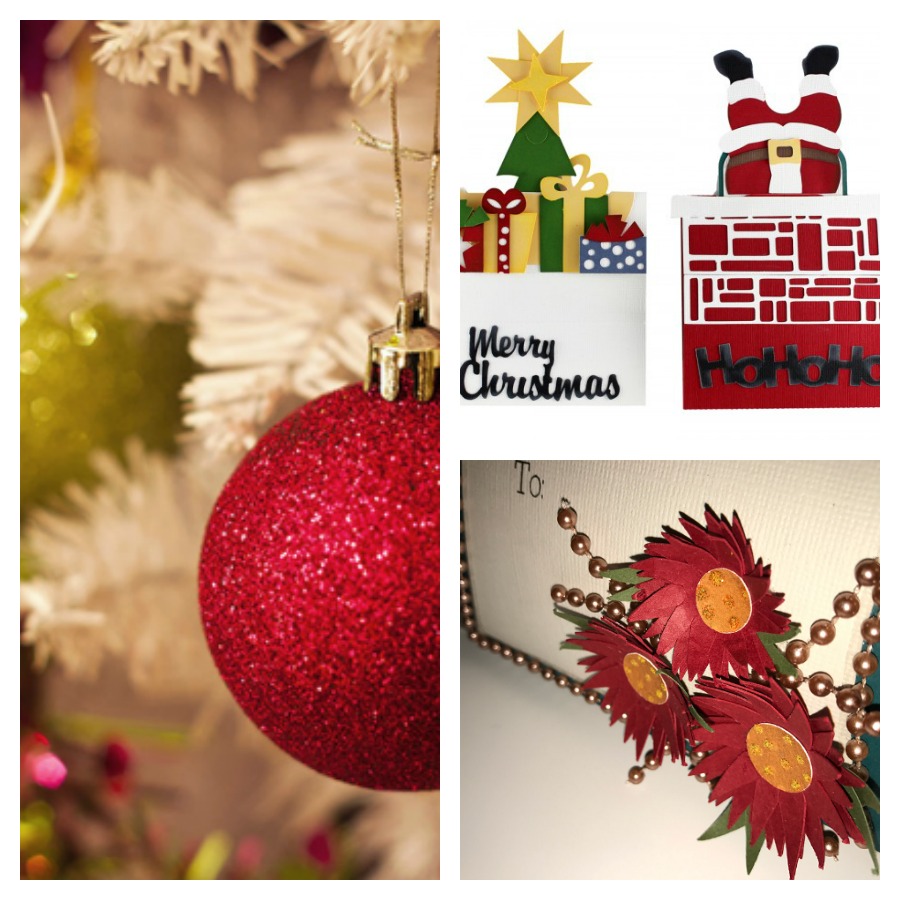
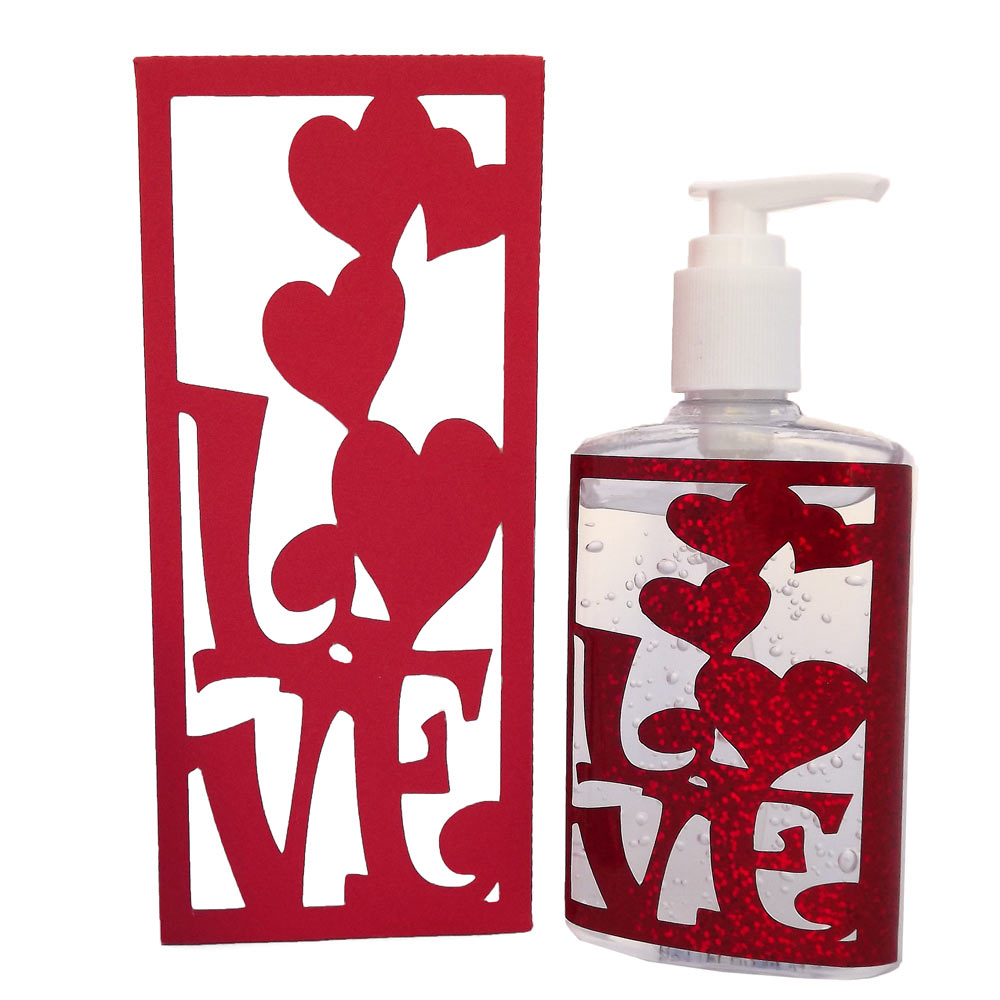
 It never fails. No matter how hard I try and how many lists I make, I always end up needing a last minute gift or two. Fortunately, I have the tools to make great gifts right here in my home. I have my computer and printer and I have plenty of paper to choose from due to my paper addiction. Plus, I have the ultimate crafting tool: my cutter.
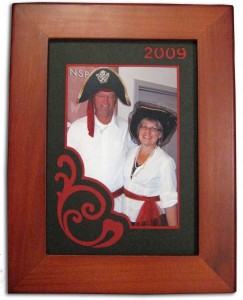
One of the most appreciated gifts is a nice photo in a frame. If that photo and frame has a customized mat, the gift becomes one to treasure. Throughout the year, I try to keep my eye out for sales on frames. I like to to keep a few on hand so I don’t have to go shopping for one at the last minute.
Making a customized mat is not difficult and you can have a great gift in less than an hour. Start by choosing your frame because that will dictate the size of your photo. Next, you will need to decide how large your photo will be. You need to leave some space for the photo mat so keep that in mind when choosing your photo size. Generally, if you start with a 5 X 7” frame opening, your photo will need to be about 4 x 6”.
You can add embellishments to your photo mat to make it unique. The Subtract Weld technique is perfect for this project. Perhaps you want to add a special name or date as well. A classy touch is to add a second layer under the main mat for contrast. Using the Inline/Outline function will help you accomplish this.
I have created a project video to show you how to make photo mats. You can watch it below or visit the video library under Building On the Basics.
Take me to Building on The Basics
A Craft Room Membership is required to access additional content. Please Join Now or Login! A framed photo is the perfect gift for anyone. Adding a customized photo mat to the frame will make it a gift to treasure. This video will walk you through the steps of making a custom mat for any photo and frame. Learn what measurements you need, how to create the photo mat plus an under mat. Then find the tricks to adding special embellishments to the mat. You will learn how to center the openings and use subtract weld to make the embellishment design really stand out.


I really enjoyed viewing the video. I’ll be quite happy when I learn this process. I always buy lots of frames (to decorate) to have on hand for my family and gifts for others, so this extra touch will take my craft to another level.
Thank you,
Cyndi
Chris,
Thanks so much for the video. I have made these before, but you have really simplified it. I always tend to complicate things. I can’t wait to try it your way!
Vicki