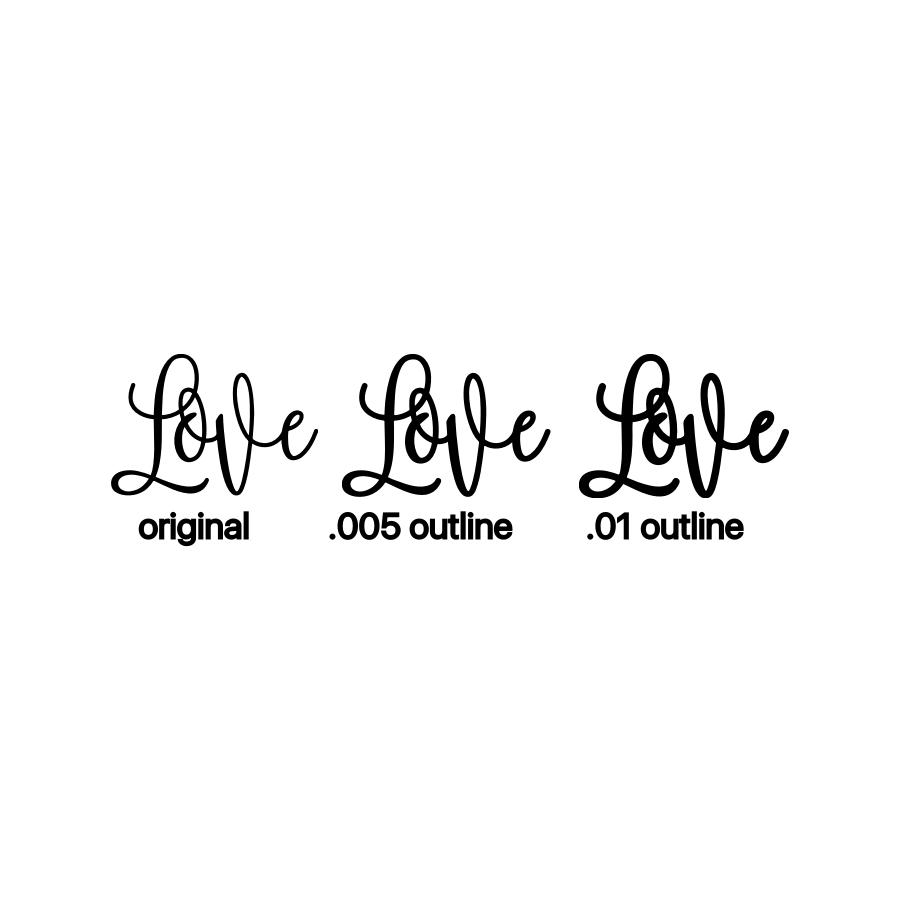
 I’m back after taking a week off. My newest little grandson, Dustin, decided to surprise us all by arriving 3 weeks early! I have been busy taking care of my 4 other grandkids and helping my daughter catch up on her work. I have to say that I am exhausted and I salute all of you Moms out there! I had forgotten how much work 4 kids can be. To make it up to you I have added another video on making peaked scalloped frames and bord
 ers.
ers.
This week I wanted to give you some great tips on positioning your scraps so that you can easily cut out several pieces at one time. There is no need for a gimmicky laser light to find the edges of the paper. The method I am showing you today is just as fast and easy too.
As I am working, I have one big bin that I place my scraps into. When I have a chance or when the bin is too full, I sort my scraps into colors and store them in separate containers. When I start a new project, I decide on my color theme, look for a base or background paper and then go to my scraps. Sometimes I don’t find anything but usually I can find a piece or two that will work. I love it when I can cut virtually everything from scraps but that does mean a lot of small pieces of paper to cut.
If I only have one or two pieces, I can cut them one at a time by placing the scrap in the top, right corner of the mat. I make note of the ruler lines on the mat so I know where to position my image. However, when I want to cut many different colors of paper, I prefer to cut them all out at one time. That is when I use Line Guides. This saves a lot of time that would otherwise be spent loading and unloading the mat.
I make sure that I trim the edges of the paper so that they are somewhat straight and then try to have as many edges of the scraps next to each other as possible. That means that I will need to create fewer line guides since the pieces are aligned along the same ruler lines on the mat. In the software, I create corresponding line guides to represent the different scraps and then position my images. With this method I rarely make a mistake in positioning.
A Craft Room Membership is required to access additional content. Please Join Now or Login! Saving scraps is second nature to most of us. This video will show you how to use the Line Guide feature in the software to quickly and accurately position images to be cut from scraps. Learn how to place the scraps on the mat for fast image placement and cutting. You will also learn how to read the ruler marks on the mat and how they correspond to the rulers lines in the software. Finally, learn how to use the line guides to position the images so that there are no errors and incomplete cuts of your scraps.
congrats on the addition to the family!
Great Video on using the x and y lines.
Your baby is adorable. Are you as taken aback as I am when you are around an infant with their tiny little fingers and toes?! I always forget how tiny they can be until I run into a little one! How sweet. I’ll bet that you are one proud grandma! Congratulations!
Congratulations! he is precious.Dana
Thanks everyone! Yes, I am very proud and feel so blessed. Dustin is our 11th grandchild and every one is a gift from God.
Oh…and that means Amanda is a new Auntie and Jeremy is a new Uncle too! So congratulations all around!!
Congratulations on your newest grandbaby! He is precious!!! And thank you for the great tutorial on the line guides. I have a good idea how to use them now! Appreciate it!
I too have loads of scraps – my next job is to sort them into colours and follow your lead – I have only had my machine for 2 weeks and am addicted to it – all your videos are just so very helpful, thank you very much indeed. Congratulations on the latest member of your family.
Thanks again for the video tutorials. I always learn something new from them.
That is awesome. I wondered about those lines. I have placed them on my workspace by accident and didn’t know how to get rid of them. Now I know what there for and how to use them to use my scraps effectivly. Congrats on the new grandbaby.
This is fabulous! I have a Pazzles Mini with Letter 2007 software and I didn’t think I could do this…but, lo and behold, I have line guides in my software, too! Yeah! So I will be using this technique a lot! Thanks so much. Jayne
Thank you so much for this great trick. I have a cricket and I’m so used to having the numbered grid on my software. I just got my pazzles two days ago and I’m in Heaven. I think the only thing they could improve on is the mat in the software; otherwise this machine is the ultimate.
Congratulations on your adorable grand babby.
Keep up the great videos.
Nat