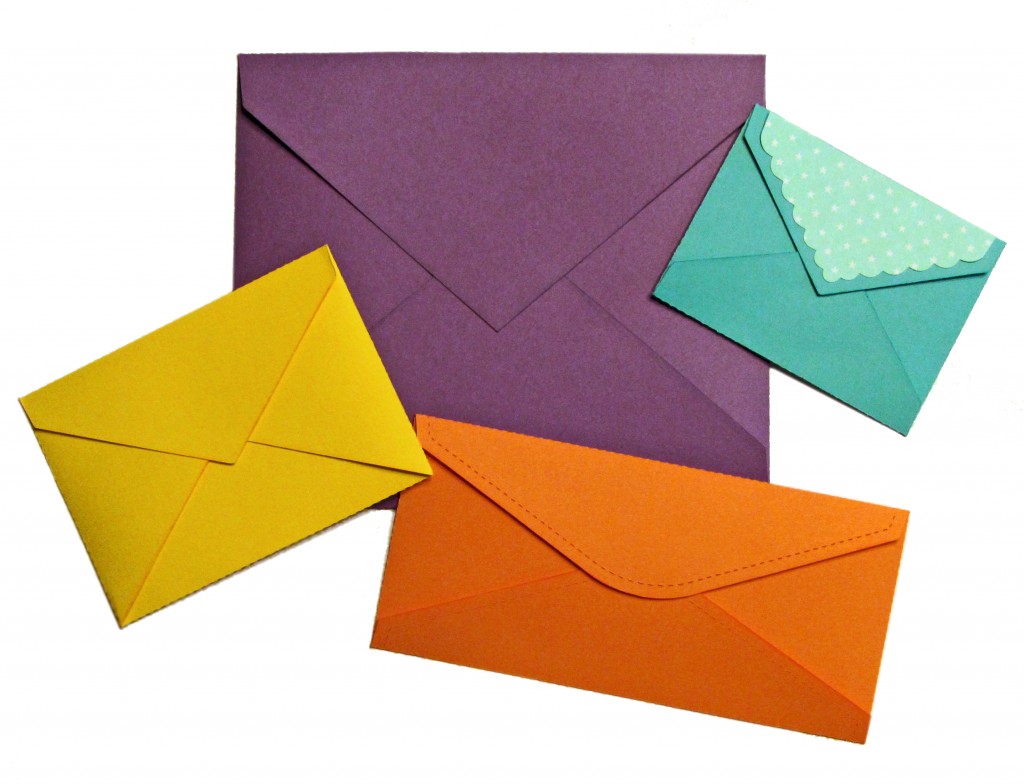
 Have you ever been in this spot? You have spent a lot of time making a beautiful card for someone special. It is all finished, you’ve spent some time admiring it and now it is time to slip it into an envelope and send it on its way. But what envelope? You don’t really want to use a plain white envelope even if you have one that fits, do you? Why have a ordinary envelope for an extraordinary card?
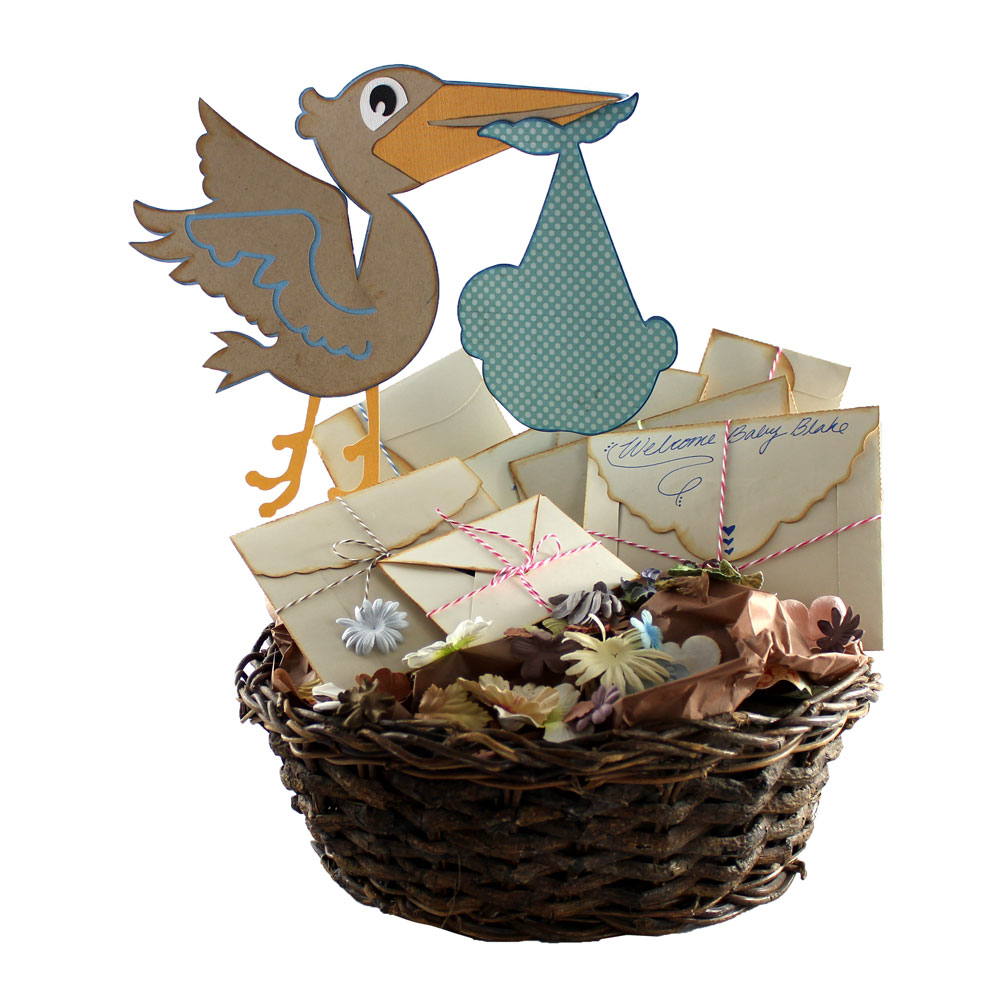
You can make envelopes to fit any size card using your Inspiration Studio software. Once you have the basics down, you will be able to make variations of the envelope. You can add scalloped edges to the flap, cut out a window in the envelope front, add stitch marking or pen lines.
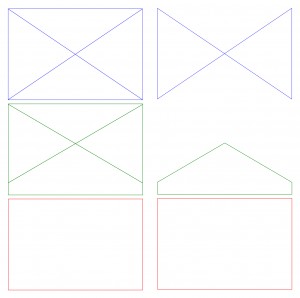 To make a basic envelope you start with 3 rectangles that are a bit bigger than your card. Cut some of the rectangles into triangles, join the parts together and voila! You have a custom made envelope to match your custom made card.
Watch my tutorial by clicking below and soon you will have created your own collection of envelopes that are as special as the cards that go in them!
Chris


Great tutorial…thanks!
This is just what I was looking for … you must’ve read my mind.
You make everything so easy! Thanks!
The best way yet for me! Each time I watch a video
I learn something I can use and apply designing other items. Thank you for making this so fun.
Fantastic video Christine. I learnt so much watching it. What is great is that I can make any size envelope I want to on my Pazzles. It would be great for scrapbooking with lots of hidden journalling in the envies!!
What a great video with simple instructions
Christine, the envelope with the scalloped overlay, is the overlay only on the back flap???Does it look strange to have the printed paper only on the top flap? Just curious. I really like the look, I’m just not sure what the front side looks like on that one. I made one right along with you and it turned out great. Thanks for a terrific and timely tutorial – I just ran out of envelopes for my handmade cards!!
Chris, thank you, you answered several questions for me. I would like to share with you that rather than doing a kiss-cut on the envelope to do a regular cut with a 1 depth. I have found that it works more like a score line, then when folding it gives it a beautiful finished edge, and there is no fear of it tearing on the perforation. With the PO the way it is these days, with all the automation, a person needs to have some caution when sending things in the mail so that they don’t get torn in the process. Nothing is disappointing to send something and then find out it caught on a machine and got mangled. I have learned this from experience and just wanted to share. Now if I could just find some solid heavy weight, not cardstock paper, to use for making envelopes i would be a very happy camper. Anyone know where to get it?
Patti, I would put a scalloped rectangle on the front of the card and use an address label if needed.
Gloria,
Thanks for the suggestion about scoring the fold lines rather than using the kiss cut. I agree that extra care is needed if the envelope will go through the postal service. 🙂
I can’t get this video to rum for me. Checked some other videos on here and they run just fine. Just can’t view this one. 🙁
Let the video load before trying to watch it. It could be that there is a lot of Internet activity or that there was some maintenance being done on the site. You could also try watching one of the other versions, either low res or I Phone.
It’s not loading for me either, it just isn’t doing anything.
*********Tips for watching the video if you have slow internet**********
I have really s-l-o-w internet at home since I am rural and use a satellite version of internet. I always choose the low-res or the I Phone version.
It usually takes at least 30 seconds for anything to happen. When the window first pops up it is usually white but if I wait a bit the screen goes black and the Pazzles movie with a play button in the center shows up.
I click on the play button- if nothing happens- I wait for the movie to load for several minutes.
Then I click on the pause button (two bars) and click again to get the arrow button. The movie usually starts playing. If it stops, I click on the pause button, wait a bit and click again for play.
You can usually see the movie load progress on the bar next to the play button. I like to wait until it is at least 1/2 to 2/3 across the bar before I click play.
Hope This Helps!!
************************************************