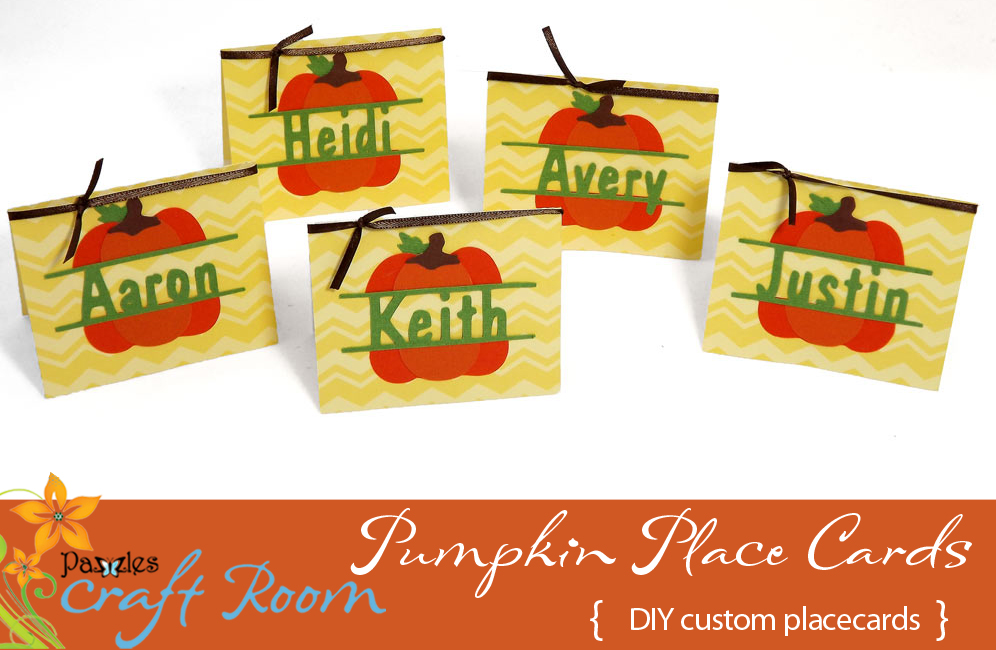
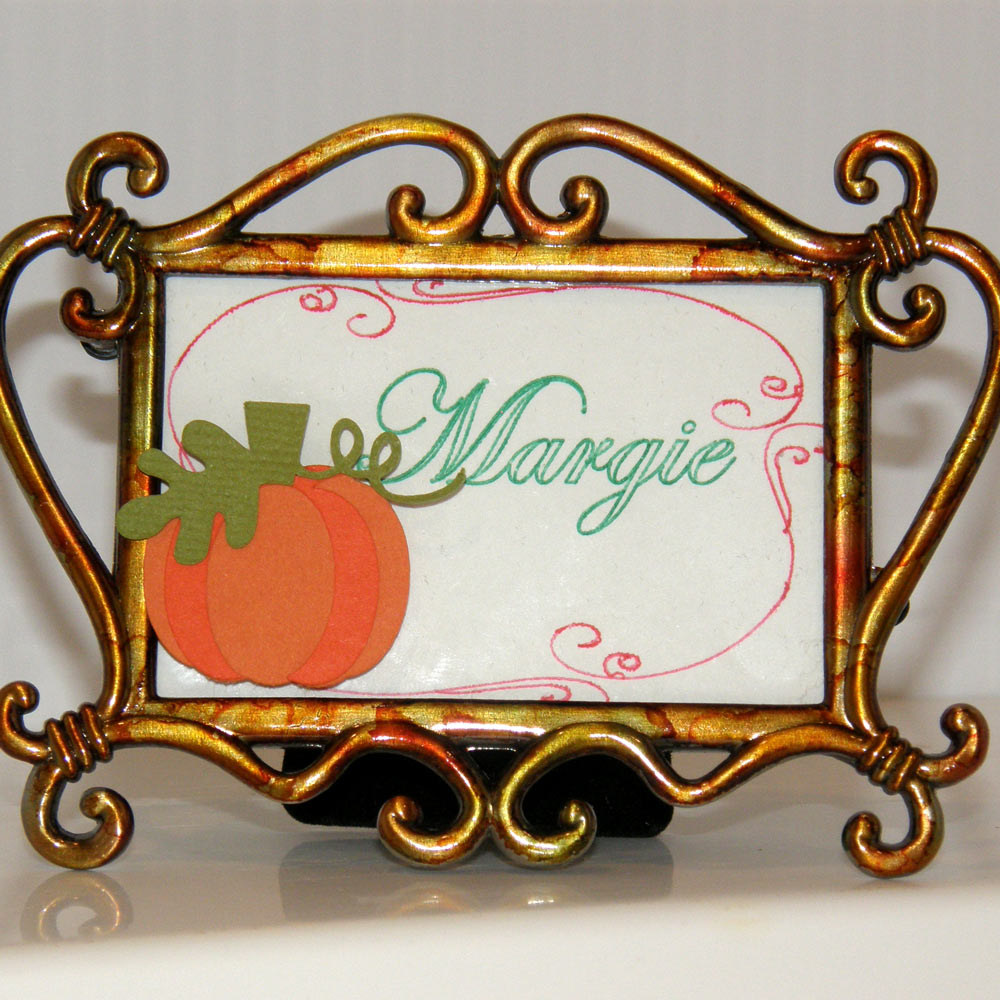
I’m betting you are as busy as I am during the holidays, preparing all the delicious food and stealing a nibble here and there. If you are like me, you want everything to be perfect and that includes your table. The little details can really make your table beautiful. The Thanksgiving place cards I created go together in a snap and will greet your guests and hopefully make them smile.
The name of the font I used is “Informal”. Once your font is chosen, size it between the bars so your name overlaps the bars. If your name has a lower case i or j in it, make sure the dot on the letter overlaps the bottom of the top bar. It really helps if you do this while in wireframe. At least one letter should overlap the top and bottom bar at the same time (usually the first letter is uppercase so it naturally does this). The rest of the letters should overlap either the top, bottom, or both bars. Once all the letters are overlapping at least one bar, select both bars and the name and go to your justification tool and center the name and the bars. You can see how to do this by watching the Perfectly Centered Video. Once the bars and the name are centered, weld them together. Repeat this process for each name. Once you have all your names welded, you can cut them all out at once on one page.
*HINT: Since I used the same color of paper for my names and leaves I added the leaves onto my name cutting page. I was able to get all my names and leaves onto one page.
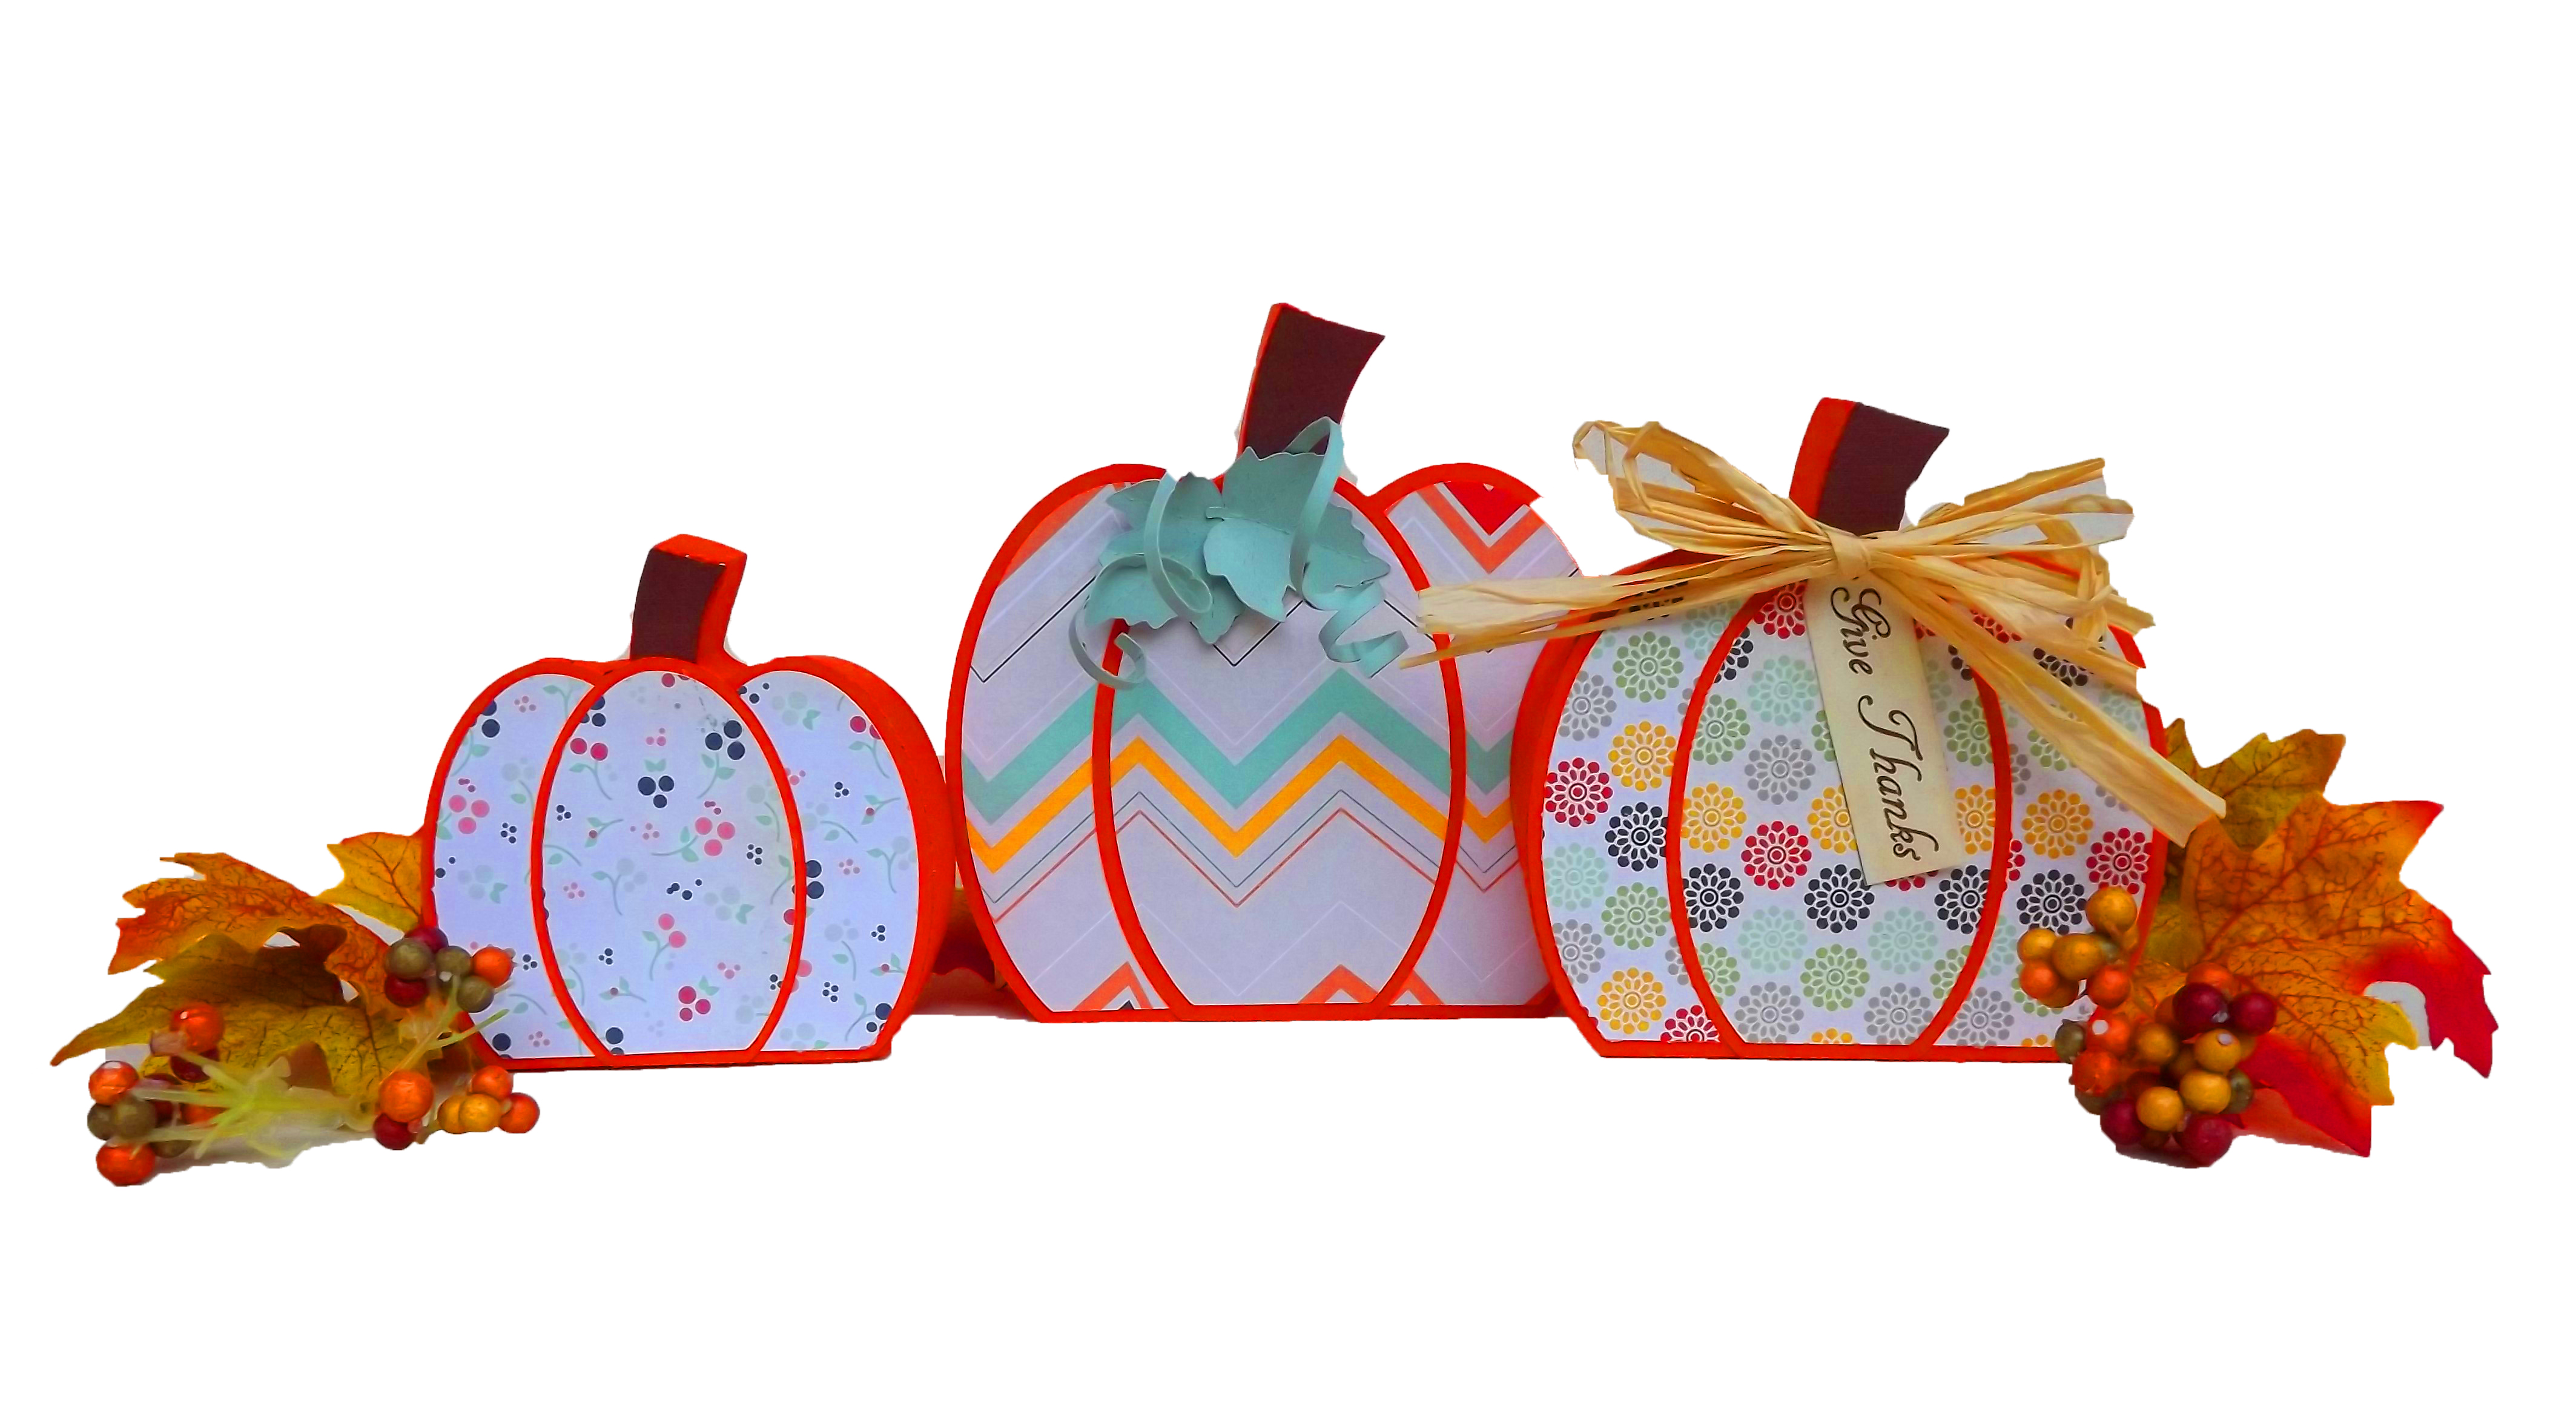
Separate the pumpkin pieces and cut accordingly.
This doesn’t take long as there are only 4 colors in the entire file and you can put all the same colored pieces on the same page and cut them at once. You can see how to easily do this by watching the Production Cutting Video.
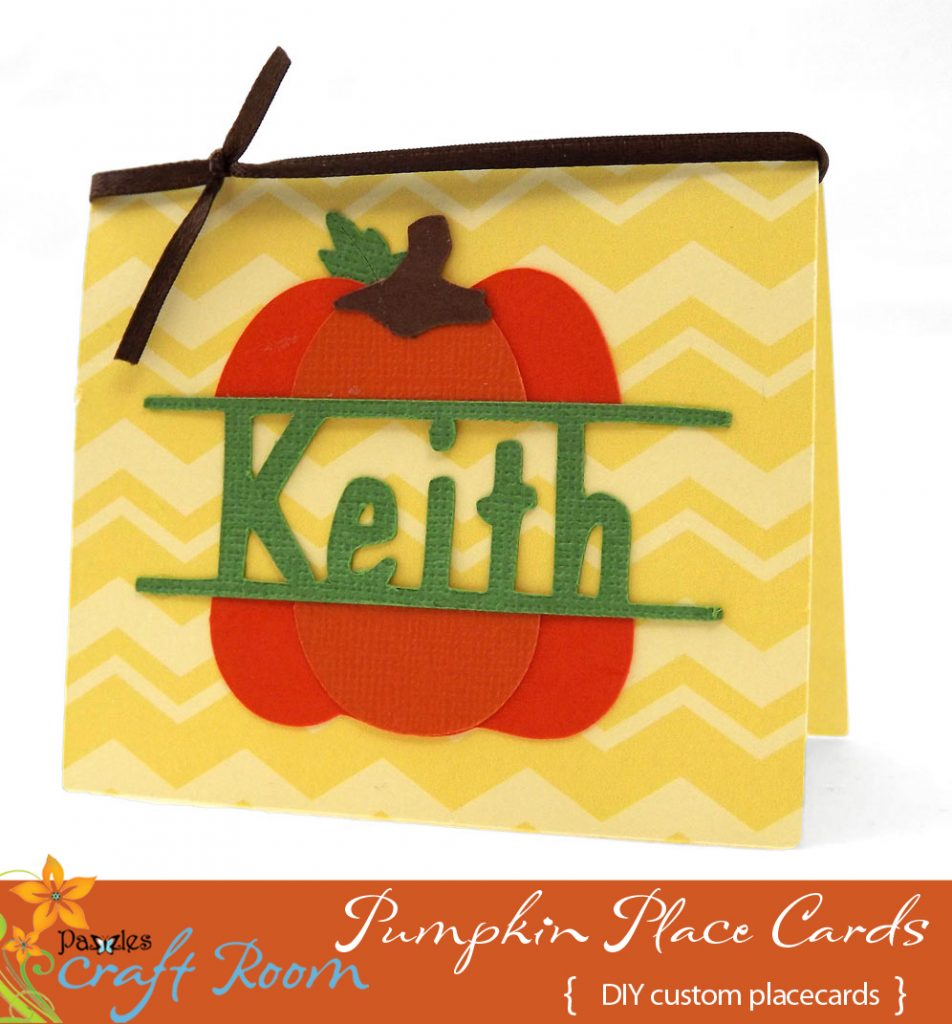
I used the Chevron Paper Lace 8 1/2×11 cutting file to print the background on my table card.
I opened the Chevron file, ungrouped it and removed the background which removes the solid edge lines. I used a light yellow color as I was printing on a cream colored cardstock and wanted more of a “watermark” type of print. You can go bold and make it a darker color if you like. I printed out the chevron pattern on an 8 1/2 x 11 piece of cream colored cardstock then used my new printed paper to cut my cards out. Size the place card so the pumpkin file, including the name and bars fit inside the card base. My card base dimensions are 3.5 x 3. The dimensions of my pumpkin, including the bars and name space is about 3 x 2.5. I tied a coordinating piece of ribbon at the top to give the Thanksgiving place card some dimension.
The Kids Table
Do you remember the kid’s table? I loved having fun with 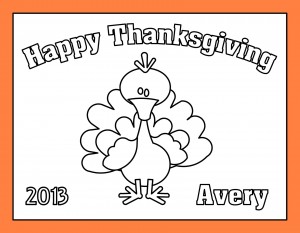 all the other kids but sometimes it got boring waiting for the turkey to get done. Well, this year can be different for your pint sized guests! Did you know you can make custom coloring pages using your Pazzles Inspiration! It’s very easy. All you do is choose the file(s) you want on your coloring page and open them. Select the entire cutting file and change the outline color to black and the fill color to white. Using the Pen style tool change the line size from 0.003 to 0.050. If you add their name to the coloring page it becomes their place card. I plan on putting a handful of crayons in a small terracotta planter in the center of the table.
Supplies:
Recollections Cardstock
Printer
Brown Ribbon
Become a Member!
By becoming a subscriber to Pazzles Craft Room you will have access to this project as well as hundreds of other projects, thousands of cutting files, and so much more!Get Pazzles Craft Room!
Join Now for only $19.95!
Buy Now!
Purchase this project now and get it in SVG, WPC, and AI formats.
Super good project Heidi. Very festive – great for the holidays!
Heidi, I love these Split Letter place cards. I think they will be a treasured gift by everyone and I adore the way you have personalised them.
Your table will indeed be perfect! Love your place card holders. I have yet to try the “split monogram” technique. Your cards have inspired me to do so!!! I also love the coloring page place mats you created! Terrific Ideas! Fantastic job!
Heidi jus beautiful ..great idea
These are really cute Heidi! I love the colors and the festive design! Great job!