 It’s Christmas Card Week on the Pazzles Blog. Be inspired all week long by handmade Christmas cards from the Pazzles Design Team. They’ve each created a card and are sharing two different versions with you. The first version is quick and easy, perfect for making multiples of. The second card is a stepped-up version of the first and a bit more time consuming for someone special. Turn on the Christmas music and create along with us!
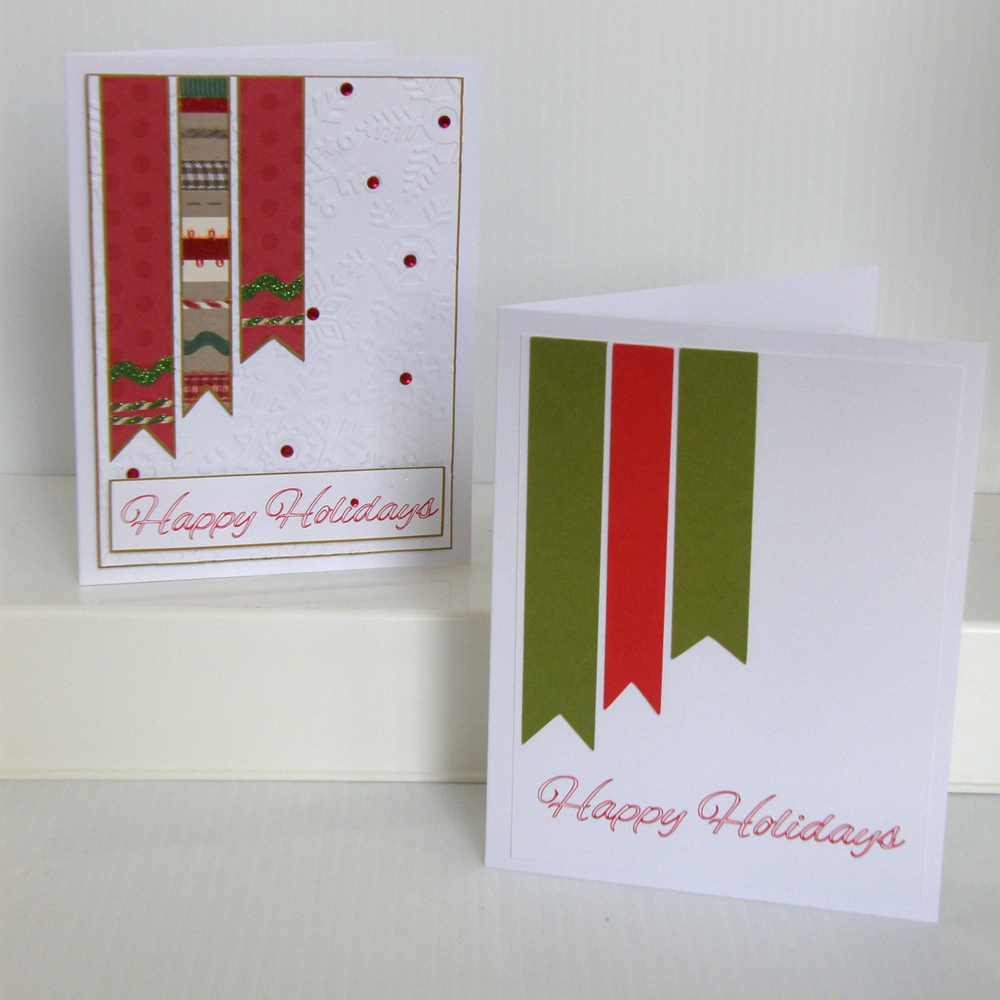
Do you have your Christmas cards done yet? I am still working on mine. Every year I try to design an easy card that I can duplicate pretty effortlessly so I can get them done on time. But then there are a few special people who mean the world to me and I want to send them a special card. Maybe something a little more creative. A card they will know I spent time on just for them! But during this time of year, who has time to design a whole different card? Not me! So instead I took my original design and vamped it up!
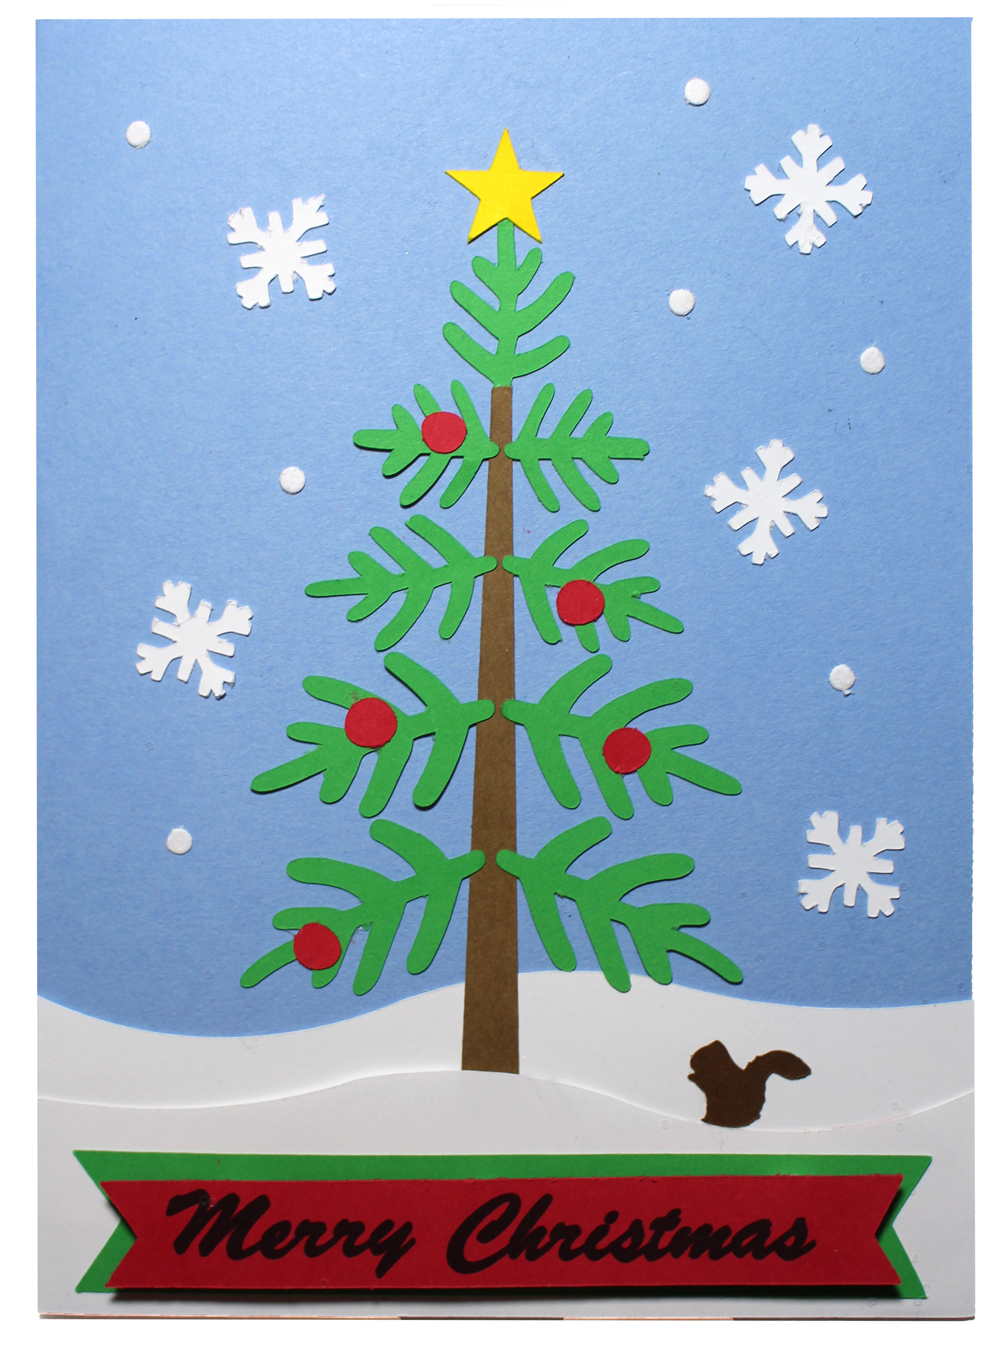
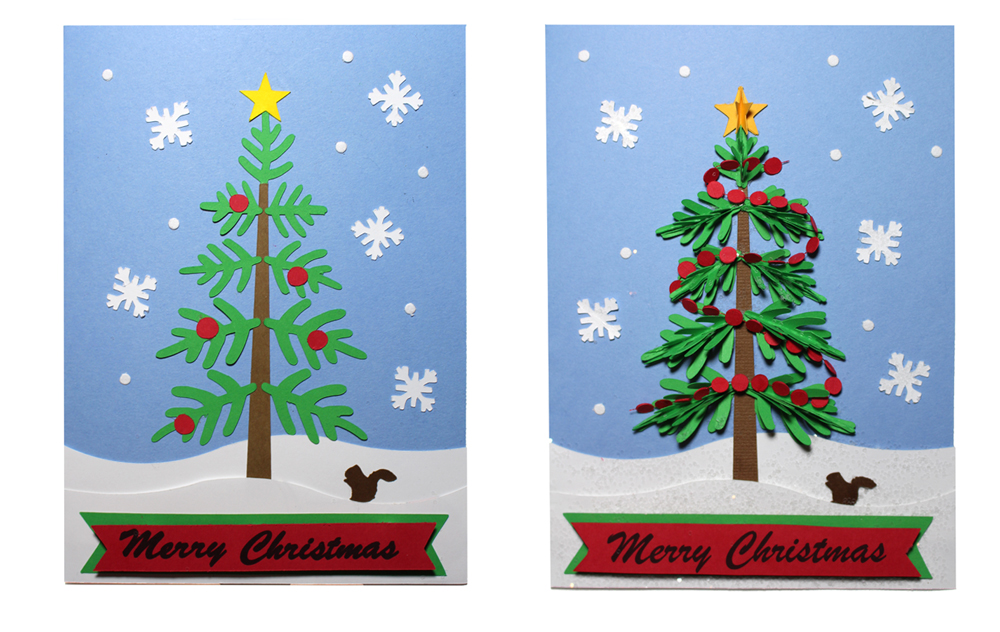
On the simpler card I used the Tree, Squirrel and Ribbon Banner files from the Craft Room. The snowflake is in the Pro 2014 software image gallery and I used the drawing tool to create the star, then I assembled them in a pretty basic design. I did use pop dots on the Merry Christmas banner to give it a little dimension and interest. I created the snowy ground by drawing a rectangle and then, using the Move Point tool, I curved the top. I duplicated and reversed it so I had two so it would look like snowy hills.
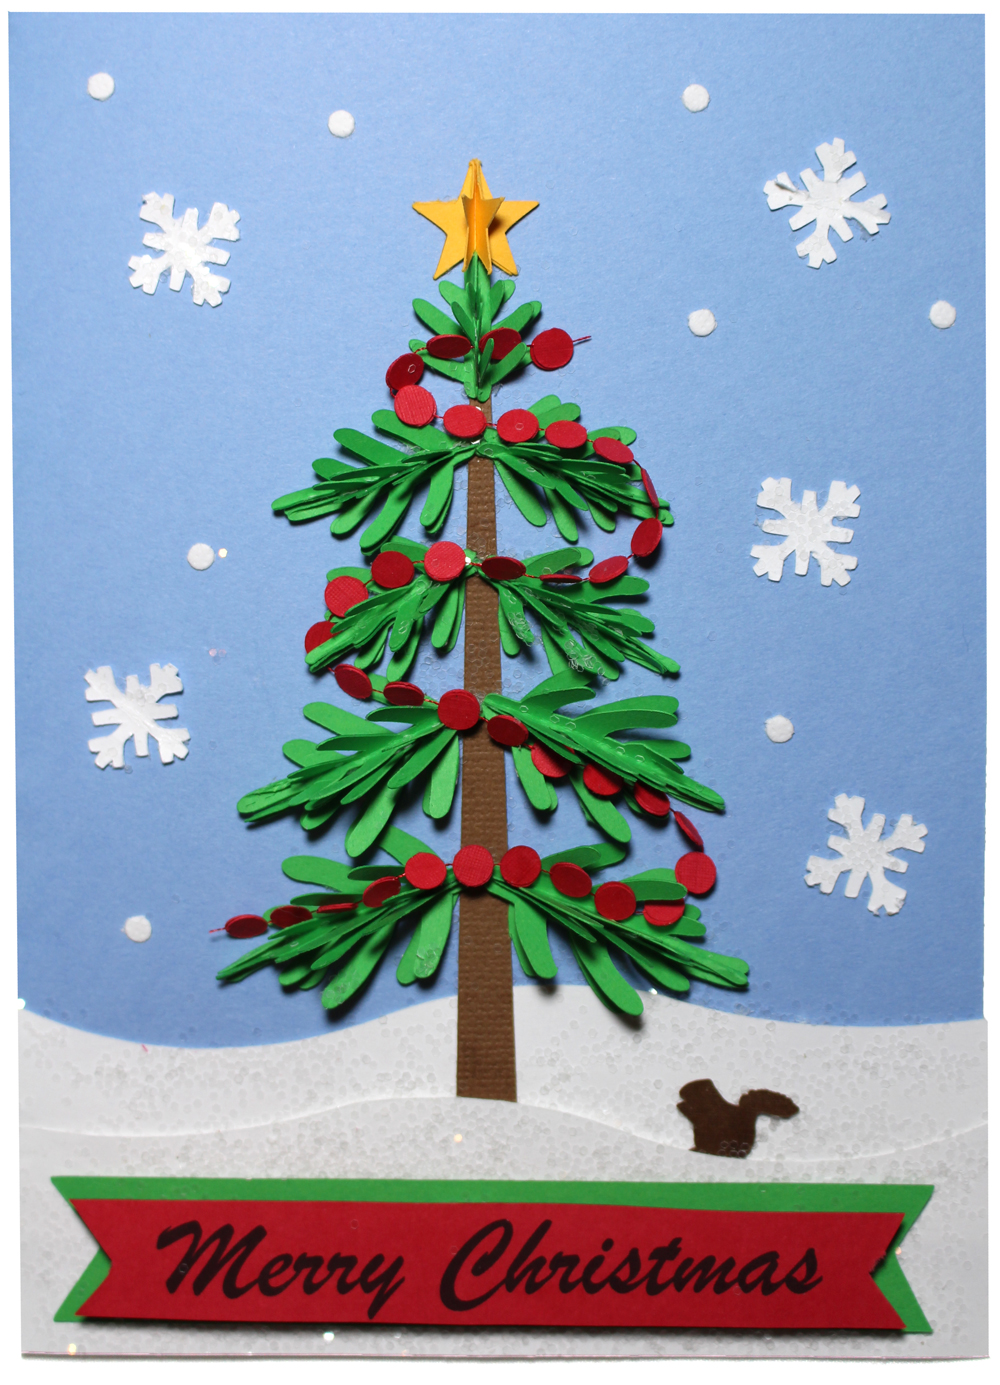
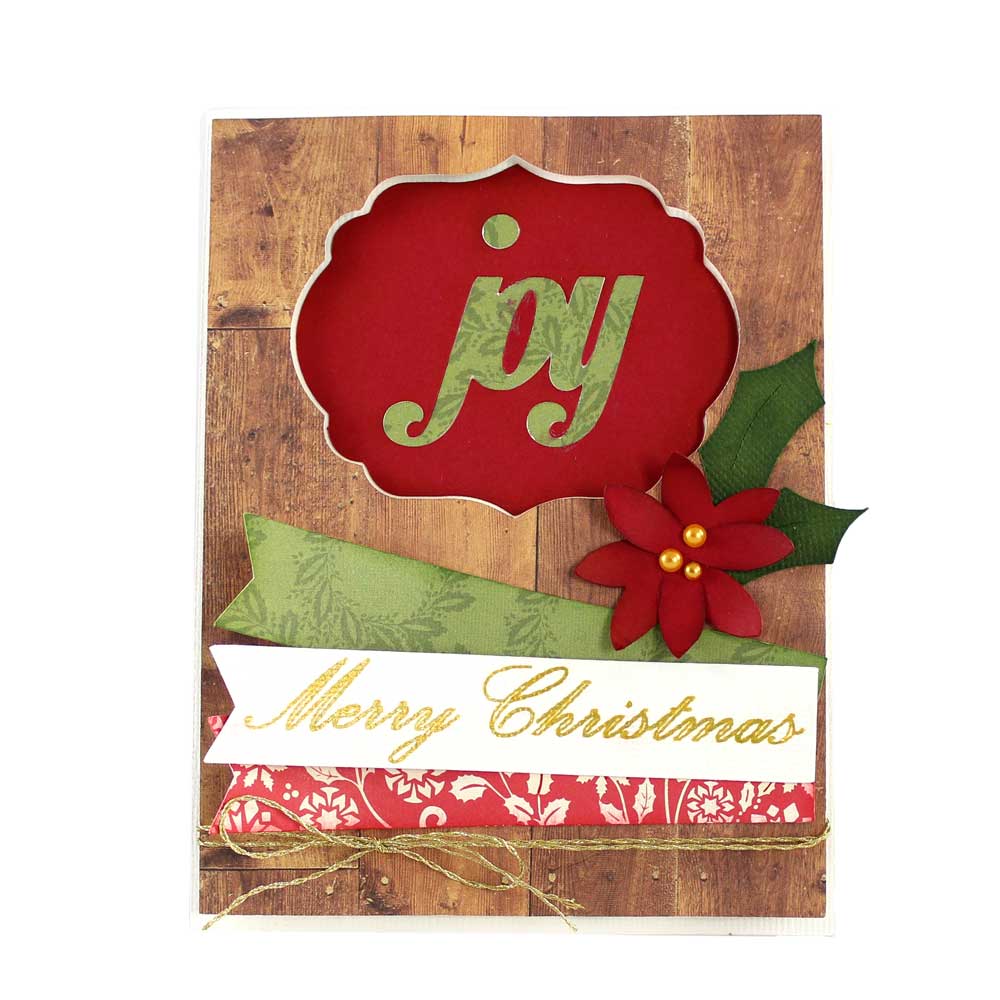
On the more intricate card, I cut the tree branches and star in triplicate then assembled the card exactly like the simpler one. To make the 3D effect on the more intricate card I folded two of the branches in half and glued them down the center of the folded edge, then glued them to the flat branch already on my card. I did the same for all the branches and the star. I also made a garland instead of just gluing single berries on the tree. I cut out a lot of red circles, then laid out a piece of red thread and then glued the red berries back to back with the thread sandwiched between them. I left about 1/8 of an inch between each berry so the garland would be flexible. I added glitter to the snowy ground and to the snowflakes. I also added some glitter to my tree so it looked like it had snowed the night before. I loved that I didn’t have to design a whole different card to make some of them a little more unique. It was fun taking a plain simple card and making it something special!
~Heidi

Supplies:

I am loving all the cards this week. The little squirrel makes me so happy. Great job……
Both cards are awesome! Thanks so much for the inspiration (& instruction!).
Love the second one it is so much better.
I think they are both cute. Yes, the second card has more pop. I guess it would depend on if you are mailing the card. I think you could frame the tree card!