 1Spring is on the horizon, flowers are getting ready to bloom and the sun is ready to give all its warmth to the Earth. I love this time of year and one of my favorite things are sun catchers. I have been making them in one form or another since I was a little girl.
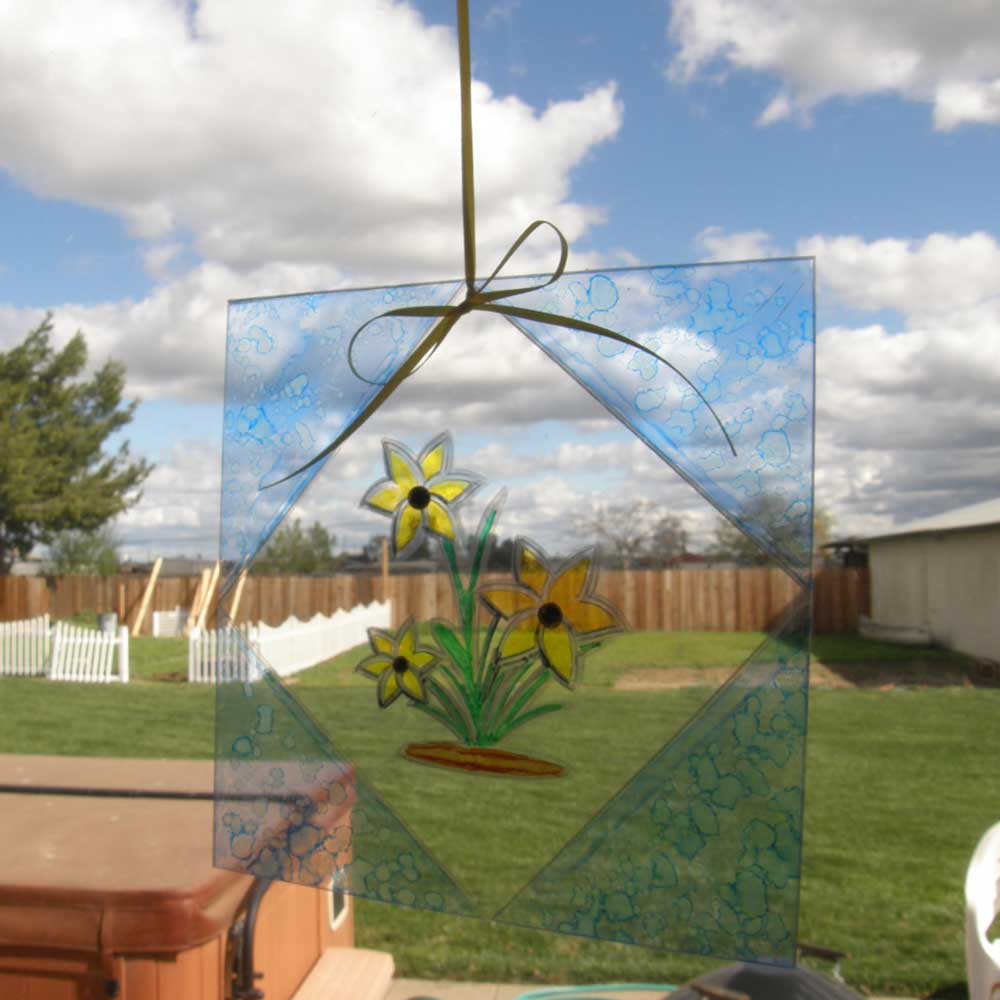
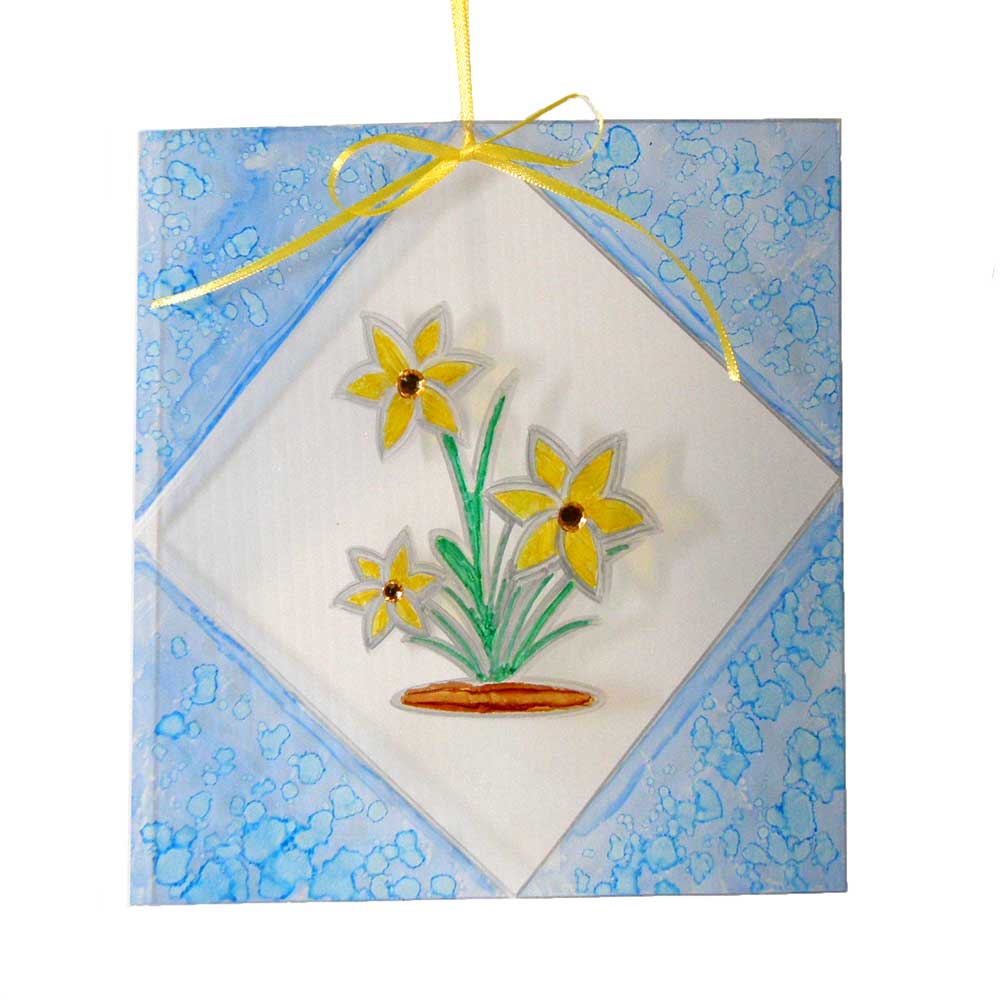
For today’s project I’m using the Pen Tool and transparency film. In my InVue software I drew two squares turning one on end inside the other to form my design. Then I imported the Daffodils file from the Craft Room and with a little finessing was able to make the file so no lines overlapped. I added it to the center of my design. Then I used a Sharpie silver marker and the Pen Tool to draw my design on a sheet of transparency. I switched the Pen Tool out for the blade housing and cut the transparency on the outer line leaving the pen line around the edge.
After I cut the design out I turned it over and used Copic markers and alcohol ink to add my colors. (It’s very important to use an alcohol based marker on the transparency.) Then to finish it off I added some bling to the flowers on both sides and a ribbon to hang it from.
~Marjorie

Supplies:
3M Write-on Transparency Film
Sharpie silver marker
Pazzles Pen Tool
Copic markers
Alcohol Ink and Applicator


This turned out super cute. I love how you did the outer edges. Good job. TFS
Is that a 12 by 12 piece of transparency? I do not understand how you got the flowers in the middle if they are cut out? Super pretty I want to try. Please more information on how it is assembled. Is it just colored? Thanks
It’s 8×8 and the flowers are drawn on then colored I only cut out the outside square.
Thank you