 Our family likes to go tent camping, so I started this project with the idea of a dome tent. I looked through the Pazzles Craft Room for a 3D project with a dome shape that I might use for the tent. I found the Hot Air Balloon Box design with a nice dome shape, so decided to use the top portion of that file for my tent. After I cut it out, my husband commented that it looked more like a Yurt. When I looked up Yurt, I learned that it is a portable, round tent, covered with skins or felt, and used as a dwelling. The structure includes latticework for walls. That gave me the idea to add a section of lattice around the walls of my design to make a Yurt. You will find the resulting Yurt file in the Pazzles Craft Room.
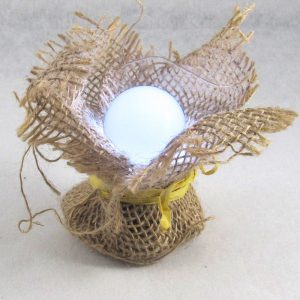
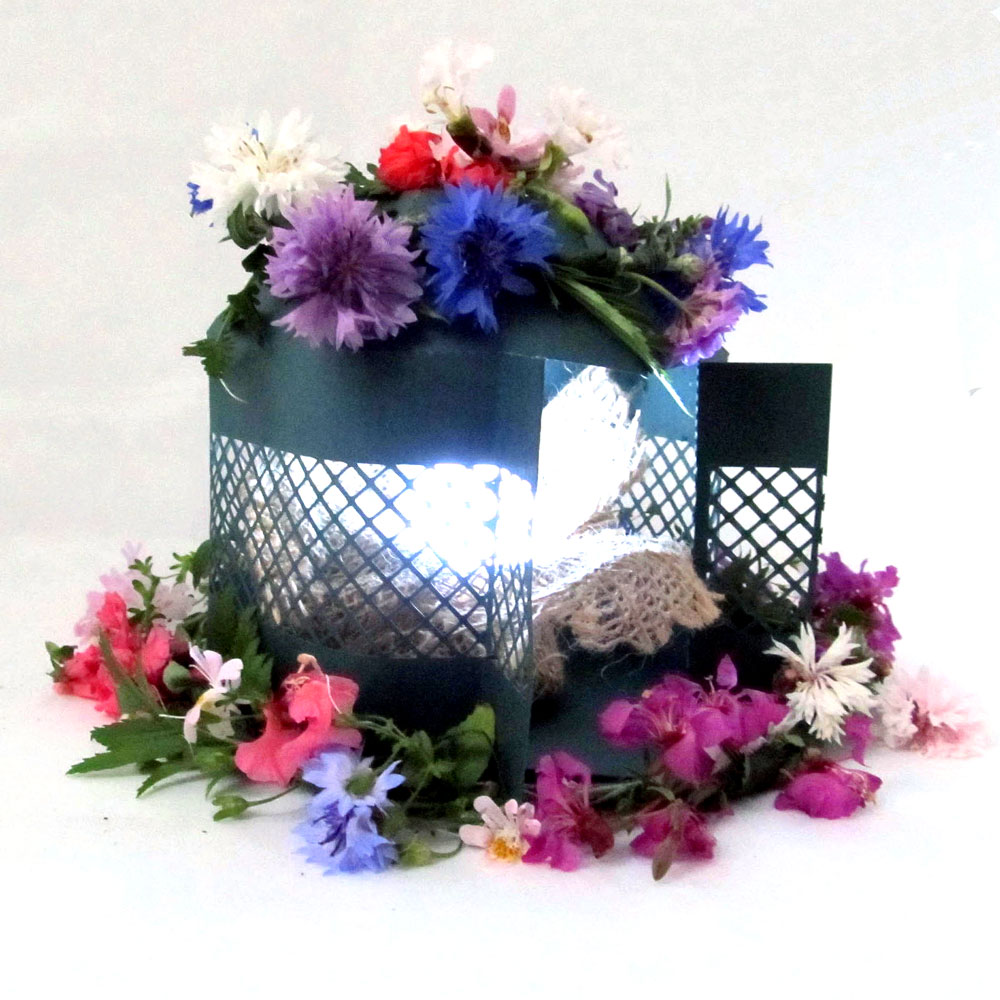
I thought I might like to make this model yurt into a lantern for decorating our table while camping, so I shopped around for a battery operated light to place inside of it. I found this Frogleggs flashlight at Lowes that works well. I wrapped it with a piece of burlap, tied it up with a piece of raffia to give it a rustic look, and placed it inside of the yurt.
To make the yurt lantern suitable for our camping table centerpiece, I made a couple of wreaths out of wildflowers growing in a planter on our deck. I took one with a very long stem, coiled it to the approximate size of the yurt base, and used green floral tape to join the ends, and to add a variety of wildflowers and leaves. I stretched and wrapped the tape around the long stem in between the flowers to make the wreath. Then I made a smaller wreath for the top of the yurt, and added some loose flowers to cover the top. This made a nice rustic and natural decoration to enhance our camping adventure.
When these flowers fade, the children may hunt for more wildflowers. Later, I will make a wreath from small silk flowers from the dollar store, and decorate this yurt lantern for use on my table at home.
This is a simple design to cut and assemble. When cutting delicate lattice designs, it is important to use good crispy paper, a sharp blade, a moderately sticky mat, and do test cuts to find the optimal pressure settings. For the yurt, I used Recollections paper. Fold all of the score lines toward the center. Glue the two large wall pieces together using the tabs, to make one large piece. I used Scotch Quick-Dry Adhesive, as it adheres well and dries quickly.
Next, glue the tabs along the roof edge to form the dome. Glue the top tabs to adhere the attached small hexagon shape to them. Bend the doors outward along the score lines. The smaller of the two hexagons goes inside of the yurt to form the floor. With all of the bottom tabs folded in towards the center of the yurt, place glue on the tops of the tabs. Place the floor piece inside of the yurt, and press down on top of thetabs. Place glue on the larger hexagon, and place it on the bottom outside of the yurt to cover the tabs.
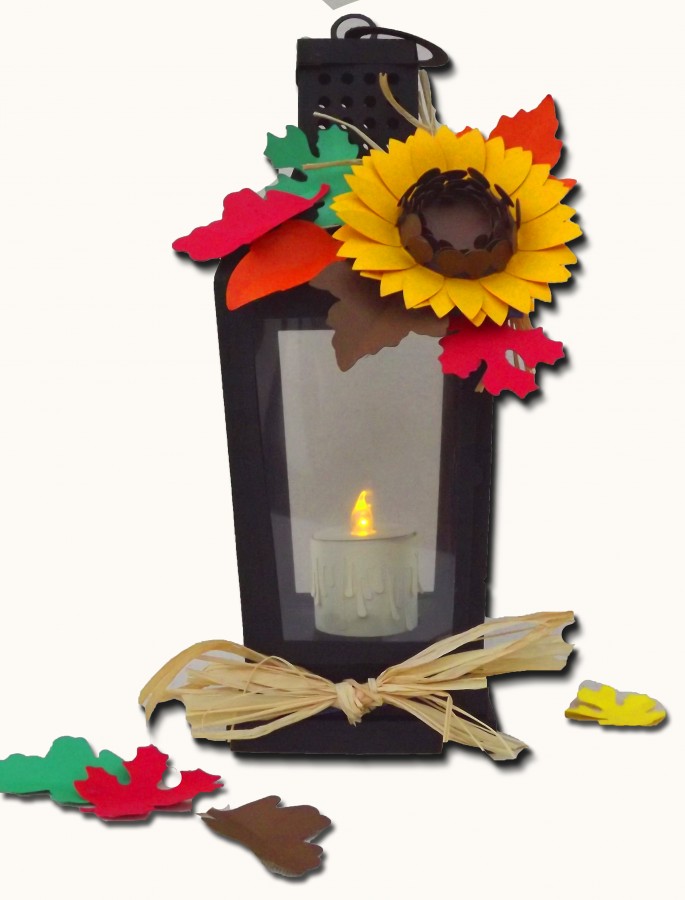
You may use a battery operated tea light, an LED candle, a Frogleggs flashlight, or even a small solar powered light inside of the yurt to make it a lantern. Add decorations to customize your yurt for any special occasion.
~Julie


Beautiful! I like your style of camping, so elegant!
Very nice Julie. So pretty.