As school is starting, it is a great time to help our students get organized with book bags and notebooks. Creating custom decorations for them using our Pazzles cutters and Duct tape adds a special touch which is simple.
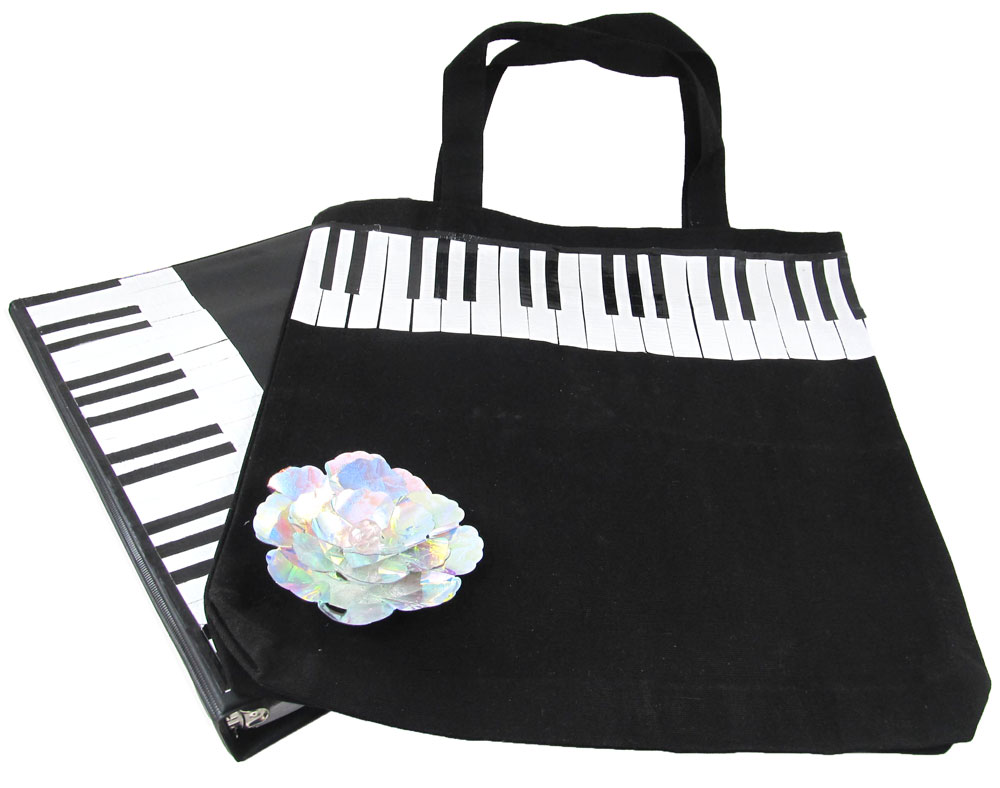
I purchased a bag to decorate from Joann.com in the 13” wide size, perfect for holding music books. Walmart had binders on sale, so I picked up a black one. The Pazzles Craft Room has so many wonderful cutting designs that could be used to decorate these item with any theme. I decided to decorate mine with a simple keyboard design.
I had white Duct tape on hand which made experimentation easy. The attached file worked well for cutting the keys from strips of Duct tape that is 1.9” wide.
A 13″ wide bag requires 20 white keys and 15 black keys. An 11.5″ tall binder requires 18 white keys and 12 black keys. The white keys are created in sets of three. For cutting, I placed the long edges of the duct tape, sticky side down, along grid lines on the mat to assure precise cutting. I love how accurately the Vue cuts according to how the lines appear on the screen!
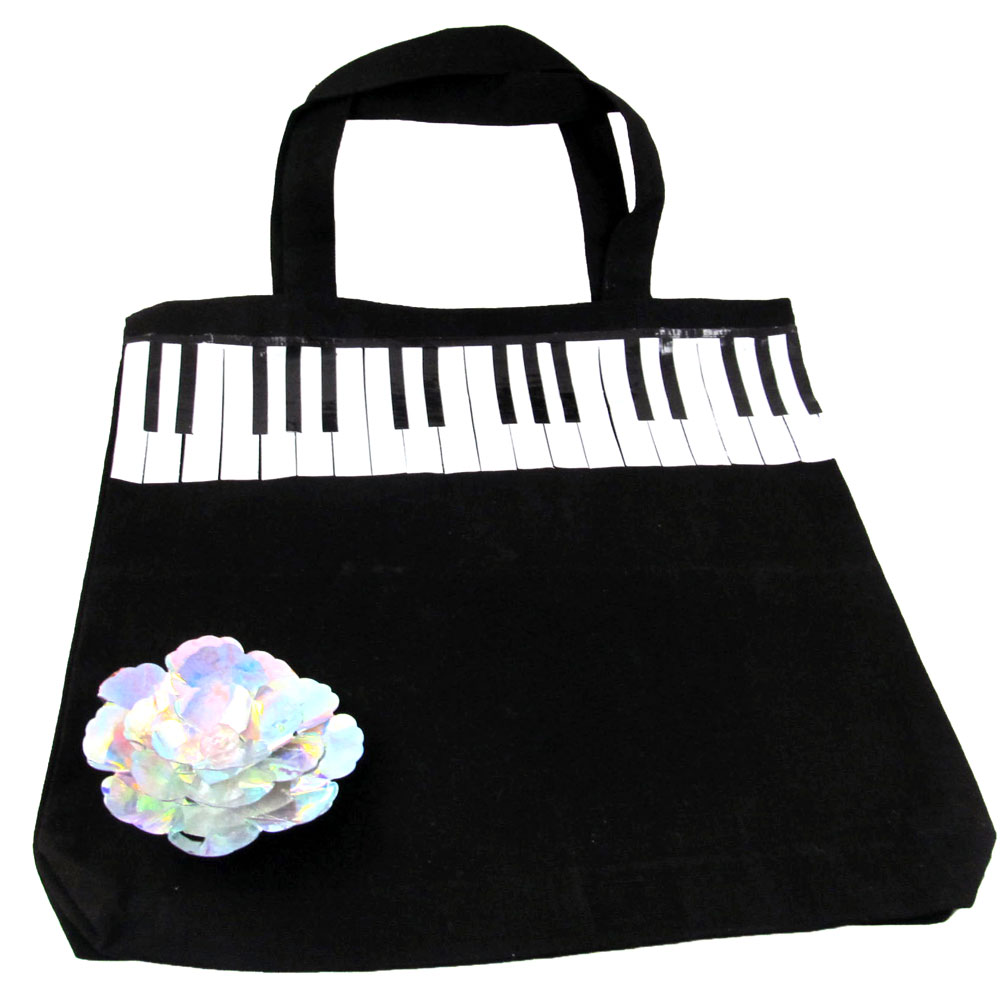
After cutting, I removed each set of three white keys, separating the keys to remove a thin string of tape between the keys to give definition to the white keys against the black background. After carefully placing all of the white keys, so that the bottom edges were lined up, I placed the individual black keys centered over the cracks of the white keys in the typical groups of two and three black keys, separated by a space, as shown.
After all white and black keys are affixed to the project, I used a long, narrow strip to cover the tops of the keys. On the bag, I needed to use an extra short, narrow piece of black to cover the last inch of the top of the bag.
I used 4 strips of White Duct tape 1.9″ wide, and 10 inches long, and 1 strip of white Duct Tape 3.5″ long. Two 12″ long strips of Black Duct tape are needed for creation of the black keys.
Note: The Outside edges of shapes in the cutting file have been removed, assuming that the edges of the tape do not need to be cut, eliminating shredding of tape along edges.

I wanted to add a feminine touch to my bag by adding a duct tape flower. The design for the flower was created using one of Miss Kate’s borders in the Pazzles Craft Room. I removed all inside line detail for the border, and used the eraser tool in the InVue software to remove the bottom line from the design.
I found a roll of metallic duct tape at Dollar Tree, and used a 12” length for creating the flower petals, and overlapped two 3” pieces to cut a single circle backing for the flower.To make the flower, fold over 3/4″ of the long edge of a 12″ strip of duct tape, sticky sides together. Cut along the folded edges of the duct tape using maximum pressure and blade extension. This leaves the lower uncut edge sticky on the back side, to adhere to the sticky, back side of the circle as it is wrapped around. I started by crimping the edge as needed to wrap the petal piece along the outer edge of the circle, and overlapping the edges as I continued wrapping the petals towards the center of the circle.
A brad in the center of the flower that goes through the circle backing and through the bag will help the flower to stay in place. Cover the prongs with a small piece of duct tape on the inside. Hot glue a bead in the center front of the flower (over the brad). I also used hot glue on the back of the flower circle, and under the flower petals make sure that it would stick well to the bag.
A Craft Room Membership is required to access additional content. Please Join Now or Login!~Julie


Julie, love this! I’ve never cut duct tape–this looks so cool!Perfect for carrying music books back and forth to lessons.
Duct tape! Genius!
Lovely project!!!! I want a duct tape!!!!
I like this bag and theme. Nice work Julie.