![]()
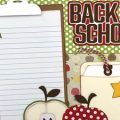
My husband is always so helpful and supportive of me with my crafts and he suggested to me to make a backpack box for the first day of school and this is what I came up with. I started with the lunch bag file from the Pazzles Craft Room Library and modified it to this. I was dying to use my new denim backed paper and I thought it would be perfect for this project. I know that using regular cardstock would be really cute as well, but I wanted to use the denim.
I used the Pazzles embossing tool for the denim instead of using the dash cut lines like I have in the actual cutting file. If you want to use the embossing tool, just change the dash lines to solid under line style and emboss in the Pazzles tool selection. I cut out and embossed the file and also made the back 2 school label from the Pazzles Craft Room Library into a print & cut label. I folded all the embossed lines, which are a little hard to see, so I embossed them three times to make them show up a little better. And because this was denim backed paper, I used the thick cardstock setting and set the blade length at 3.5 and cut it twice to make sure it cut all the way through. It worked like a charm! I put the eyelets in the holes and followed the directions on the eyelet package to attach them.
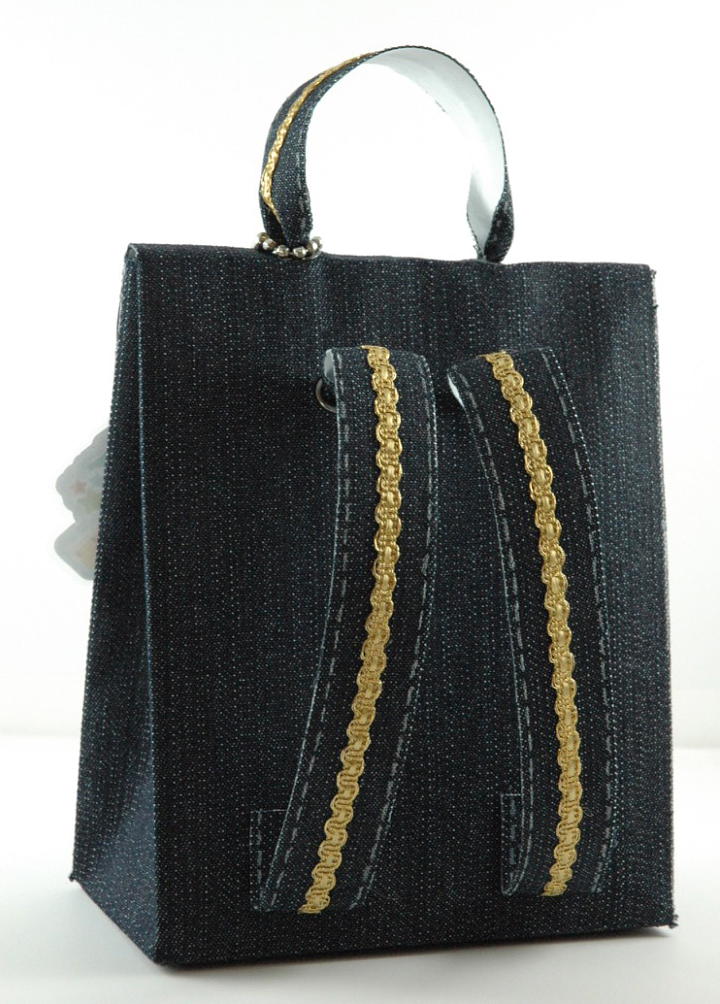
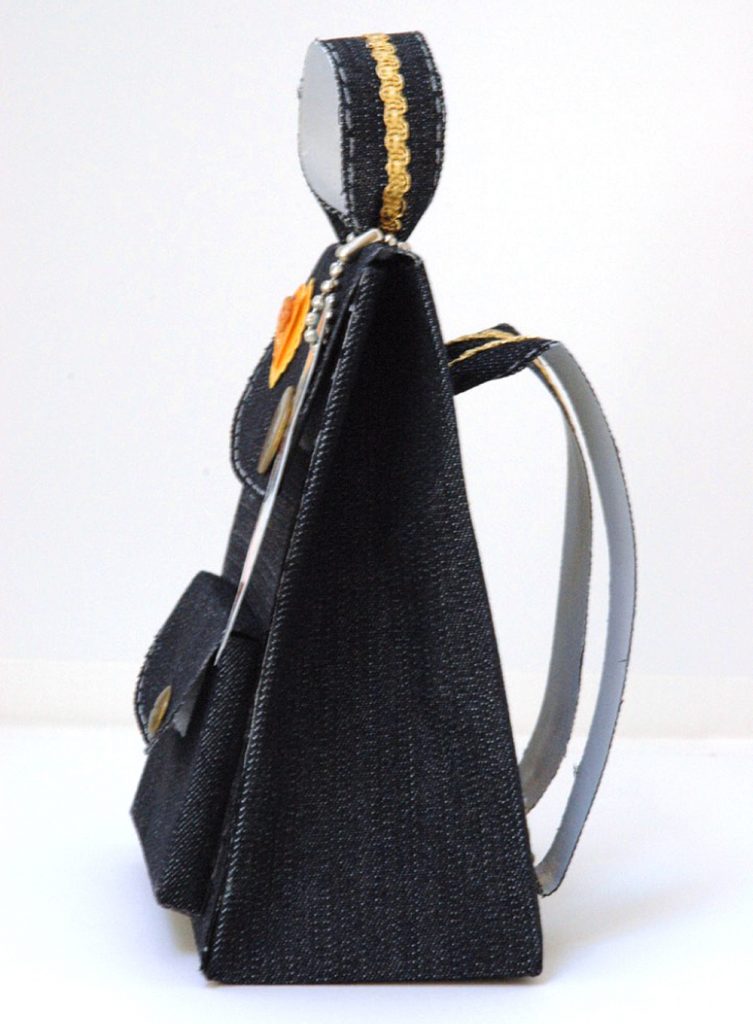
I used some thin decorative ribbon and glued it to the center of the straps and the handle with the fabri-tac and made stitch lines along the edges using my white gel pen for a little more dimension. I used my Spectrum Noir marker to touch up the cut ends that will show to make it look finished. I think a black Sharpie would work just as well. I glued the end tab pieces of the largest part of the box together and then the bottom. I used fabri-tac to glue everything because the paper is part denim. I then glued the smaller pocket together and used my white gel pen to draw stitch lines around the smaller flap and the larger flap as well. I made a 1/16th inch hole in both flaps with the hole puncher, then attached the brads. I found some brads in my stash I purchased a long time ago and thought they looked cute. You could use buttons too!

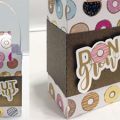
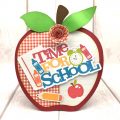
I glued a one inch Velcro strip to the under side of the small pocket flap and a two inch Velcro strip to the under side of the larger flap to hold them closed and make it simple to open them. I glued the small pocket to the front of the backpack towards the bottom. I threaded about one inch of the straps through the top eyelets and taped them down on the inside. You could also use strong double-sided tape to hold them in place. I then folded about an inch on the bottom and glued them in place. I used another inch of decorative strap to glue on the white part of the paper that shows at the bottom to finish it off. I then threaded the handle at the top of the flap about and inch and glued that in place. I then took the opposite side and did the same thing to form the handle. I cut out the print and cut label and laminated it. I used a chain to attach it to the handle. Ribbon could be used as well. I had a cute heart from my stash to add to the flap. In this file I also included decorative pieces for the flaps to use if making it with cardstock. I thought how cute this would be to put inside of an actual backpack with treats inside and a note in the bottom pocket as a surprise for that special someone to find at school.
Supplies
DCWV 12”x 12” Premium Stack Paper Backed Denim (3 sheets)
Dritz 2-Part Eyelet Kit ¼”
Beacon Fabri-Tac Glue
Sakura White Gelly Roll Pen
Spectrum Noir # IG7 Marker
Black Sharpie Marker
Brads
Buttons
Velcro Sew on Strips for Paper Backed Denim Backpack
Velcro Self Adhesive Circles for cardstock Backpack
1/16” hole puncher
Become a Member!
By becoming a subscriber to Pazzles Craft Room you will have access to this project as well as hundreds of other projects, thousands of cutting files, and so much more!Get Pazzles Craft Room!
Join Now for only $19.95!