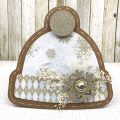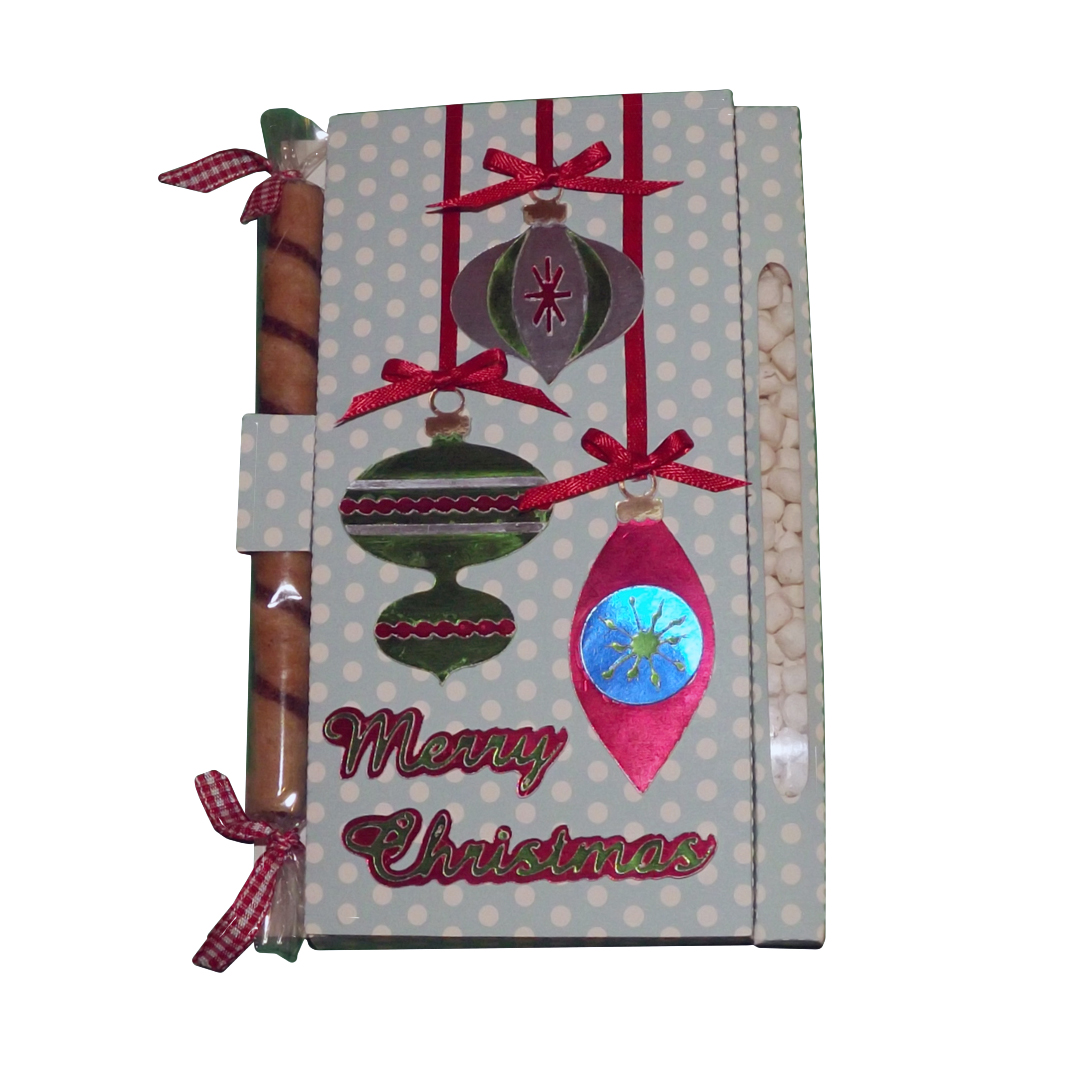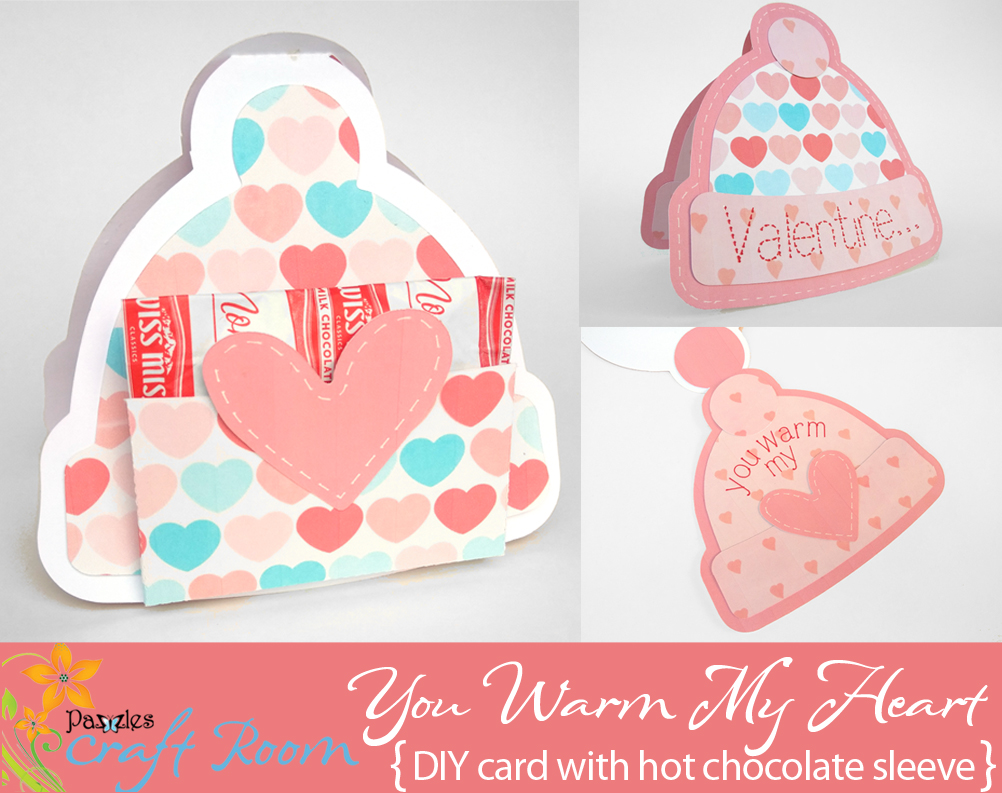
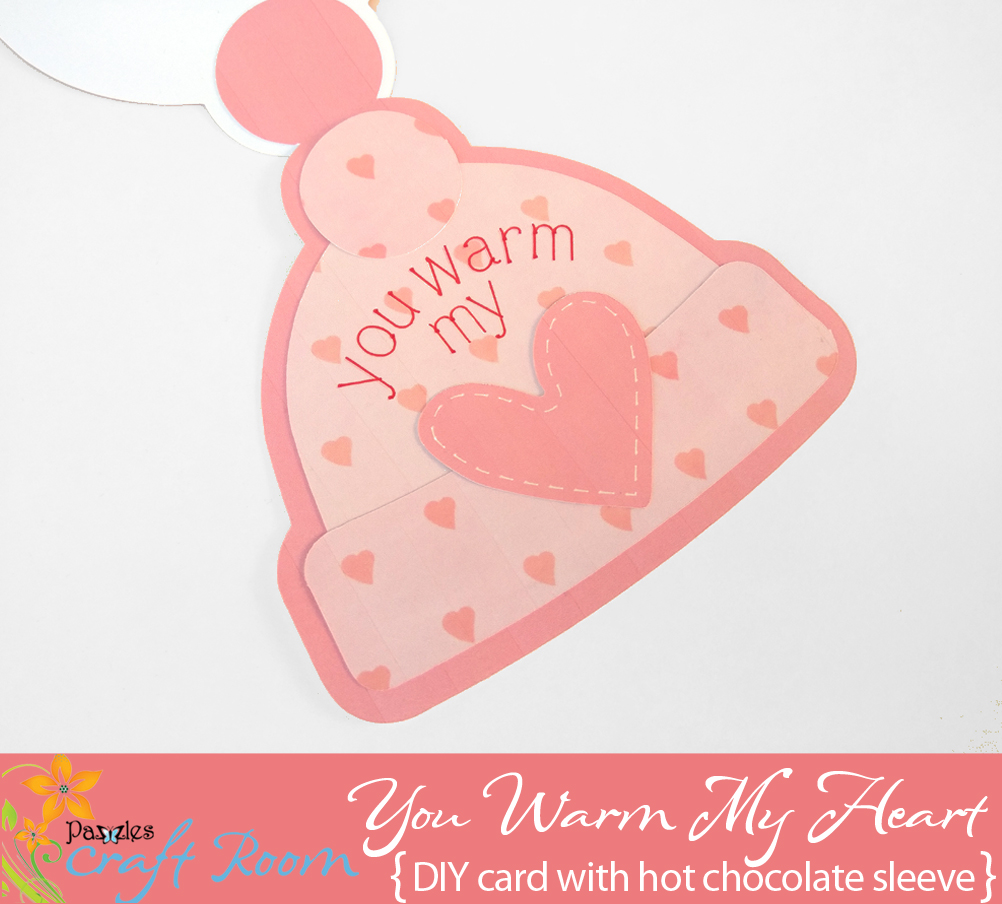
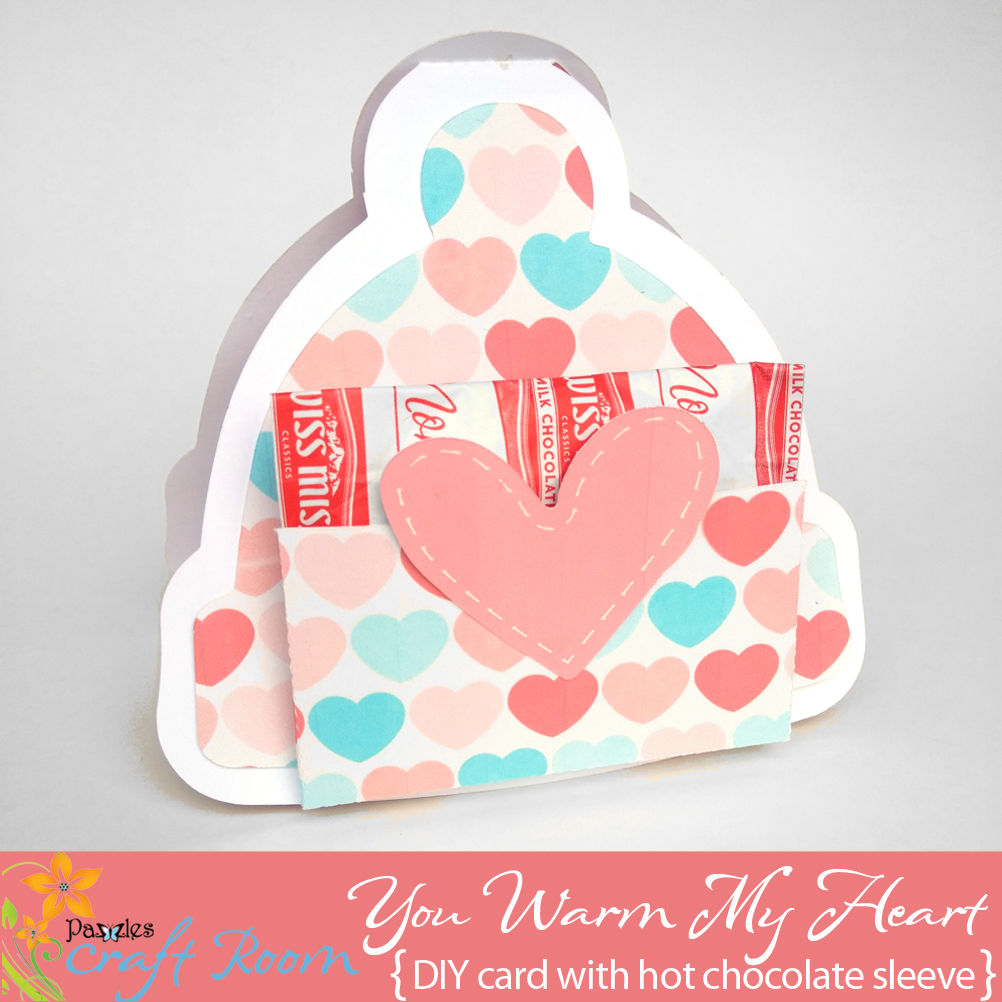
I am obsessed with how cute the Winter Hat Shape Card by Joanna is and have made it into a gifting card that can hold either a warm drink (packet such as cocoa or spiced cider or tea bag) or a gift card to a favorite coffee shop.
I also love the new Pazzles Digital Papers and have incorporated the And Love Valentine Digital Paper Pack into this project. To save ink I used the Crop>Personal Path feature of the Inspiration software to create shapes for the components of the card and used an inline of the card base pieces to shield the portion that will be covered by a separate element. I used the color dropper to select a light red from the digital papers as the card base outline and provided a darker option in the file as well.
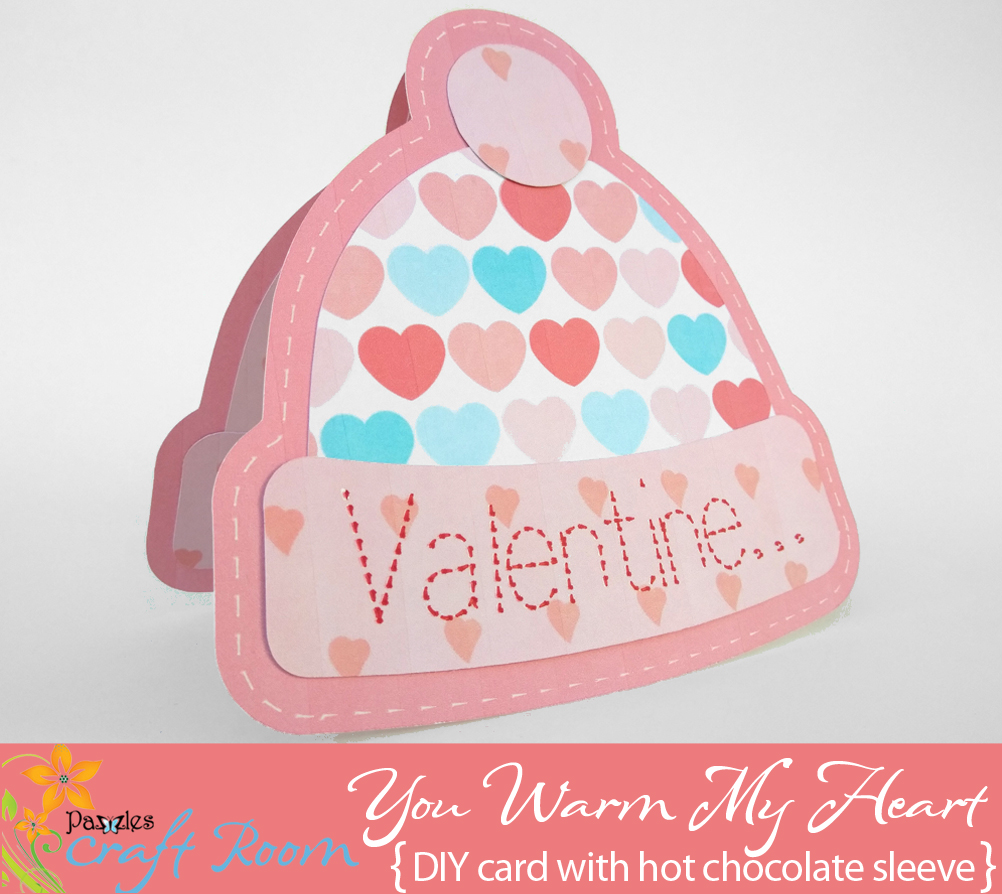
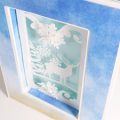
You can use this for Valentine’s Day or just omit the text on the front to use it any time you want to warm someone’s heart. I hope you’ll enjoy making this card for a special someone you’d like to treat!
Supplies:
11” x 8.5” 65 lb. white cardstock (I used Recollections White Cardstock Paper)
Scotch Glue Stick
Sharpie Ultra Fine Point pen (such as this) or PaperMate Flair Medium point felt pen (such as this), red
Gelly Roll White Pen (such as this)
Treats such as: a cocoa packet (and wrapped peppermint disk), a spiced cider packet (and wrapped butterscotch disk), a wrapped tea pouch (and wrapped hard caramel disk)
Low-temp hot glue gun and glue sticks or Glue dots
Instructions:
Print the sections in the file for the card base on white cardstock . Use the Pen Tool and Spacer to hold the white pen to achieve the white stitch lines on the front card base and to hold the red pen to achieve the sentiments for the front and inside of the Valentine; be sure to select the Pen Tool in the cutting window. Without removing the mat from the machine, switch to the Pazzles Blade and cut the elements – NOTE: (for the Inspiration, use the registration boxes provided in the file) Also, the elements in the file have a cut line just inside the print line to ensure that the color reaches the edges which you will want to select before clicking Cut Project.
To assemble the card, match the elements to the picture. For the back for a drink packet or pouch, slip the pocket tabs around the packet or giftcard and make adjustments so that the pocket is snug to the packet or giftcard then adhere the tabs to the element, then the combined element to the back of the card. For the gift card you can just adhere the tabs to the back element and then slip in the giftcard. For fun you can add a wrapped peppermint disk to go with the cocoa packet, a butterscotch disk to go with the tea bag pouch or a wrapped hard caramel to the front of the card at the hat pom, adhering with a glue dot or low-temp hot glue.
Become a Member!
By becoming a subscriber to Pazzles Craft Room you will have access to this project as well as hundreds of other projects, thousands of cutting files, and so much more!Get Pazzles Craft Room!
Join Now for only $19.95!