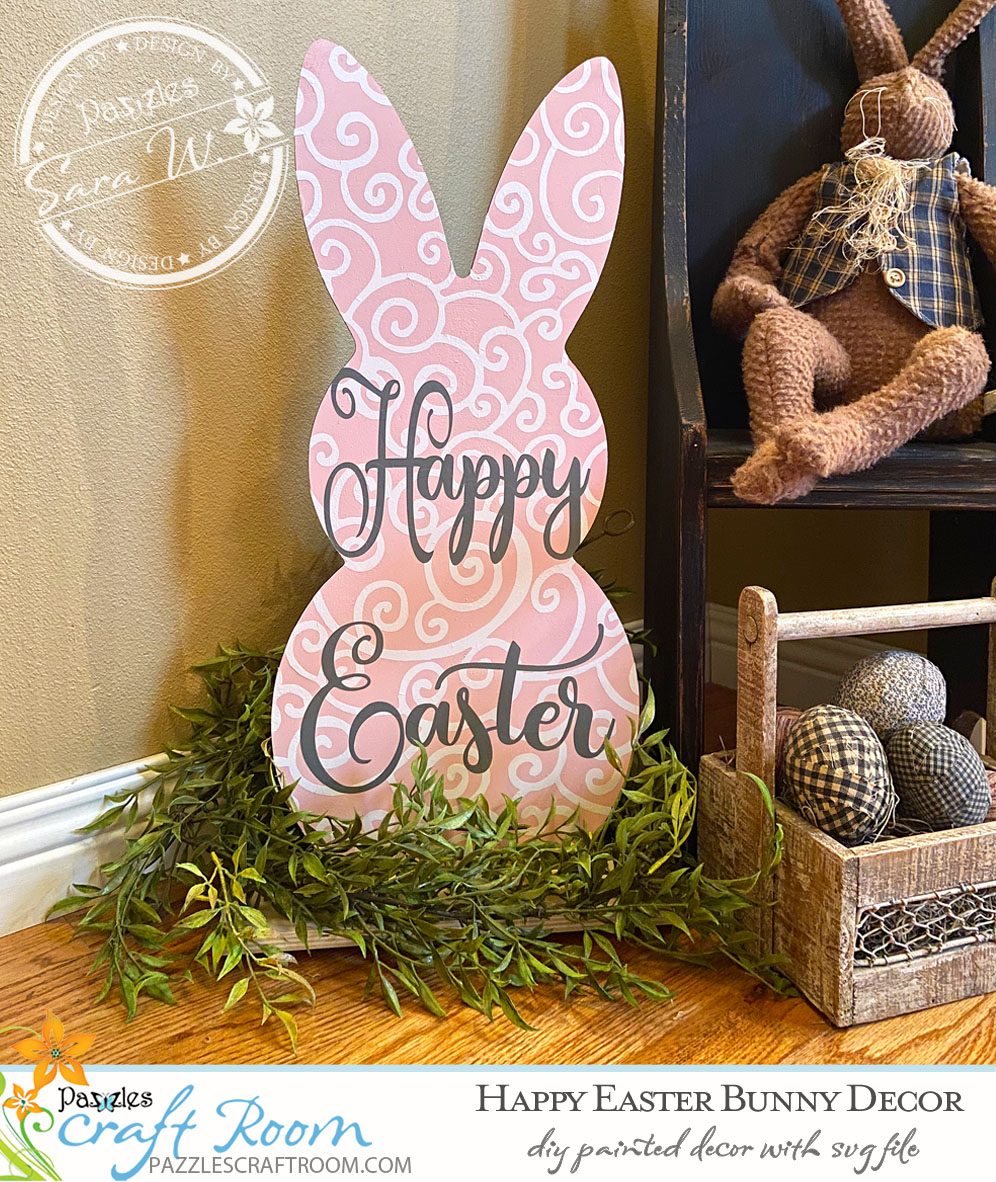
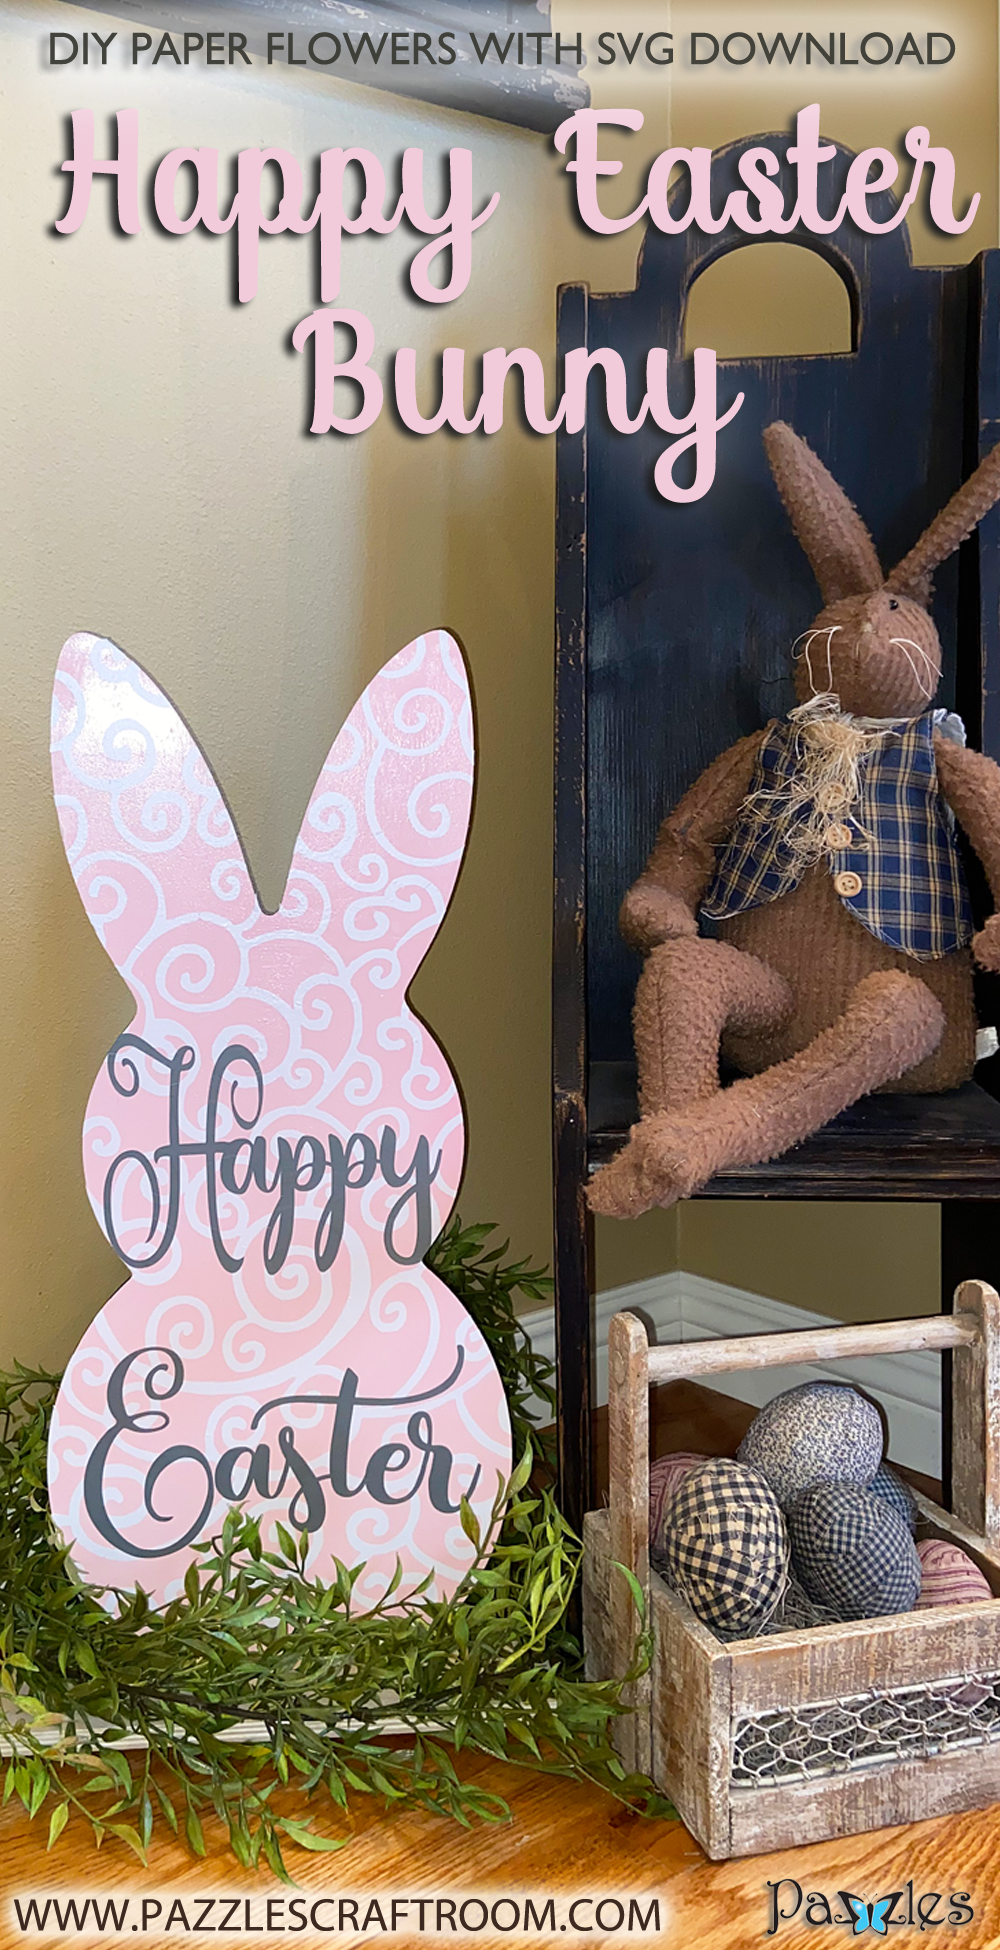
Decorate a Wood Cutout For the Perfect DIY Happy Easter Bunny Decor
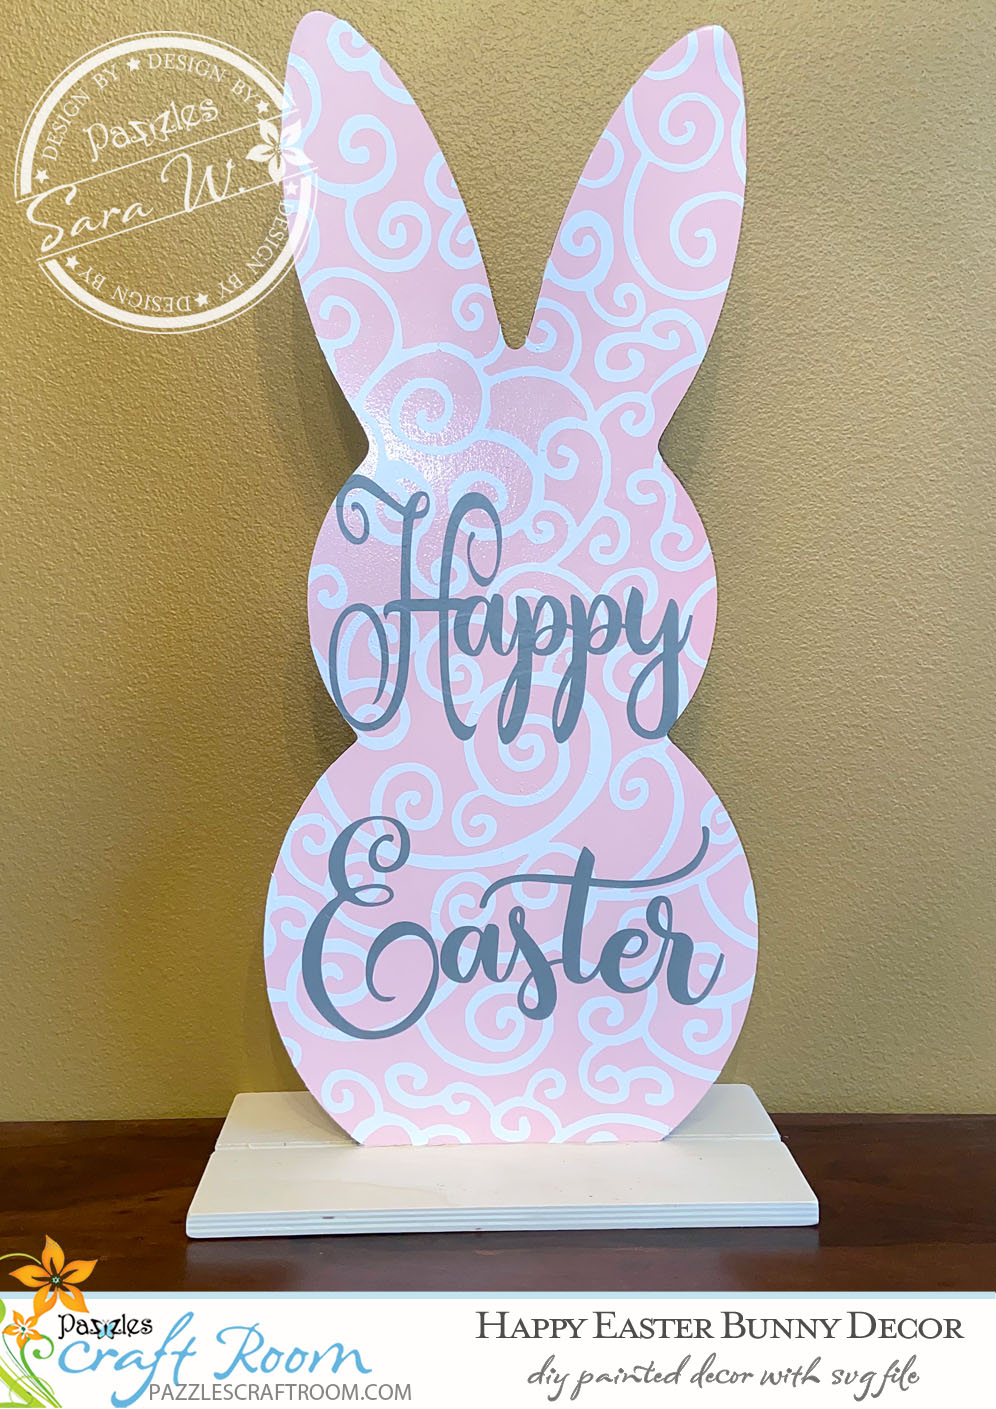
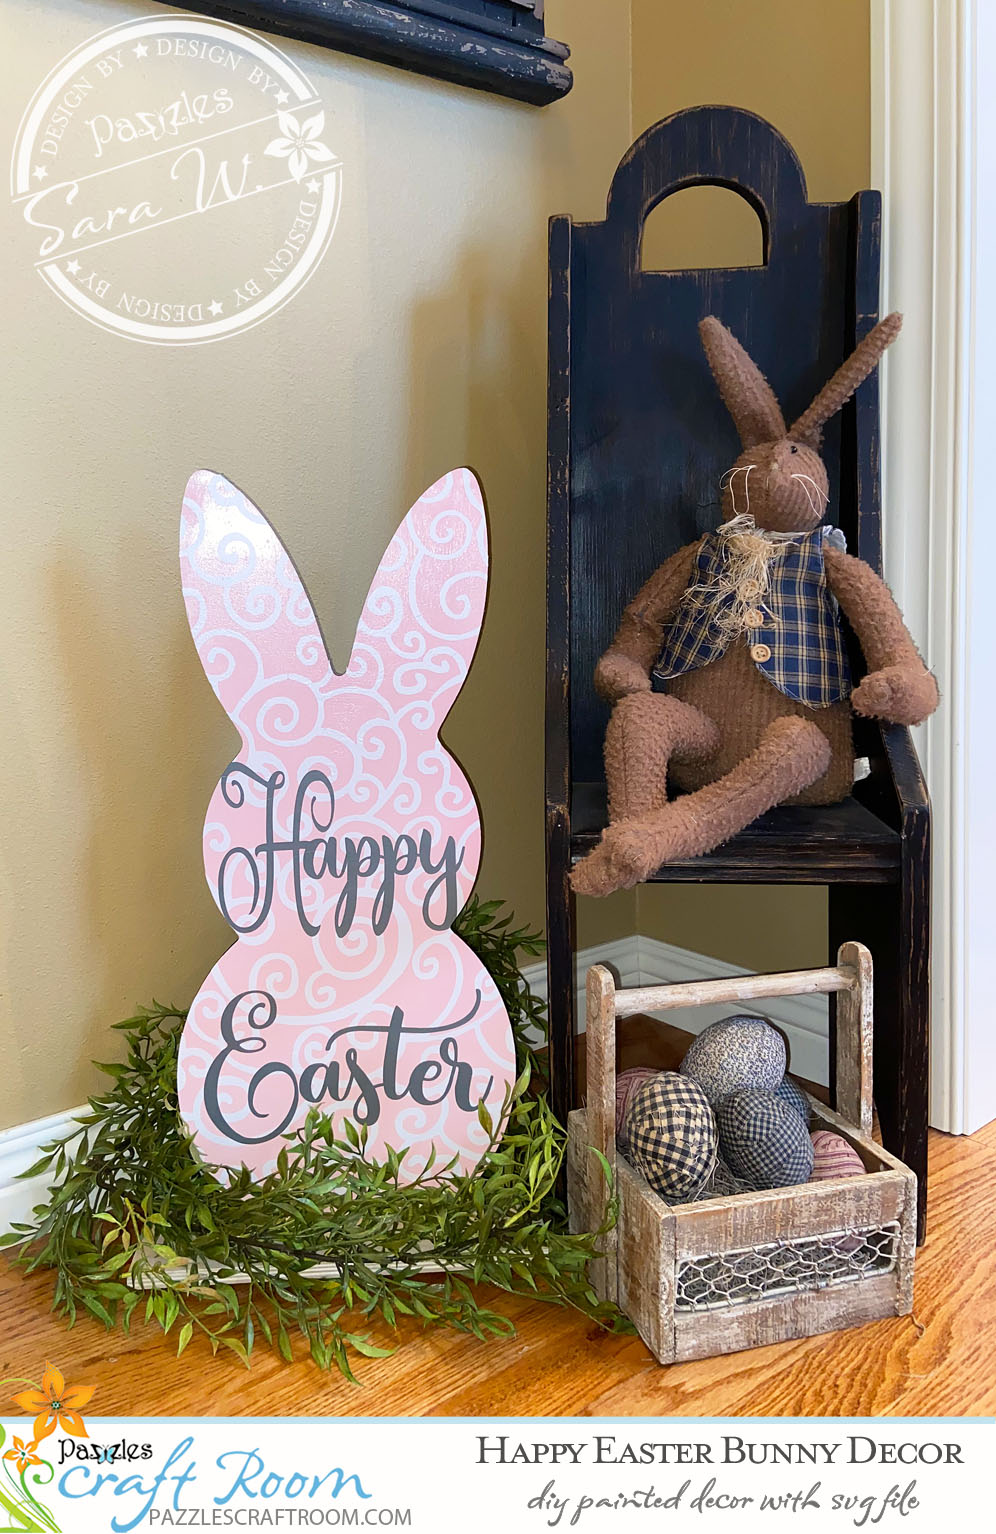
Easter is just around the corner. This is a fast and simple project to decorate your home. I was walking through Michael’s and saw a wooden bunny. I just had to have it. But, I really wanted it to find my style, so I took some time to figure out what that was and now, I just love it.
Size and Color to Customize
You can resize this design to fit your particular cutout. This bunny measures 22″ tall and 10″ wide so you will need some vinyl that is on a roll or at least 24″ long. You can also paint the base any color you like. I chose a blush pink to match my decor, pick whatever works best in your home!
Supply list:
– Wooden bunny with stand sanded
– 3m Scotch painters tape
– Krylon gloss pink blush spray paint
– Oracle 631 vinyl White Cut to 12x24”
– Oracle 631 vinyl Middle grey Cut to 12x12”
– Paper cutter
– Mat Scraper tool
– Clear Transfer tape Cut to 12x24” Used (not very sticky)
– Weeding tools
- Embossing heat tool
– Krylon clear finish spray
Font Used:
“Happy Easter” is Amastery Script Front modified
Love this DIY Happy Easter Bunny Decor? Make sure to pin and share it!
Become a Member!
By becoming a subscriber to Pazzles Craft Room you will have access to this project as well as hundreds of other projects, thousands of cutting files, and so much more!Get Pazzles Craft Room!
Join Now for only $19.95!