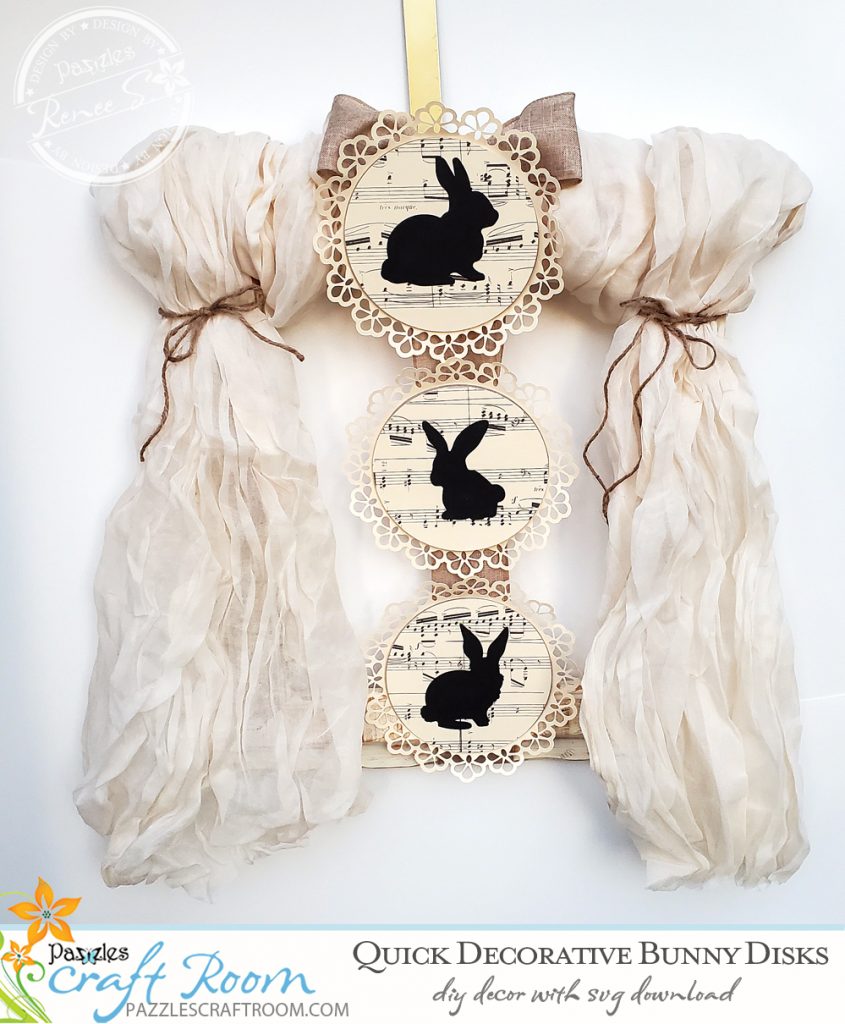
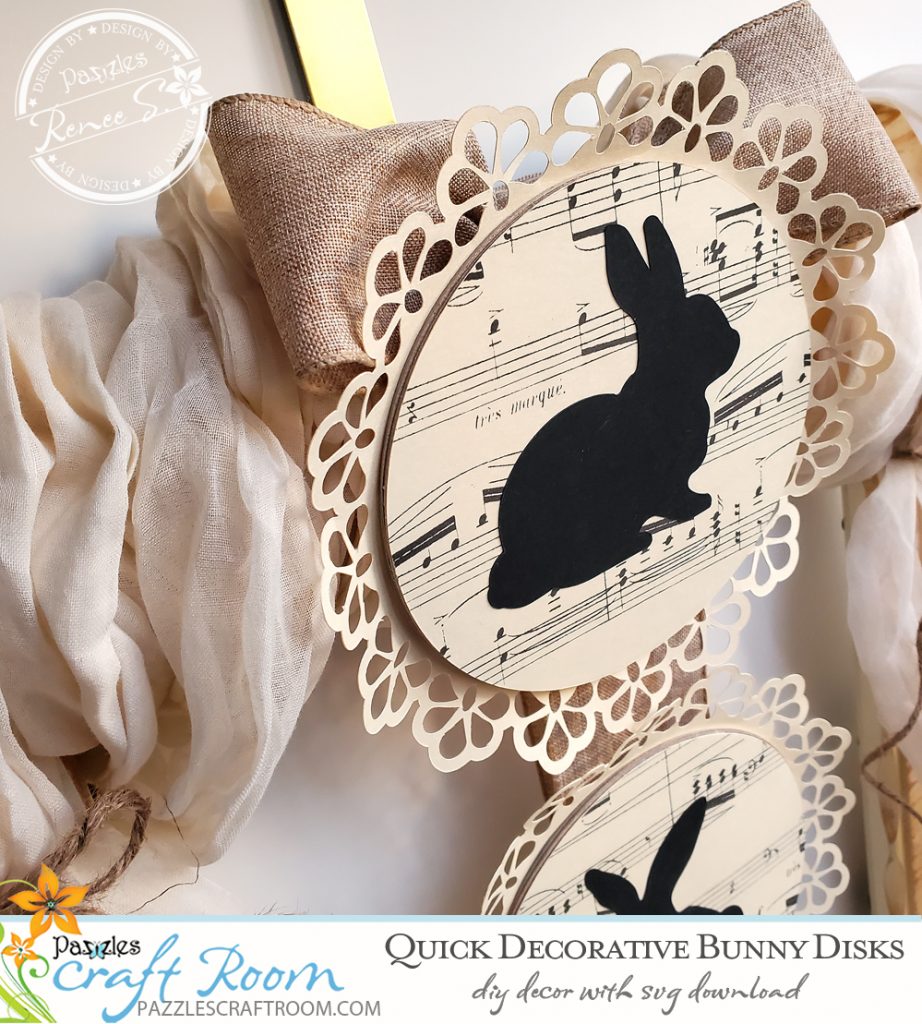
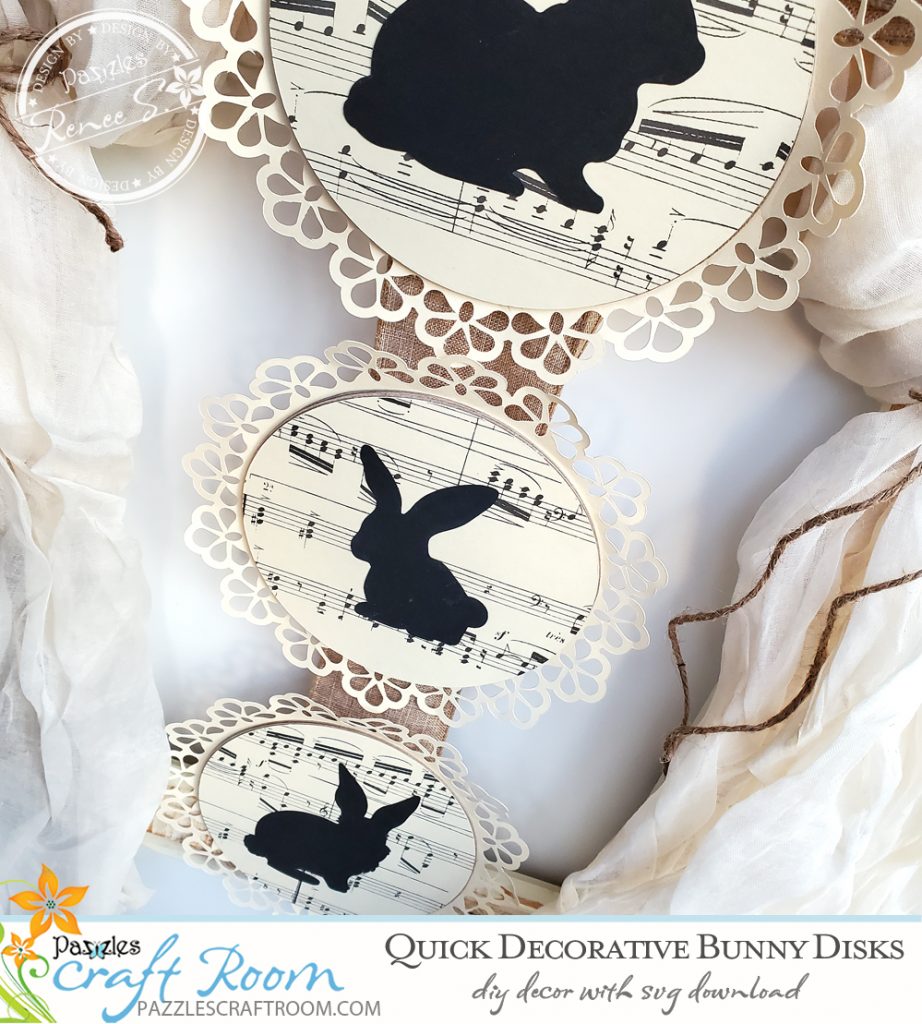
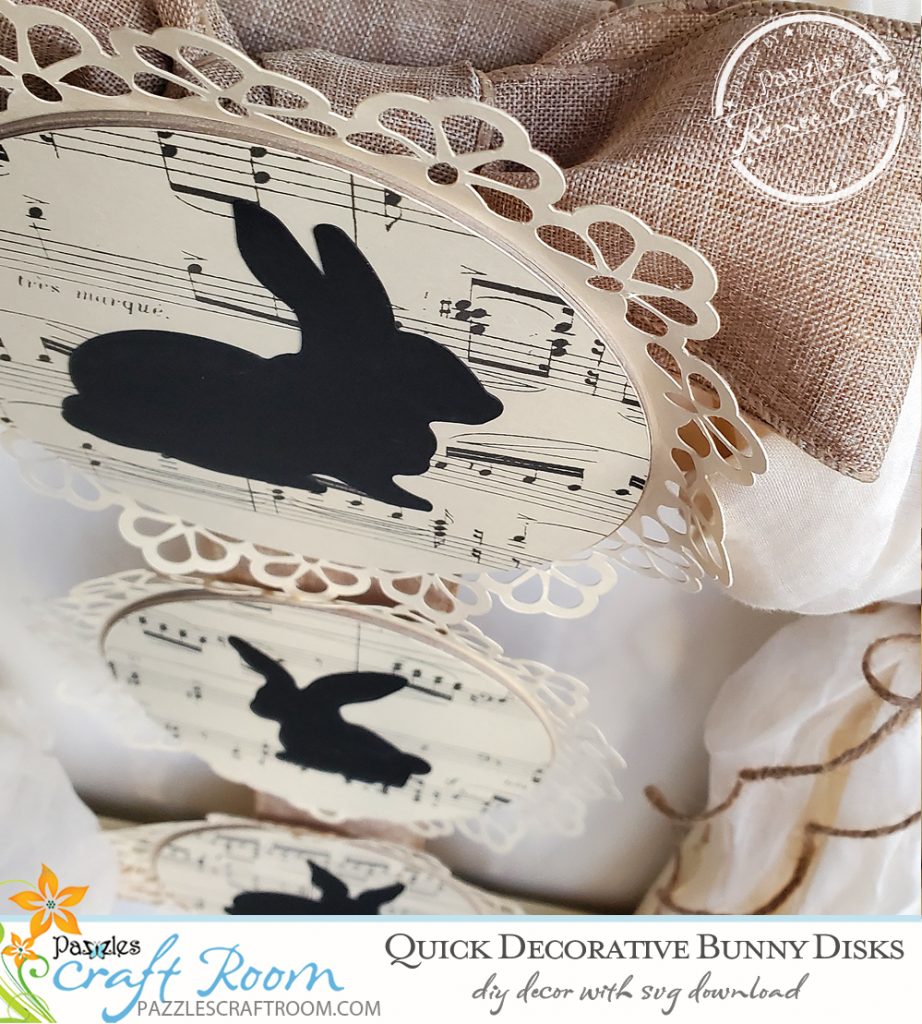
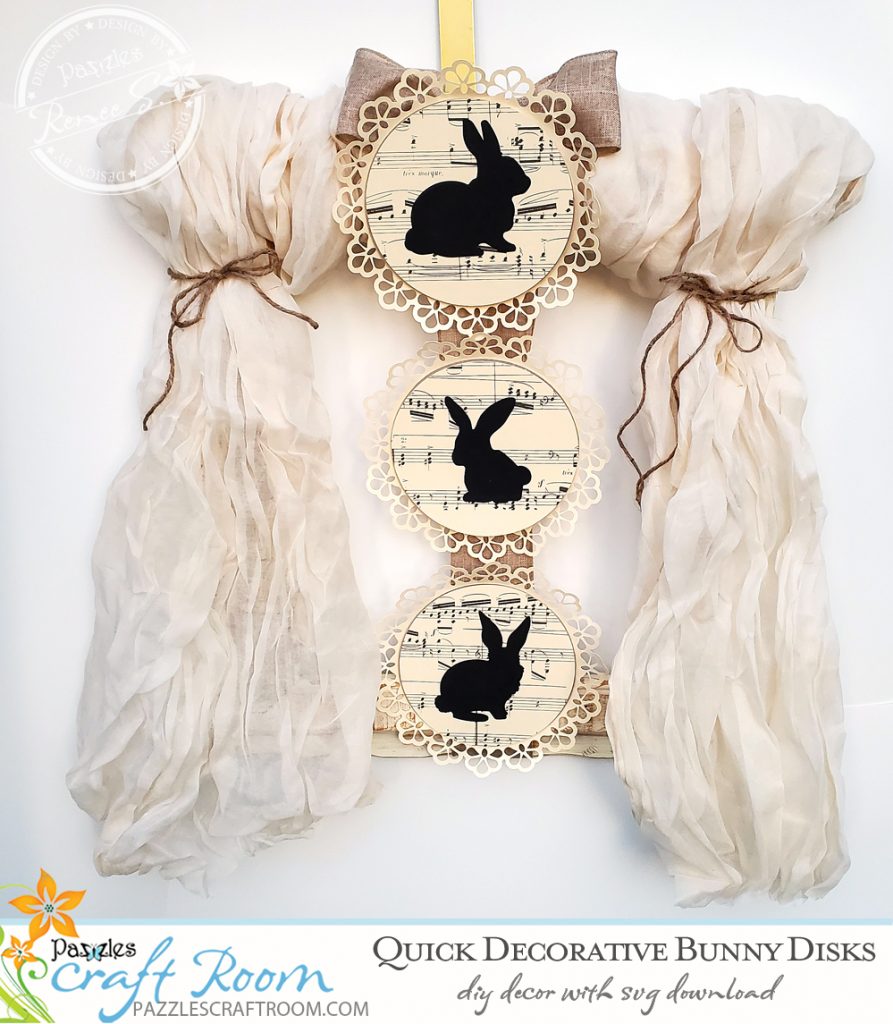
Quick Bunny Disk Decor
I was putting away ornaments from Christmas and found a damaged ornament which led me to look up how to repair or make another and I came across many ideas, a few of which inspired this project for an old fashion styled Easter decor.
Resize to Suit
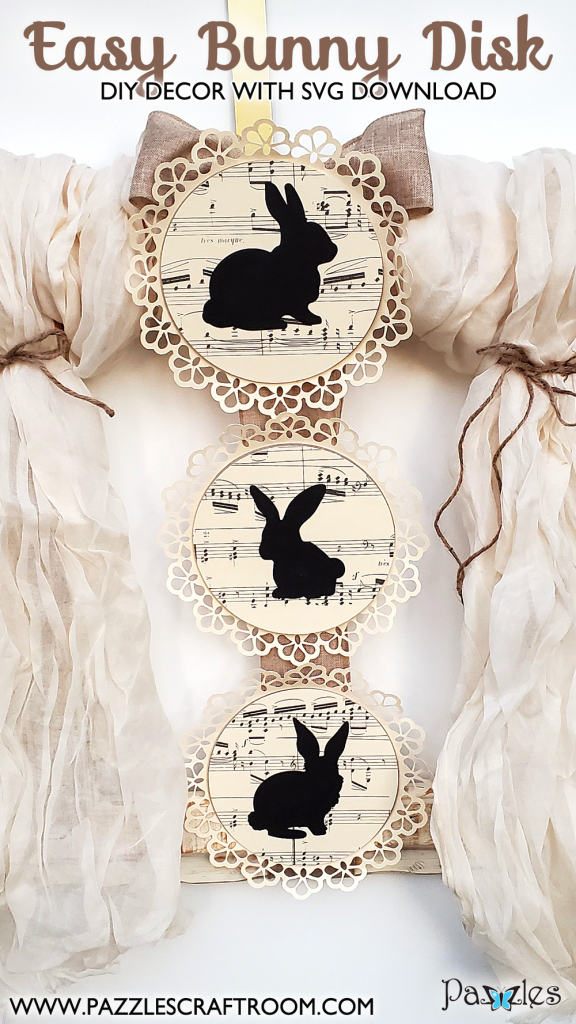
These disk ornaments are about seven inches wide but could be resized smaller, although the intricate parts of the doily may not cut out well if it is made too small. These could be attached or hung by clothespins, mini strong magnets, craft wire or other picture or ornament hanging method.
Make in 15-30 Minutes Depending on Design
The disks themselves are fairly quick to make, probably about a fifteen-minute project. Adding them to a faux window as pictured takes another fifteen minutes or so, or they can be quickly clipped to a swag banner of lace, ribbon, or twine or even a length of faux greenery.
Change Silhouette Shapes for Any Occasion
The bunny shapes could be changed out for family silhouettes or other holiday shapes. The background of music paper could be substituted with other papers such as the other Pazzles Digital Papers like the Ancient Maps Digital Paper Pack or the Vintage Paper Digital Paper Pack and could be torn and decoupaged onto the surface instead of being a single circle. The disks could be painted with acrylic paint and crackle medium for an interesting effect. Add sparkle with glitter Dimensional Magic from Mod Podge around the edges of the disks after they are assembled or glue some satin cord or twine around the disks meeting the ends at the top or bottom of the disk and finishing off with some antique style bling like a faux gem button or a piece from some thrifted jewelry, or with a burlap flower, or with one of Nida’s amazing flowers in cream or pastels. Try thrifting some real doilies to attach to the backs of the disks. Instead of attaching the bunny pieces, use them as a stencil and spray bleach over them onto solid paper or brown paper bag or painter’s masking paper.
Have fun with it.
Supplies:
3 file folders cut to size 8.5 by 11 inch or letter size cream colored cardstock
1 8.5 by 11 black cardstock
6 cereal box panels (front or back of typical cereal box is one panel)
Paper adhesive (such as Crafter’s tape. Double sided tape, glue stick, etc.)
3 Clothespins or mini strong magnet pairs
Banner, frame, wide ribbon, or year-round tree to attach your bunny disk ornaments to
Love these Quick Bunny Disks? Make sure to pin and share them!
Become a Member!
By becoming a subscriber to Pazzles Craft Room you will have access to this project as well as hundreds of other projects, thousands of cutting files, and so much more!Get Pazzles Craft Room!
Join Now for only $19.95!