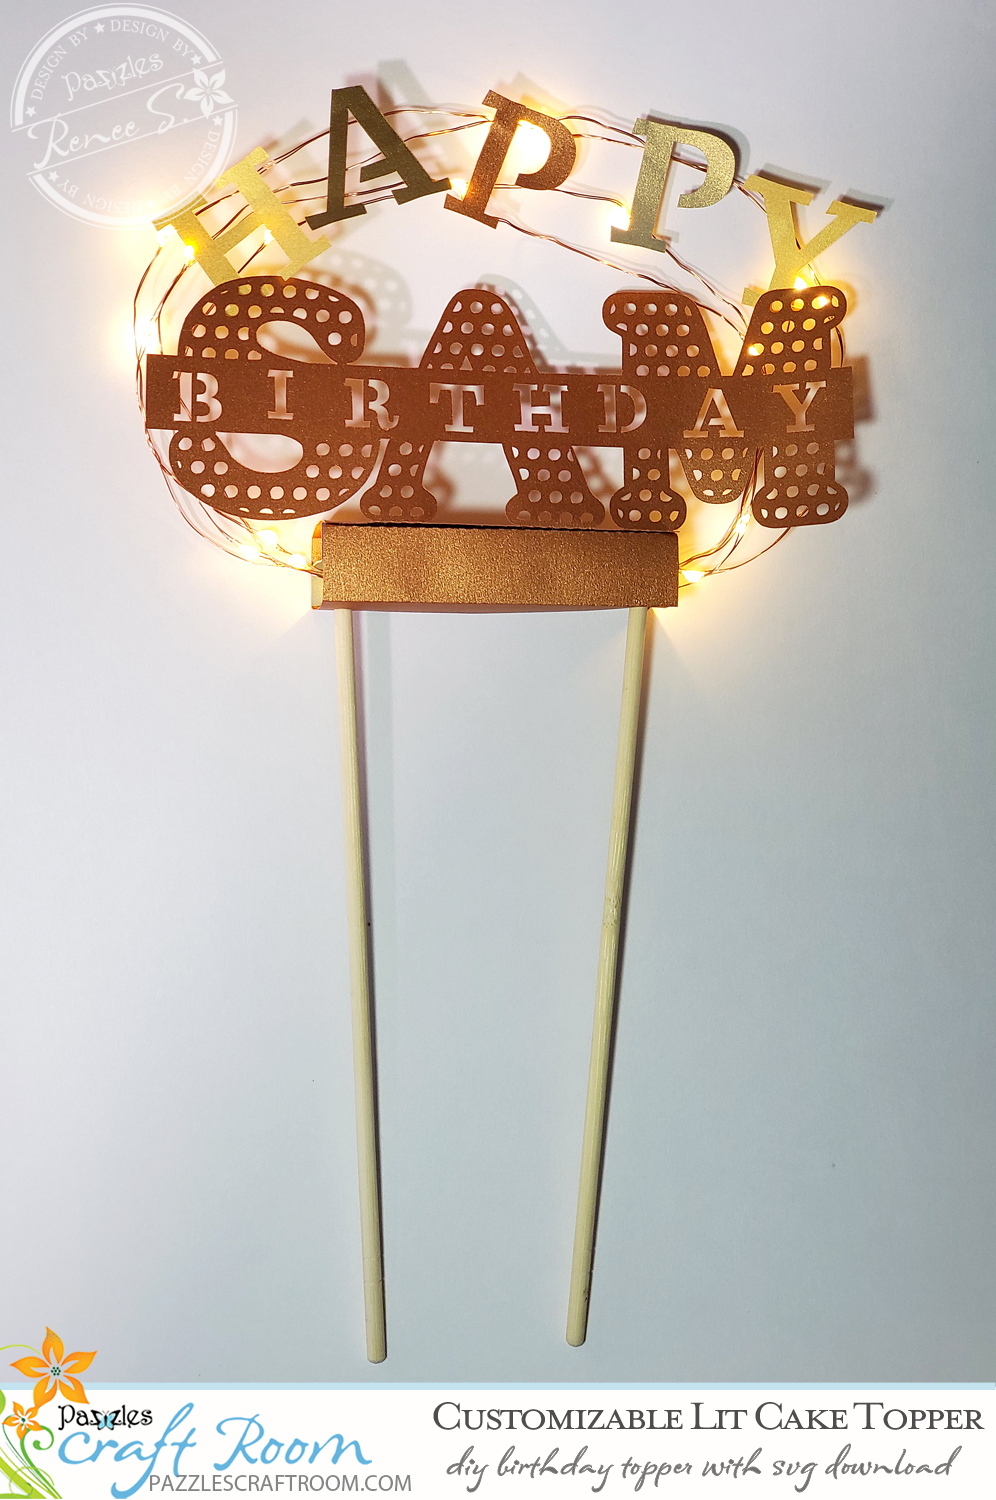
DIY Customizable Lighted Cake Topper
I just really like fairy lights, metallic paper by Paper Accents, and cake! So, I combined all three into an inexpensive cake topper with lots of WOW! (okay, maybe it’s not that exciting but it is kinda cool). I love how it lights up and the papers add to the glow.
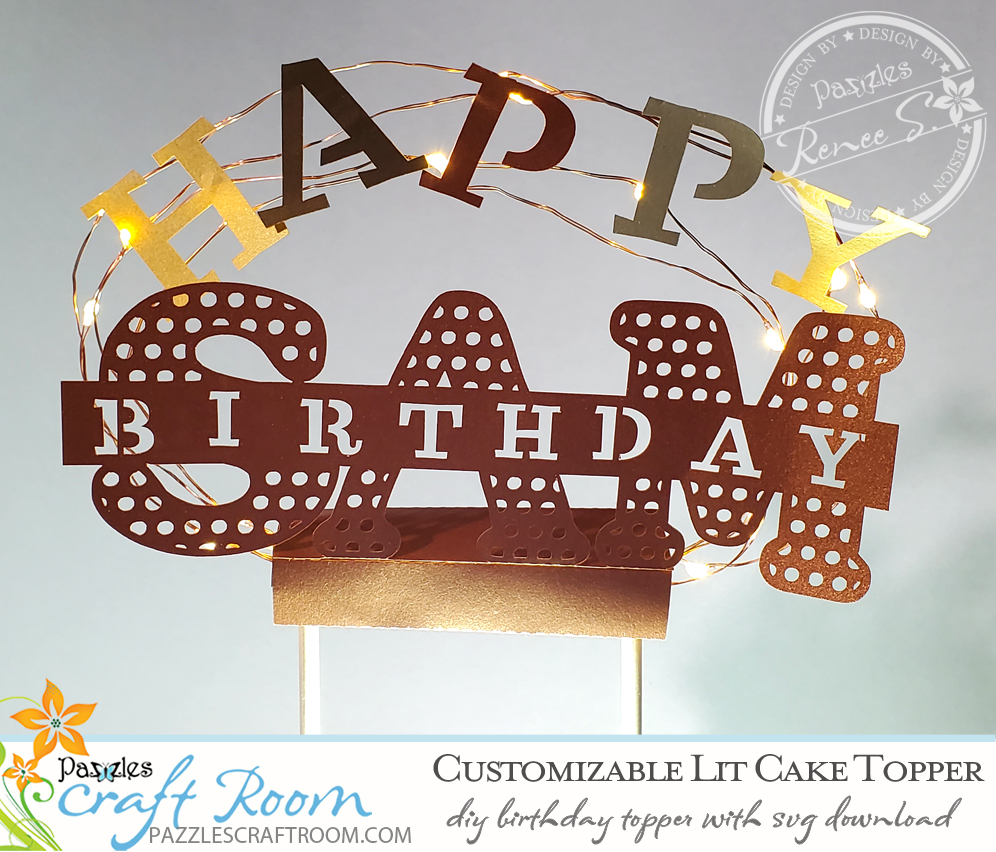
Customizable Name
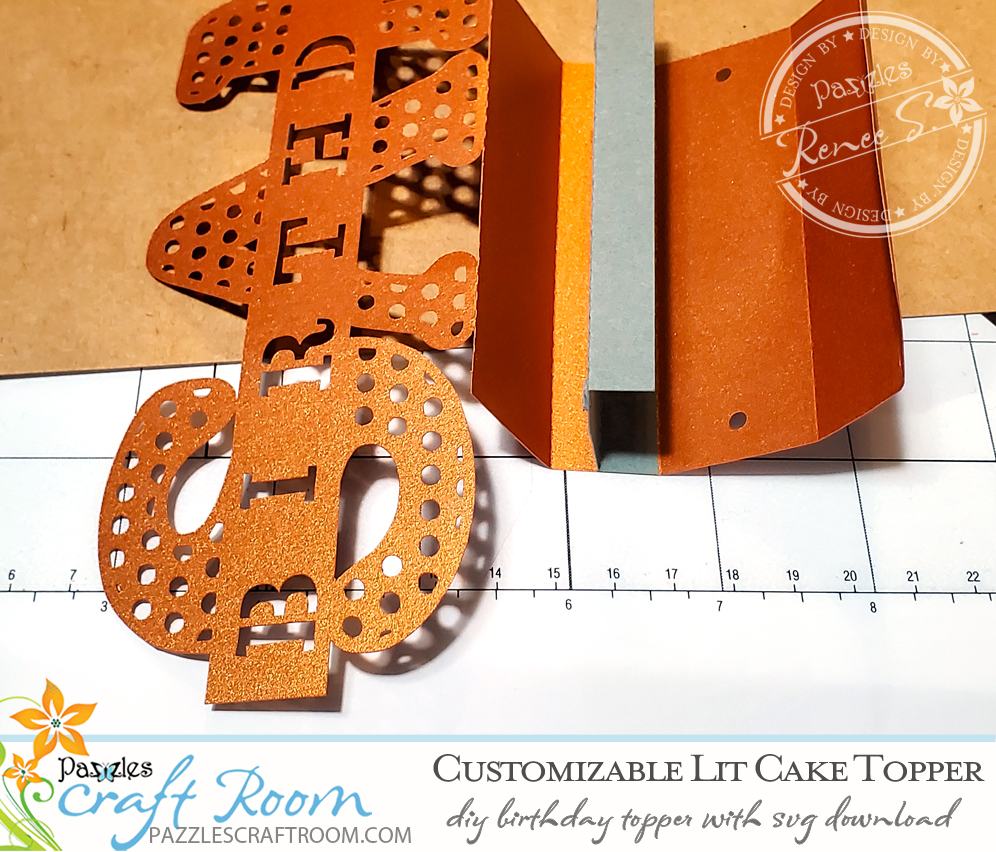
You customize this project with the honorary birthday person’s name made from the Pazzles Craft Room Library collection: Split Letter Polka Dot Monogram>Regular Letters.If you have slightly different lights you can resize the box cover in the software to accommodate. As is, it finishes out to about seven inches wide and about six inches tall, excluding the chopsticks legs.
Beginner Friendly
You could use different paper and perhaps find colored or silver lights instead of the gold-toned lights used here. This project is relatively easy for those familiar with the weld feature of the software; if you are unfamiliar there are tutorials available in the Pazzles Craft Room.
Modify for Any Occasion
Making the project as is (with any name) should take approximately 30 minutes, or longer if still learning to weld. The birthday theme could be modified for an anniversary or wedding cake or baby shower or congratulations on just about anything.
Have fun!
Materials:
Round wood chop sticks – 2
Metallic/Mirror paper 8.5” x 11” papers
One set of fairy lights
Glue dots
Masking tape
Large smoothie straws – 2
Love this DIY Customizable Lighted Cake Topper? Make sure to pin and share it!

There are two purchasing options for this project – one is the cake topper only, the other includes the entire alphabet font used for the name on the project. Please choose whichever suits your needs best.
Become a Member!
By becoming a subscriber to Pazzles Craft Room you will have access to this project as well as hundreds of other projects, thousands of cutting files, and so much more!Get Pazzles Craft Room!
Join Now for only $19.95!