 We have all experienced it….THE BOX finally arrives at our door. We clear a spot in our craft room or craft space, we set the kids in front of a video and we open THE BOX. We are so excited. We have had visions of the wonderful things we will create, so much so that we can’t sleep at night. We KNOW it won’t be instantaneous. We are not after immediate gratification, we know that something this fantastic will take some perseverance to learn. But WE ARE READY!!
We set the Inspiration up, admiring the pretty color and shiny surface. We install the software, download the upgrades and dive in to creating. It doesn’t matter whether it is a star, a circle or a word….we are almost shaking with anticipation. Now is the time to CUT IT OUT….and that is when we hit our first road block. What blade length do I need for this paper? What is pressure and why do I need it. (I usually DON’T need any more pressure than I already have.) Is my paper a lightweight paper, a medium weight or maybe it is a thick paper? Why isn’t the recommended setting working on my paper?
First some definitions:
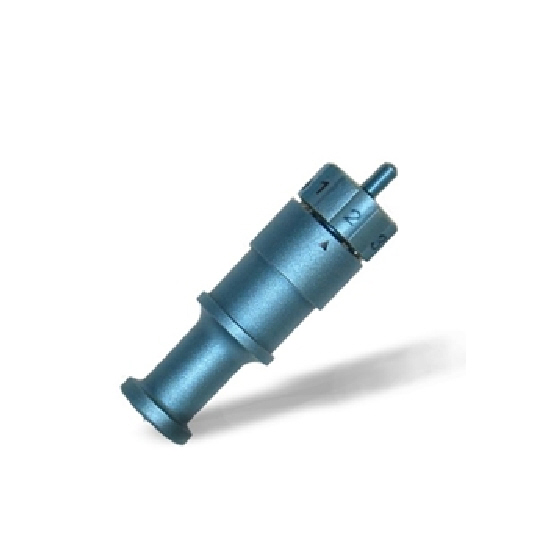
Blade length: This is the amount of blade needed to do the job. It makes no sense to have more blade than you need. It will gouge the mat and impede the cutting process.
Pressure: This is the force that pushes the blade down to meet the paper. Too little and the blade will not engage the paper, too much and it will push corners and rip paper.
Paper Thickness: Some manufacturers will give a paper weight but this is rare. When it comes to determining paper thickness it is all relative. Most smooth cardstocks fall into the medium weight category. Textured cardstocks are usually (but not always) heavier. Other cardstocks such as pearls, glitters and some stamping company cardstocks are thicker yet.
Finding the correct settings to cut paper is really a 4 step process:
1. Find out the recommended settings for your paper. (Most scrapbook papers fall under the medium weight category.) I have included a handy chart with this week’s video.
2. Know your climate. The environment you are in can make paper softer. Humidity softens paper making it easier to tear. If you live in a humid area, you can automatically assume that you will use a lower pressure and possibly shorten your blade length.
3. Test to determine the correct blade length. This is critical to a good cut. Fold a scrap of paper in half. Remove the blade holder from the Inspiration and try to cut through the top layer of the paper by dragging across it using a medium pressure. Use the recommended blade length as a starting point but test a few other blade lengths as well. You want to find a blade length that will cut the through the top layer but not the bottom one.
4. Once you know the correct blade length you can fine tune cutting by adjusting the pressure. Change the pressure by increments of 1 or 2 points at a time.
Here are some other hints to make this process easier:
- Use a good quality paper when you are learning. I know it is tempting to use the cheaper stuff while you practice but it is usually more challenging to cut. Save yourself some grief and use the good stuff. Colormates by WorldWin is a great beginner cardstock.
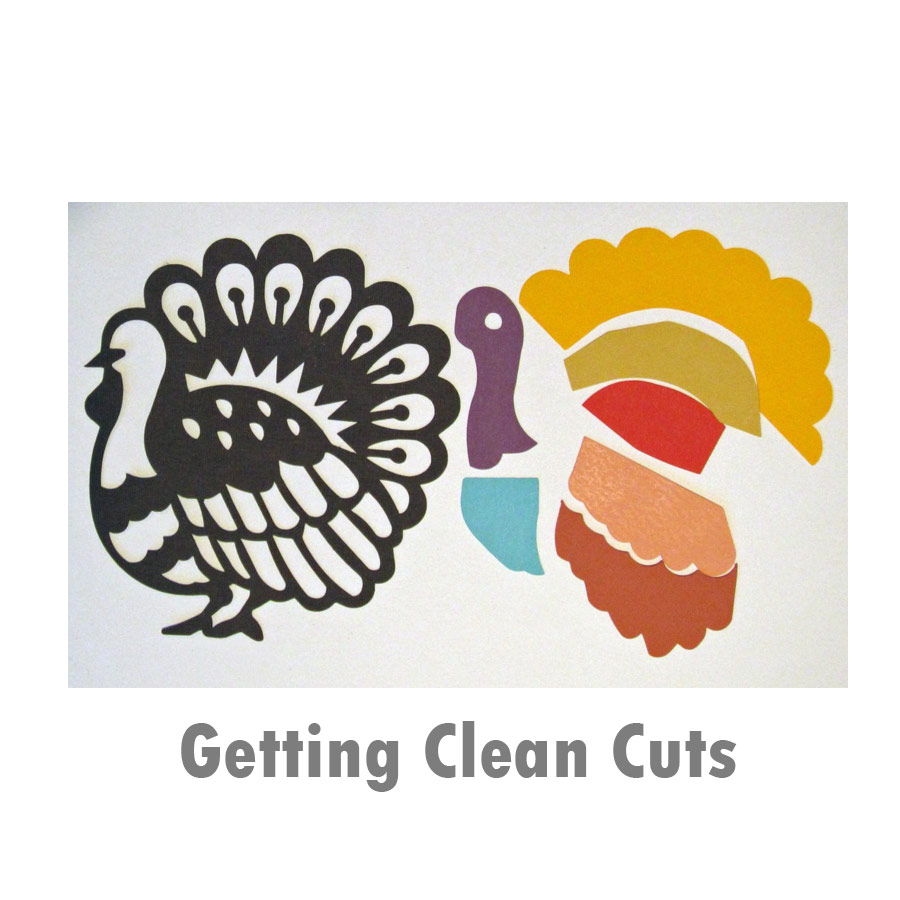
- Most beginners have a tendency to dive into the deep end right away. Instead, try simple cuts at first: stars, a block letter, or a heart. If you get a successful cut with these, you can move on to more intricate designs. Think LARGE at first and move to smaller and smaller designs as you understand the system.
- Leave the fancy stuff alone at first. Stick with smooth cardstock and then graduate to a good quality textured cardstock. Wait a while to cut the glitters, mirrored cardstocks and chipboards.
- Is it humid where you live? Hold a piece of 12 x 12 cardstock by the edge with one hand. Does it stay crisp and snap straight? Or does it droop and have no snap to it. No snap means soft paper, which means lower your pressure. (Air conditioning helps reduce the humidity.)
- Too much pressure can look like not enough pressure. Often when the pressure is too high the cuts will not go all the way through the paper.
- Are the cuts deep in some places and light in others? Check your pressure! It could be too high.
- It is better to have too little pressure or too short of a blade. Err on the light side when choosing pressure or blade length. If it didn’t cut all the way through, don’t eject the mat from the cutter. Leave it in place, increase the pressure & cut again. This will save the project so that you can still use it.
- The papers you use most often will become second nature to you very quickly. You will automatically know what settings to use for them; you can also program them into the Inspiration Studio Software.
- Get a small notebook and keep a swatch of some of the specialty papers you use from time to time. Once you have figured out the blade settings for that paper, make a note of it.
- Have you been cutting successfully and all of the sudden the settings aren’t working? First, what’s the weather like? Second, it is probably your blade. Blades go bad all of the sudden, kind of like a haircut. Before you scream, try a new blade. Odds are, your problem will clear right up.
Be sure to watch the video I have created. I have tried to make figuring blade length and pressure less stressful. And remember…it does get easier with practice.
Chris
determining-blad-length-and-pressure

Please Help this is great information for new and old, but please fix the download cutting file it does not go through. Thank you,
The file is fixed now. Just a little mistype prevented it from downloading. Thanks for the heads up! 🙂
This is the absolute best tutorial/article I have ever seen on this, you did a fabulous job Chris.
I agree with Klo this is the best tutorial / video on settings there is. I have added a link from my blog. It has helped me a lot as the settings charts I have tried to use just would not work.
From various discussions I have had it appears that what works in the US may not work for us in the UK.
I have just written a settings guide for the UK which you can find on my very new blog http://www.cutand creativity(dot)co(dot)uk.
God is sooo good to me! This past week I was noticing some of the cuts were serrated. Thank you for the needed information 🙂