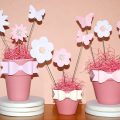
I found a petal from the rose bush outside of my studio, and decided to fashion one with a similar shape out of a triangle using the Pazzles InVue software. You can find the cutting file for the resulting 3DRose in the Pazzles Craft Room Library. These files came in handy for creating paper bouquets for my son’s wedding.
Here’s how I assembled the roses. The first layer formed the flower bud when the sides of one petal were hot glued to an opposite petal. The remaining 3 petals were hot glued about 1/3 of the way up from the base of each petal, and adhered to the forming bud. The back center of the next layer was hot glued to the first, with the petals positioned alternately to those of the first. A thin line of hot glue was applied to the base of each petal, which was folded up to adhere to the forming bud. The corners of each petal were curled away from the center of the bud using the small end of a small paint brush. This process was repeated with all of the layers except the last one. The last layer was simply glued in the center back, with no glue required at the base of the petals.
I used a piercing tool to poke a tiny hole through the center back of the assembled flower, then threaded a wire stem up through the hole. I bent the top of the wire into a loop, and pulled it back down into the center of the flower. Hot glue at the base of the flower keeps the wire in position. Finally, I wrapped the single petal around a small paint brush handle, hot glued around its tip, and inserted it into the center of the flower over the wire, to complete the bud.
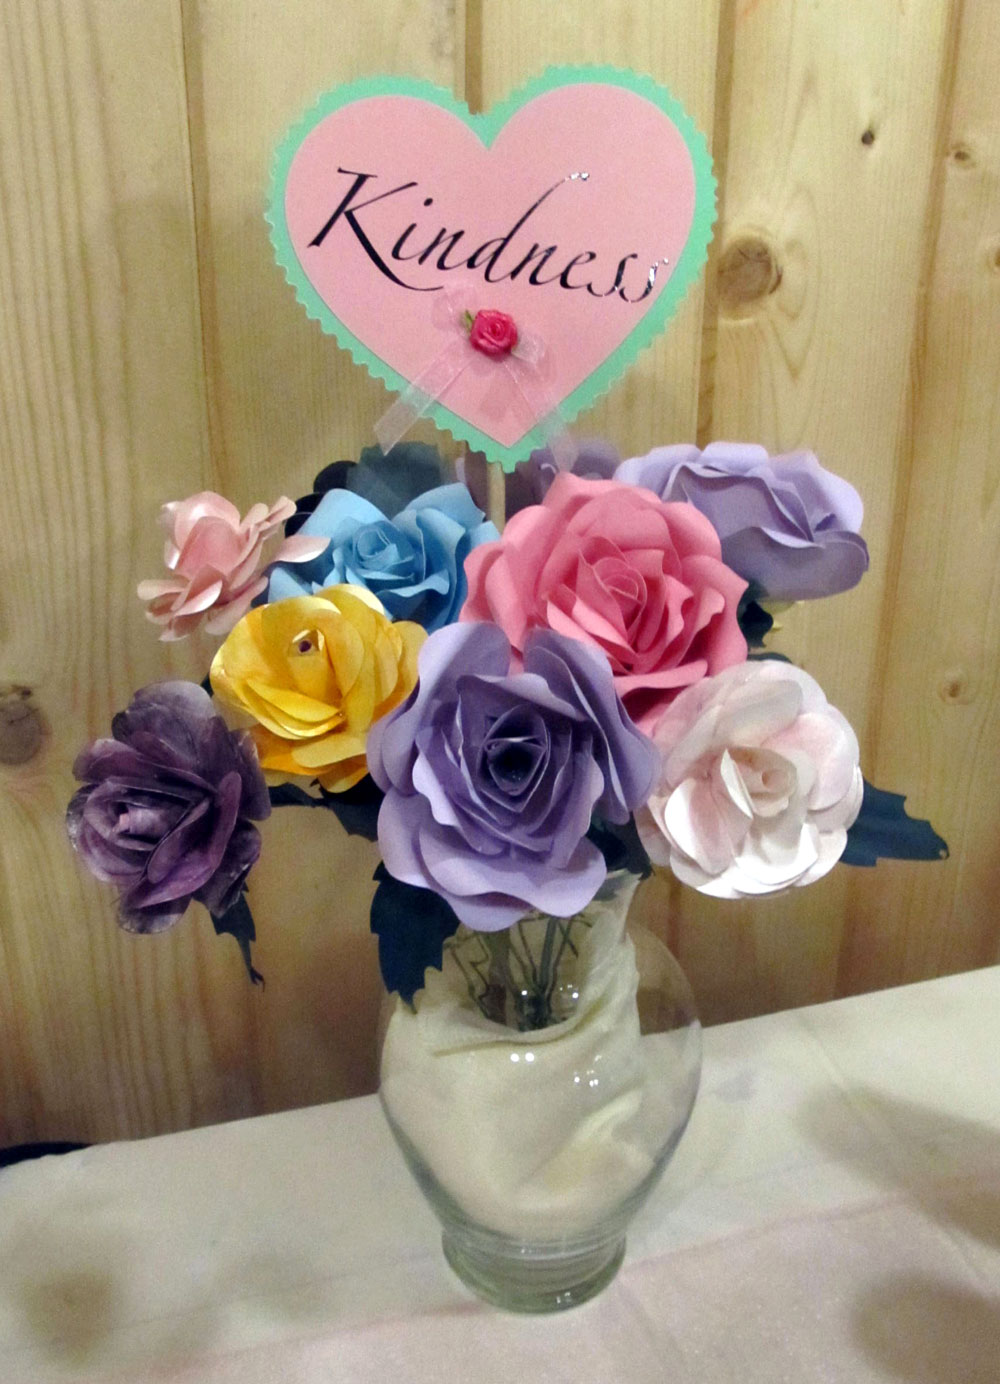
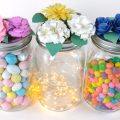
I cut the design from many different papers to create 6 dozen 3D paper roses, but my favorite by far was the Stardream 81# text weight Quartz colored paper by Neenah. This paper has a pearlized metallic sheen to it. The bride wanted pastel colors for her flowers, but I only had this white paper with which to work. So I improvised, using Aquarelle Watercolor Pencils by Staedtler and a KuretakeFude Water Brush Pen to transform the white paper into a variety of gorgeous pastel colored 3D roses! This paper holds its molded shape extremely well. Cardstock works as well. The ones made from vellum were more difficult to mold, as that paper did not like to hold the curled shape.
I wrapped the small rectangle at the bottom of the leaf around 18 gauge stem wire, and used hot glue to adhere the leaf to the stem.
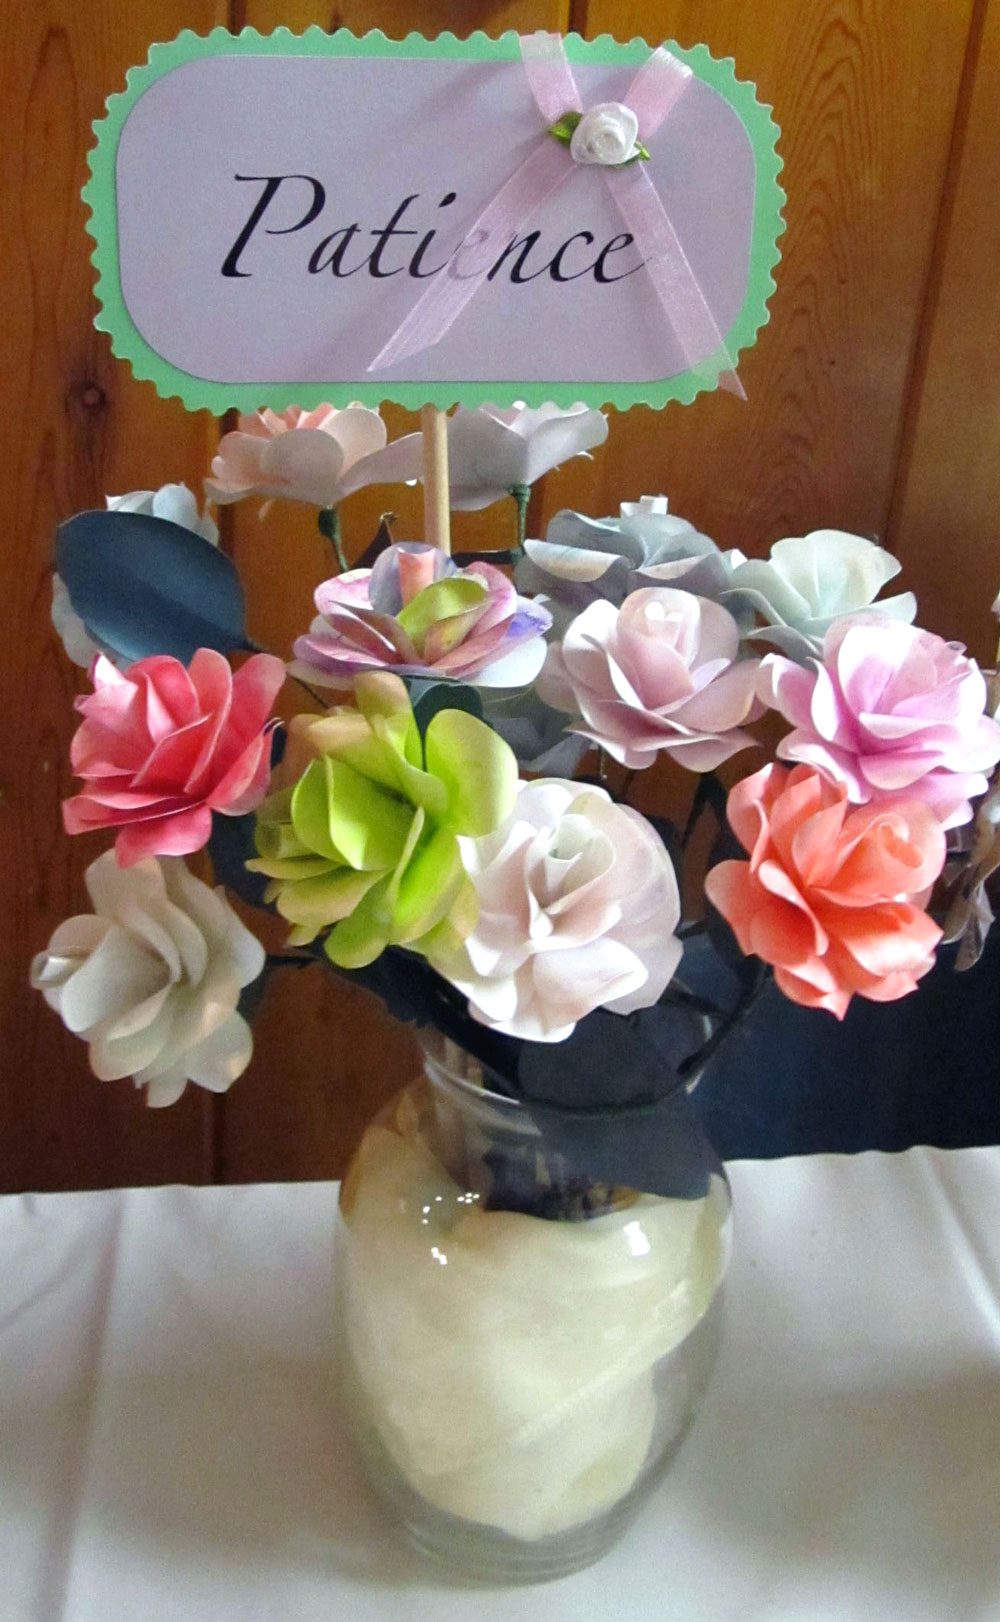
I had a host of children who know the bride and groom wanting to help make flowers for the wedding, and this flower was perfect for them to make. The children enjoyed coloring the cut layers, front and back, with their choices of watercolor pencils, and painting them with a water brush to blend the colors. One three year old boy colored, painted, and hot glued this flower, and everyone loved his creation the best!
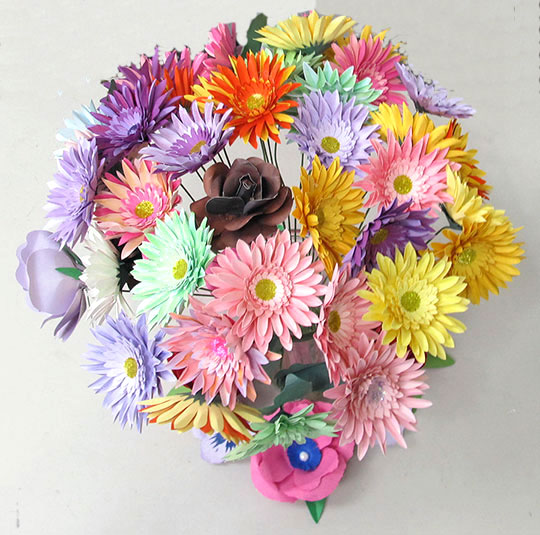
I modified some files in the Pazzles Craft Room Library to create the 3DDaisy file for these Gerbera Daisies. I cut these flowers out of a variety of colors of Recollections paper from Michaels. To make the flowers more life-like, I alternated two similar colors for the flower layers.
To shape the flower petals, I pinched each of the larger petals in the middle on the score lines, placed the flower on a foam mat, then rolled the large tip of an embossing tool around the center of each flower layer. This caused the petals to raise towards the center. To shape the smaller petals, I used the small tip of an embossing tool, pressing from the center of each petal, dragging it towards the center of the flower. This drew the petals up towards the center of the flower tightly. Then I swirled the larger embossing tip around the center of the flower to bring the petals up and inward to create almost a ball shape. These petals were hot glued in the centers, starting with the largest layers, down to the smallest. The flower centers were circles cut out of glitter sticker paper.
The sepal cones on the backs of the daisies were created using Suns 05 from Pazzles CD 20, Mythical. The design for the 3D cone for the back of flowers is included in the cutting file for the Daisy. I created the sepal by hot gluing one edge of the opening in the Sun, over the other. I slid the resulting cone up a piece of stem wire, the end of which was curled into a small circle and bent flat. The sepals were slid all the way up to the end of the curled wire and filled with hot glue. These were quickly applied to the backs of the assembled daisies to add the wire stems. I used the leaf from Blush Pink Rose, resized to 1.5″w x3″h, and welded a small rectangle to it to form a short stem. The leaves were cut from Forest Green Bazzill paper, shaded using watercolor pencils and chalk ink, folded in half, and hot glued at the base around the wire stems.
I had 6 home educated children (5 boys and one girl) and a parent in my studio for an art class entitled Shading, Shaping, and Assembly of Paper Flowers. The previous day I set my Pazzles Vue cutter to work cutting out the petals and leaves for dozens of paper daisies. My Vue ran non-stop for 8 hours, and did a spectacular job cutting Recollections paper from Michaels, transforming it into lovely Daisy petals. Each petal was perforated down the center with the blade during the cutting process, making it so easy to fold the petals in half during assembly. I LOVE that repeat cut button on my Vue!
We completed the class, and ended up with four dozen paper flowers for use in decorating the tables and room for our youngest son’s wedding. We added these flowers to the 6 dozen we made earlier.
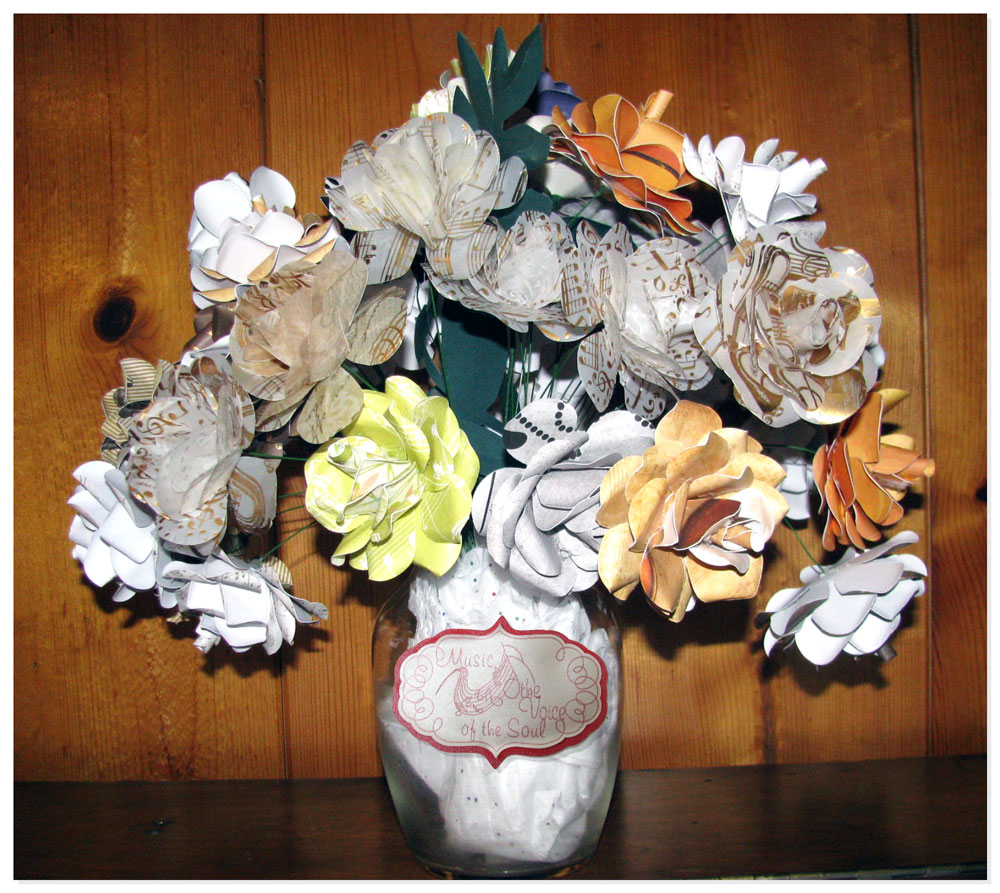
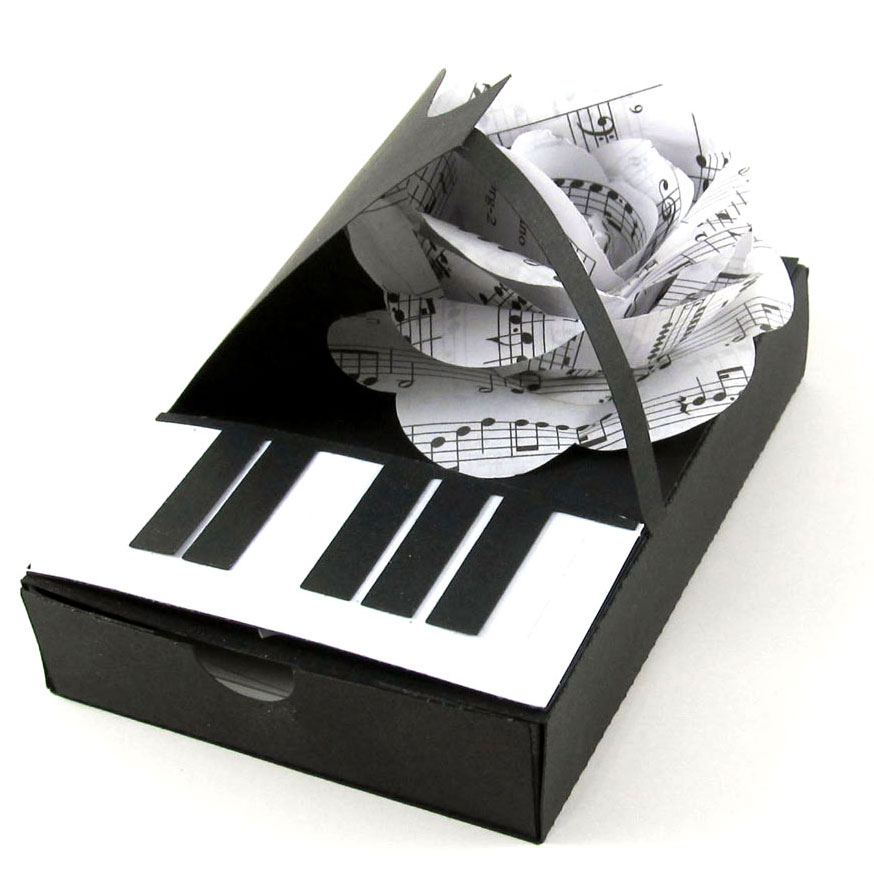
Since the bride and groom are both musicians, I made a couple dozen paper roses using a variety of musical papers, from regular printer paper with music scores printed on them, to musical scrapbook paper and cardstock, and finally using some metallic embossed vellum. The bride and groom loved the bouquet. I added a special tag created using a red gel pen on pearlized white paper to draw the text. I was delighted to find the music design and curled tag design in the Pazzles Craft Room, to complement the text, Music, the Voice of the Soul, drawn using an open path font called OLF MhOc-Regular.opf in the InVue software. I selected the frame of the tag, and added an outline for cutting from metallic red cardstock.
The bride wanted a dozen flowers for each of nine vases, which were spread throughout the room for the rehearsal dinner, and also placed on tables used at the outdoor wedding. They were lovely in both settings. Some of the roses even made it on the wedding cake! My Pazzles Vue did such a nice job cutting the pieces for these flowers!
Everyone loved the wedding decorations. I am so grateful to have a Pazzles Vue cutting machine that made the cutting tasks for this special occasion simple and enjoyable.
~Julie
Amazing Julie! Gorgeous flowers and how clever to get “many hands to make light work” of the project.
Wow! Beautiful
Lovely!
So nice; love the music flowers!