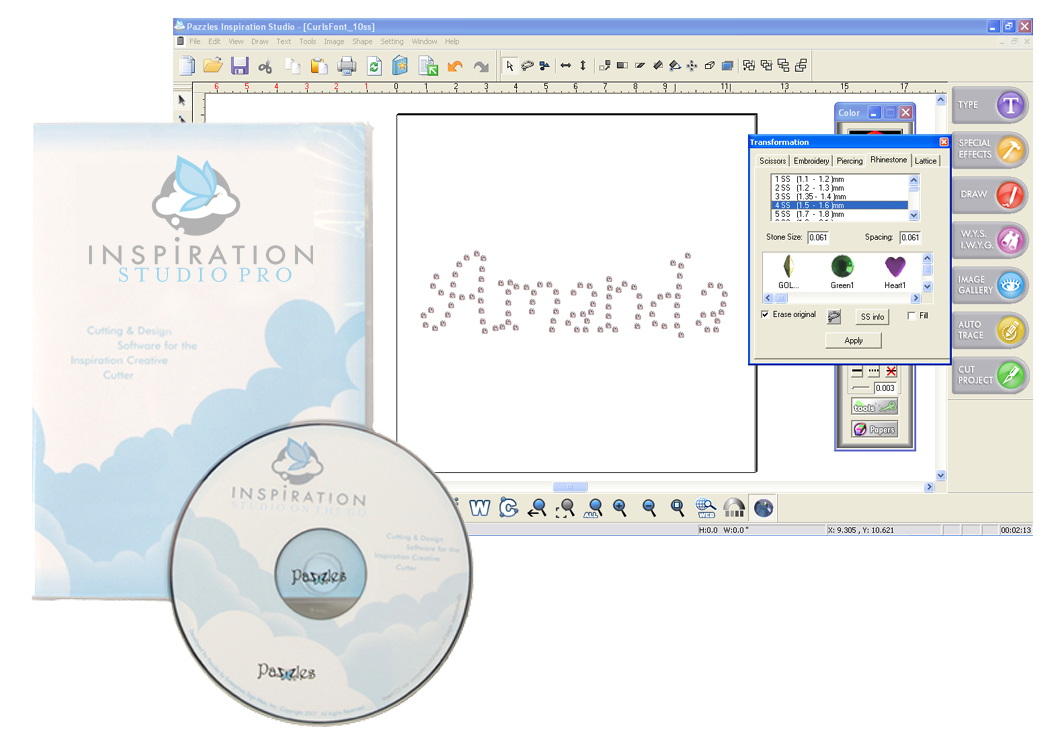
 There are some pretty neat little Netbooks out on the market right now. One of the great advantages to one of these small computers is the ability to have a light weight, compact, computer that slips easily into small bags, purses and drawers. The biggest downfall to a Netbook is not having the ability to have a CD drive. That’s where those handy little jump drives come into play. Not only is a jump drive – also known as a memory stick – an awesome little tool to save your WPC files and pictures, but it can also help transfer your Inspiration Studio software to your Netbook. To follow these instructions you will need to know how to create folders on your computer, how to copy files, and have some knowledge of how to use Windows Explorer (not Internet Explorer!).
1. Create a folder on your USB drive, such as “Inspiration Studio Install”
2. Copy the entire contents of your Inspiration Studio CD to the folder you created in step 1. This should include all of the files and folders listed below:
AutoPlay (folder)
autorun.cdd
autorun.exe
autorun.inf
CDM 2.02.04.exe
vcredist_x86.exe
3. Safely remove your USB drive from your computer.
4. Insert your USB drive into you netbook.
5. Open the folder you created in step 1 on your USB drive and double click (run) autorun.exe.
6. Follow the normal installation process.
Note that many Netbooks do not have the screen resolution available that Inspiration Studio was designed for. We recommend the following steps when using Inspiration Studio on a Netbook:
• Hide your “Start” bar by hovering over the top of it until your cursor changes to a double arrow, and then hold down your left mouse button and dragging it down. You can drag it back up when you are done designing, or access your start menu by pressing the “Windows” key.
• In Inspiration Studio undock your toolbar on the left hand side by holding down your left mouse button on the small box at the top of the tool bar, and dragging it away from the edge of the window. You can either dock this at the top or bottom, or leave it free floating.
• You may also need to move the “zoom” toolbar in order to maximize your screen usage.
• F11 will bring up the cut control panel, if your “Cut Project” button is cut off. You can also access this option from the “File” menu.
On many Netbooks the first three steps will be enough to give you acceptable results.
Happy Cutting!


Thanks Tatum,for all this great info.
Great tips, Tatum! Now all I need is a Netbook…any one care to help me out with that? Yeah, right! LOL!