 Recently, a Hobby Lobby store opened in our area. Now, I know some of you have had Hobby Lobby stores near you for a long time but this is the first one in Idaho. My daughter, Leslie and I have gone a tad crazy in the home décor section of the store. We have been inspired to spruce up certain dull areas of our homes. Leslie has been redecorating (or should I say finally decorating) her back porch bathroom so that her 3 little girls will use it instead of Mommy’s bathroom.
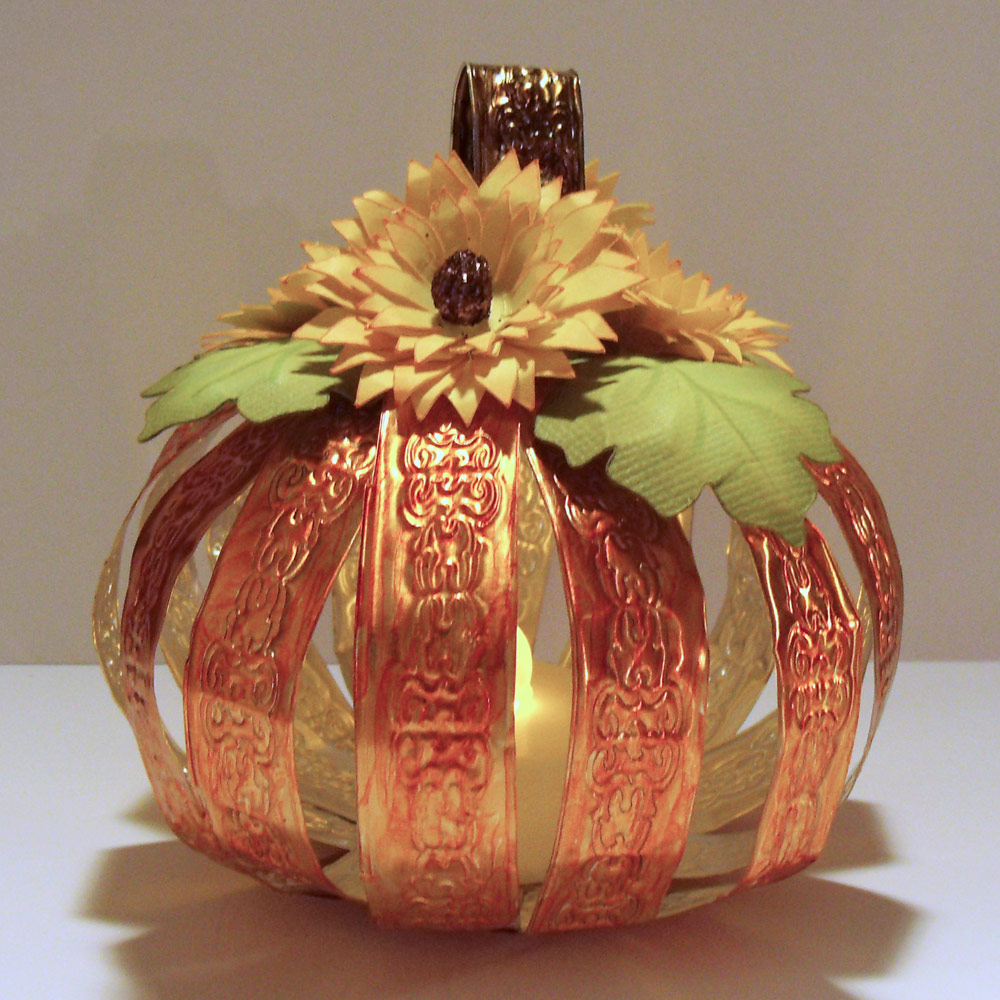
One of the things that caught her eye were beautiful candles that looked like they had metal detailing. But, WOW! The price was certainly out of our budget. Being the “Inspired” cutter that I am, it didn’t take long for me to realize I could make her some candles using foiling metal and the Inspiration’s Embossing Tool. They really turned out fabulous and the pictures don’t do them justice. The best part, of course, is that it cost a fraction of what the Hobby Lobby candles were priced at.
I love the fact that the Inspiration is so versatile. The Embossing Tool gives me a whole new avenue of projects to explore. Did you know that you can emboss vellum? I have made some beautiful wedding cards with embossed vellum overlays. Vellum comes in different weights and I recommend that you avoid the really thin, lightweight vellums as they tear easily.
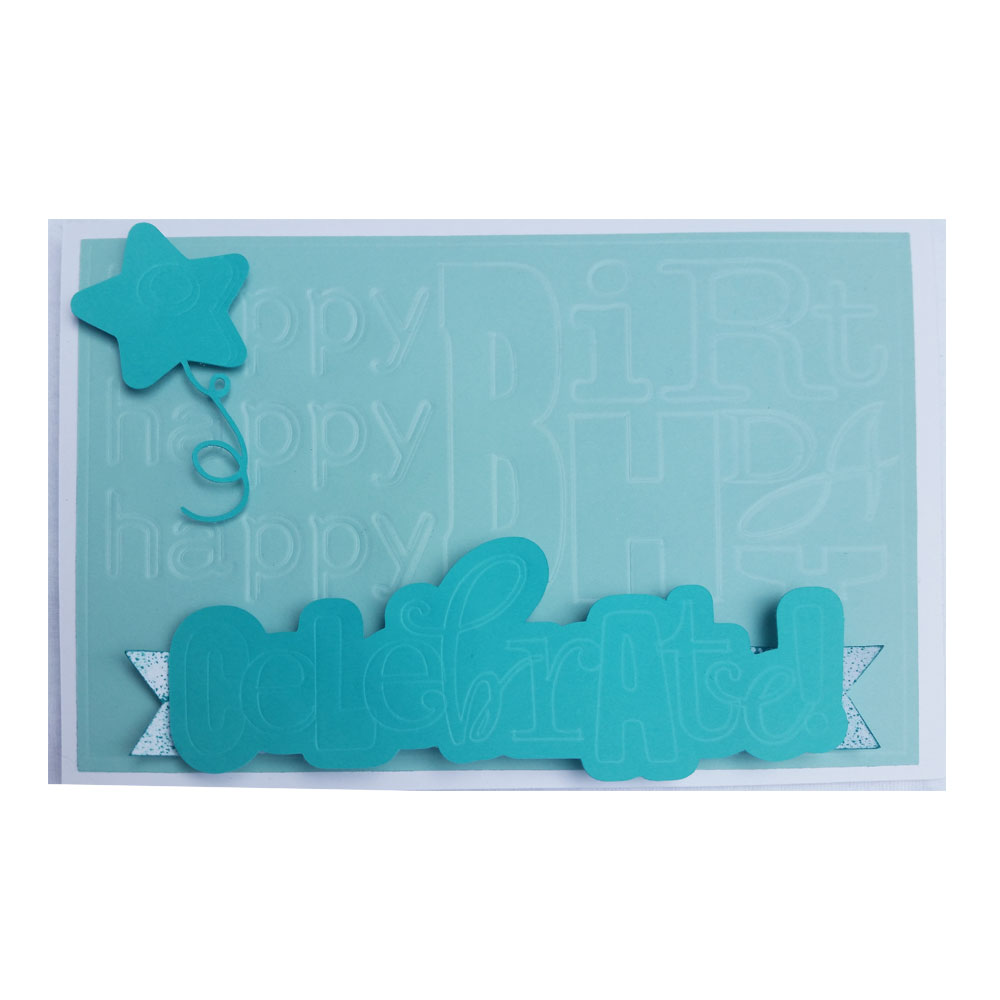
I have come up with some really fun ways to use de-bossed cardstock too. De-bossing is the opposite of embossing and works really well on cardstock. Cardstock does not emboss well because the cutter’s motion and pressure is a designed for cutting forward and not downward for heavy embossing. Instead you can create an impressed design into the cardstock with the Embossing Tool. I think you will agree with me that the look is wonderful and you will find ways to use it all of the time.
The key to good embossing is to use the correct pressure and to emboss your design with at least 2 passes. The Inspiration Studio software gives suggested pressures for vellum and cardstock and I have found them to work well. If you want to emboss on foiling metal, use the pressure for vellum.
If you want a filled embossed look you can use the engraving function. When using the engraving fill feature for your design, use a lower pressure. The repetitive back and forth motion can cause tearing of your paper if the pressure is too high. It is better to have to repeat the embossing process a few times than to ruin your project.
Naturally, I have created a video for you to watch. It will show you how to install the embossing tool and prepare the embossing mat for use. Even if you are already using your embossing tool you will probably learn a trick or two along the way. I hope after watching it you will share some of your projects in the Craft Room Galleries.
Happy Embossing!
Chris
embossing-tool

Thanks so much for the lesson. I had the embossing tool when I first bought the machine and returned it because I couldn’t figure out what I was doing wrong. I kept thinking that there should be an embossing mat….and now there is. I bought the mat because I have the punch tool. But, I am so glad that you elaborated on the reasoning for trimming up the edge. I have a question though. I wonder…would it be possible to have the machine make that initial cut without our having to measure? I just figure that it would be a perfect cut that way. Just wondering. Thanks again!
Super video, very good instructions!!
You certainly could have the machine do the initial trimming of the edges of the mat covering. Assign a page size of 13 3/16″ wide by 15″ long. Then place a cutting line the length of the page 5/8″ in on each side. Keep in mind that you probably will need to finish cutting the strips by hand since the mat feeds into the cutter about 1″.
Personally, I’m thinking I would use a ruler and pen to mark the line and use a straight edge blade to cut along the ruler while the cover is still on the mat.
I guess that I just don’t trust myself. I know that some people are really good and fast with a blade. I have a tendency to break the blades or to bend them. In our quilting group, for some reason, the ladies always have me do the cutting even though I do this….I am too much of a perfectionist when it comes to hand cutting…and I think that for some reason, I place too much pressure trying to avoid slippage. I will figure it out. I have been putting off using the mat and punch blade…got them for Christmas…so it is about time! LOL!
wonderful video. I am so glad I haven’t opened my embossing mat yet. Now I will start out the right way thanks to this video.
Thanks for the video, just what I was looking for!