
You all know that when you are cooking, you should have all the tools and ingredients you need close at hand. If you are making a pie, that means you want the bowls, measuring spoons and mixer right on the counter. You will want the eggs, milk, shortening and ingredients for the pie filling handy as well. After the pie crust is made you don’t put it away in the pantry. You keep it on the counter so that you can pour the filling into the shell at the proper moment.
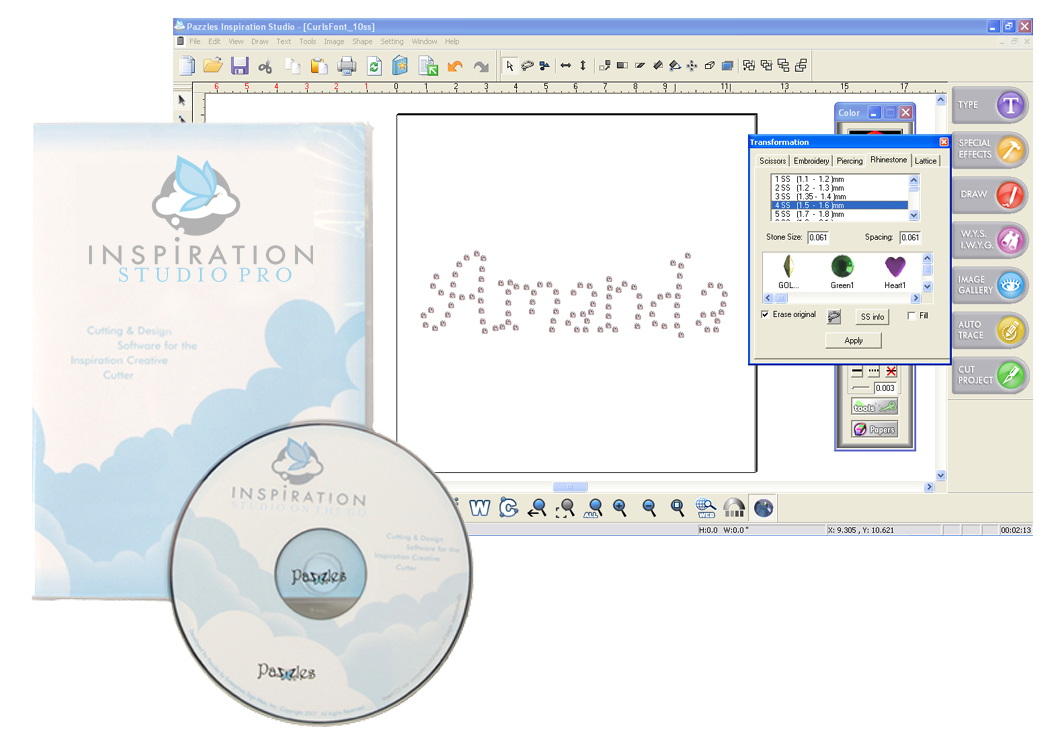
The same organization applies to making a project in Inspiration Studio. Your tools are found in the Inspiration software and, thankfully, stay right where you can find them. Your ingredients are often images from the Image Library but can also be ones you have made. You may have special ingredients like clip art or photos. If you are making a box you may have the finished box top and bottom already made (like the pie shell) and want to design the embellishments for the box. Where do you store your ‘ingredients’ and your finished parts until you need them?

You have a counter or storage space in the area to the right and to the left of your work page. As you are creating you can move pieces off of the page and store them on either side. (Some other design programs, such as Adobe Illustrator, call this storage space the ‘pasteboard.’) I prefer not to store at the top or bottom of the page. My computer monitor is wider than it is tall so it is easier to see the sides without zooming back. Also, if I decide to change the page size to 24 inches long I will end up with my stored stuff on the page where I don’t want it.

To see only the cutting page area click on the Zoom Page on the Zoom Toolbar (in the View menu). To see all the ingredients, click on the Zoom All option in the toolbar.
As I create I move bits and pieces off to the left or the right. I may or may not use them when I am done but they are right where I can find them if necessary. Take a look at a page from a project I am working on for the Chantilly retreat. I have all kinds of pumpkins but will likely discard most of them when I find that perfect one. This way I can easily compare one to the another without having to open another file.
I also love the storage area for large multi-piece projects. For instance, in this box project I have the lid, the bottom and some embellishment pieces. Instead of having them all jumbled on top of one another on the page, I have them separated off to the sides. They are handy to grab when I need them but out of the way when it is time to cut.


Thank you for that tip and being a newbie it is nice to know that I have somewhere to put stuff w/out worring about it cutting it out.
I use this all the time…it saves alot of time…and I group the images that I will cut out of the same color of paper and use the same color out line so when picking that color all the images will be selected
Thank you for this valuable tip! It is so good to know that we can expand our “drawing boards” without fear of cutting 🙂