
I must admit that when we were talking about the Haunted Village, that I put in ‘dibs’ on the graveyard.
I have a special liking for graveyards because of an experience I had while doing family research. I had come across one of my husband’s great grandfathers and kept finding two birth dates for him about one year apart. Everything else fit except those darn dates. As I sat talking to a relative, she asked, “have you ever gone out to that old cemetery by the river?” I, of course, did not know what she was talking about. I got instructions to where it was located and headed out.
 This cemetery was out in the middle of a cow pasture with a broken down fence around it. It was very much a ‘traditional’ Halloween cemetery. I started looking at dates and names until I found the one I was looking for. Lo and behold, right next to it was another one, same name, dates, etc. for a baby. This family had lost an infant and had another child less than a year later and gave them the same name. My mystery was solved and my love of cemeteries had been born, especially old cemeteries and headstones. I have seen some rather humorous epitaphs and some rather sad ones. Often you see an entire family dying within a short time. I have even joined an online community called Find a Grave where people request photos of specific headstones. I go out and take pictures and post them for their records.
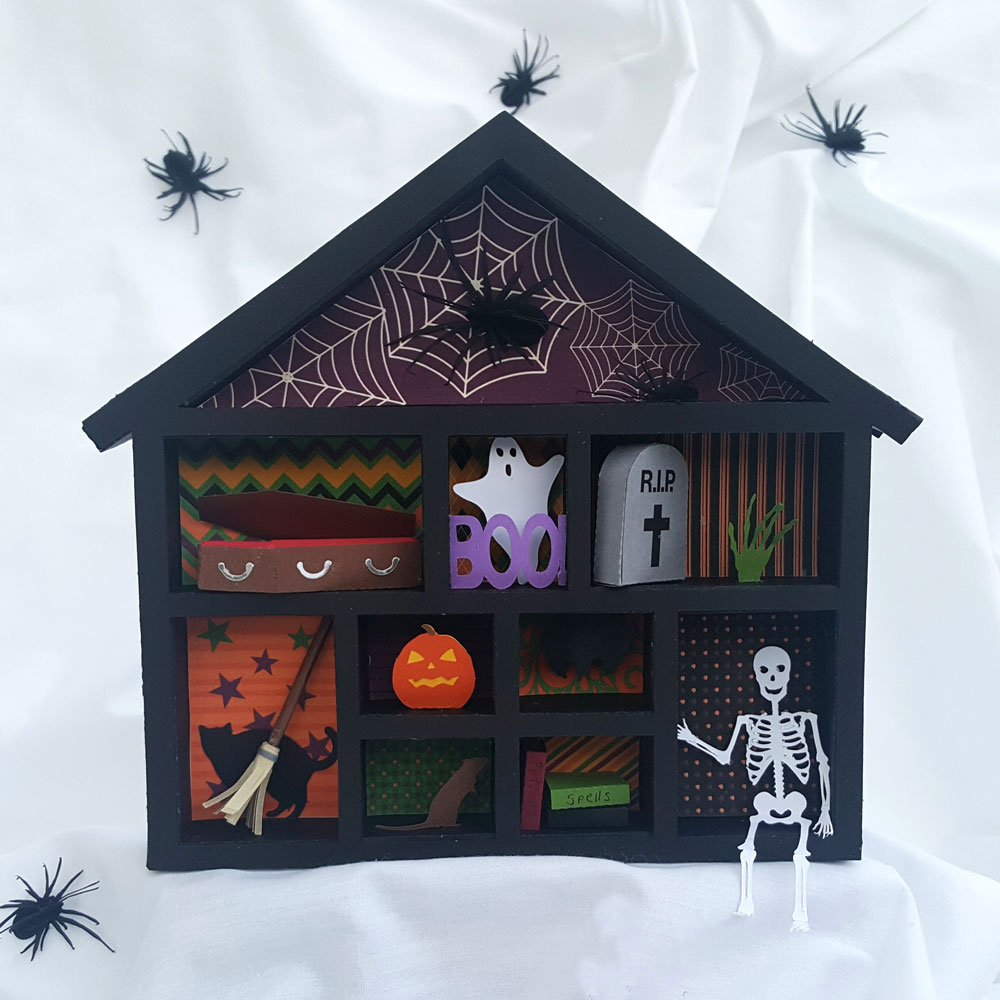
 I hope you enjoy putting together the graveyard, trees, and fence to add fun to your Haunted Village. I have given you some different epitaphs and names to put on the headstones. Don’t forget, you can create your own epitaphs, so be sure to have fun and personalize your project.
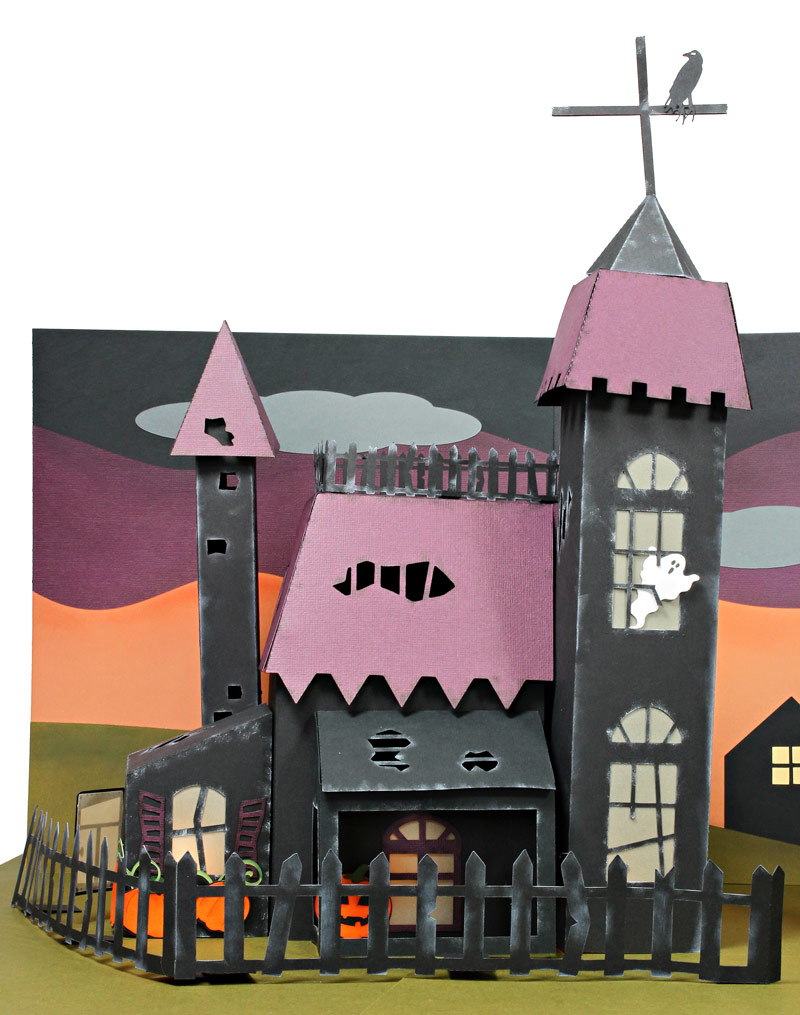
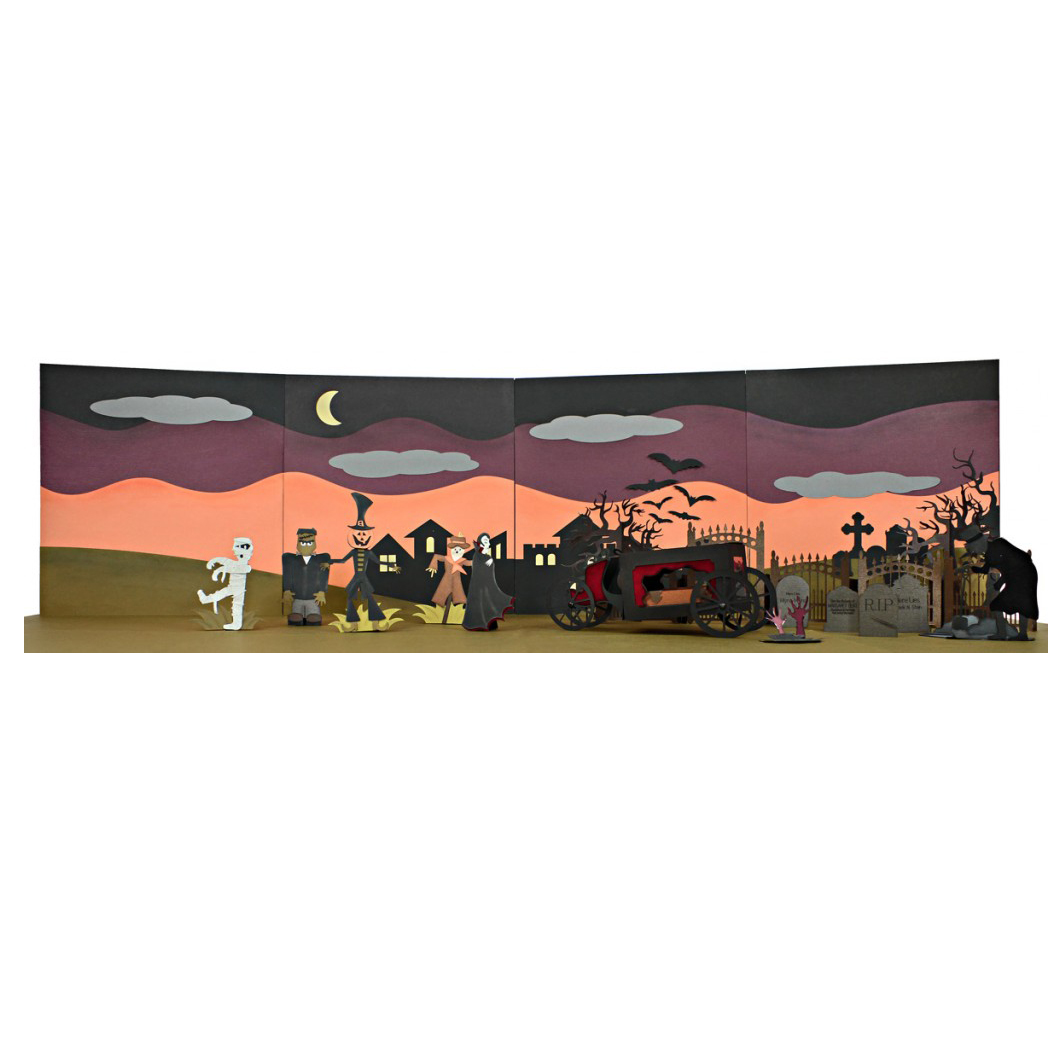
Note from Chris: We loved what Klo had done so much that we added another optional cemetary panel for the backdrop and Tatum made a Horseless Hearse. We just couldn’t help ourselves! We are having too much fun! Download the entire 4-piece backdrop below—if you’ve already made the first three panels, the fourth is labeled so you can easily cut it and add it on.
Supplies:
- All card stock by WorldWin, except crimson curtains and panels on the carriage: Wintech PlushVel in Crimson
- Pazzles Inspiration Pen Tool and a pen
- 4 Brads
- Chalk or ink for distressing (optional)
- Glue
THIS IS W O N D E R F U L!!! Halloween is one of my favorite holidays and I now have three Halloween Trees with lots ‘n lots of ornaments. This village is going to look just exceptional with all the other decorations I have. Can hardly wait to see each of the next installments! Thank You So Much everyone for all your work!
A huge thanks to everyone working on this project. It is totally awesome! 🙂 I love it and I can’t wait to see more.
Oh My Gosh…You guys have really outdone yourselves! The entire village is wonderful! And the best news? Vicki Gardiner is my dear friend and if I get stuck, I’ll be web-caming her for help! Thanks so much design team for all you do for us!
This is the best thing I have ever seen – I LOVE IT!!! and will start making it today…
More than cool. I love love love this….can’t wait to see what’s next!
Wonderful work! I am not a Halloween person, but I really like this project. I especially like the carriage.
Iealyy love his project .Thanks to everyone for there hard work what an awesome project. I cant wait to make it
Love it! The fence isnt easy to cut though for me. The bars with the points all get snagged with the blade and shred/bunch up. What settings were used for this?
Sure would like complete PDF instructions on how to put the carriage together. I can’t see what is holding up the front wheels or how they are attached to the carriage.
Wendy,the settings for cutting will depend on what paper you are cutting and what your humidity level is. Bunching up at points usually means too much pressure and possibly having the blade out too far. Try lightening up on the pressure and cutting twice.
Regina, did you know that you can click on the pictures above and get an enlarged picture of them? Zoom up on the carriage picture and you will see where the wheels are attached. 🙂 The front wheels are attached to the little finger like projection on the carriage base. Be sure to put the axel piece on first and then poke a hole through each of the “fingers” and attach the wheels with a brad.
Thanks Christine, but how is the axle attached?
This is fantastic! Thanks!
The base instructions are not very clear could you give a little more please?
Regina, it fits under the carriage seat. You can see how the side pieces match up if you look at the two parts. It helps stabalize the seat part of the carriage.
Sherry, the base to the carriage?
Hi Everyone! Glad that you’re all enjoying the haunted carriage. I have revised the instructions for the assembly of the carriage to help make the assembly process easier. 🙂
The base to the back ground, the rectangle piece and the triangle pieces. How do they fit together?
Sherry,
The PDF instuction for the backdrop and base can be found in last week’s Tips and Tricks.
Thanks Tatum. I will go and check it out.
Is it Friday yet???? Can’t wait for the next installment! I’ve got lots more headstones, fences, trees, etc. I think I need to wait before adding more to see what you’re coming up with next. This is such a really wonderful project – did I ask if it was Friday yet??? Can’t wait to see the next pieces!
D……n!!! I have cut and pieced FIVE backgrounds, and only then noticed that you have changed the background to four pieces… 🙁