One of the most frustrating things for me is not having the exact right color or size of embellishment for my project. The most frequent offender is buttons. The one with the perfect color will be too big. The right-sized ones will be just off-color enough to be off-putting. I could cut button shapes out of paper, but they lack in dimension and shine! It seemed like a no-win situation until I finally came up with a solution that had dimension, shine, and the perfect size and color! I made my own dimensional buttons out of acrylic plastic, paper, and Glossy Accents!
The real key to a successful pseudo-button is dimension, and to get it I used the thickest plastic I could lay my hands on: a 12″ x 12″ sheet of acrylic from Clear Scraps. With the Pazzles Inspiration you can die cut acrylic up to 2mm in thickness, which is great for making your own buttons.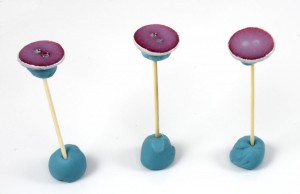
I chose a button from the Buttons file in the Library, made it the just size I needed, and made the buttonholes a little bigger. Then, I cut my buttons out of both the acrylic and glitter paper that matched my project. I glued my glitter paper button on top of my acrylic button.
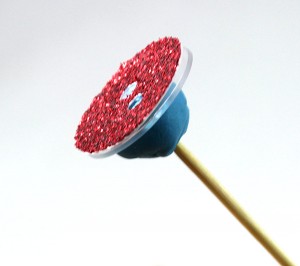
Using poster putty and a toothpick, I stuck the button on top of a toothpick. Holding the toothpick let me spin it around so I could cover both the sides and the top of the button with a thick layer of Glossy Accents. Spinning the toothpick between my fingers let me cover the button like I was icing a cake! Try to avoid getting the gloss and the poster putty in the buttonholes. It’s okay if you do, you can poke it out later with a Pick Tool.
When the button is evenly covered, stand it upright to dry in another ball of poster putty. Let dry for about two hours.
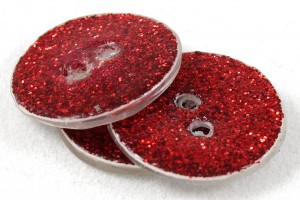
After drying, you will have thick, shiny buttons that match your project! What’s more, you’ll be saving money by creating custom buttons instead of buying a larger pack of buttons just to match your projects. You can cut a greater number of buttons out of one sheet of acrylic than you’ll buy in a pack. And unlike buying a button pack, you’ll get just the right amount of buttons you need, so you won’t have a ton of spares in that weird color you’ll likely never use again.
Happy Crafting!
~Amanda
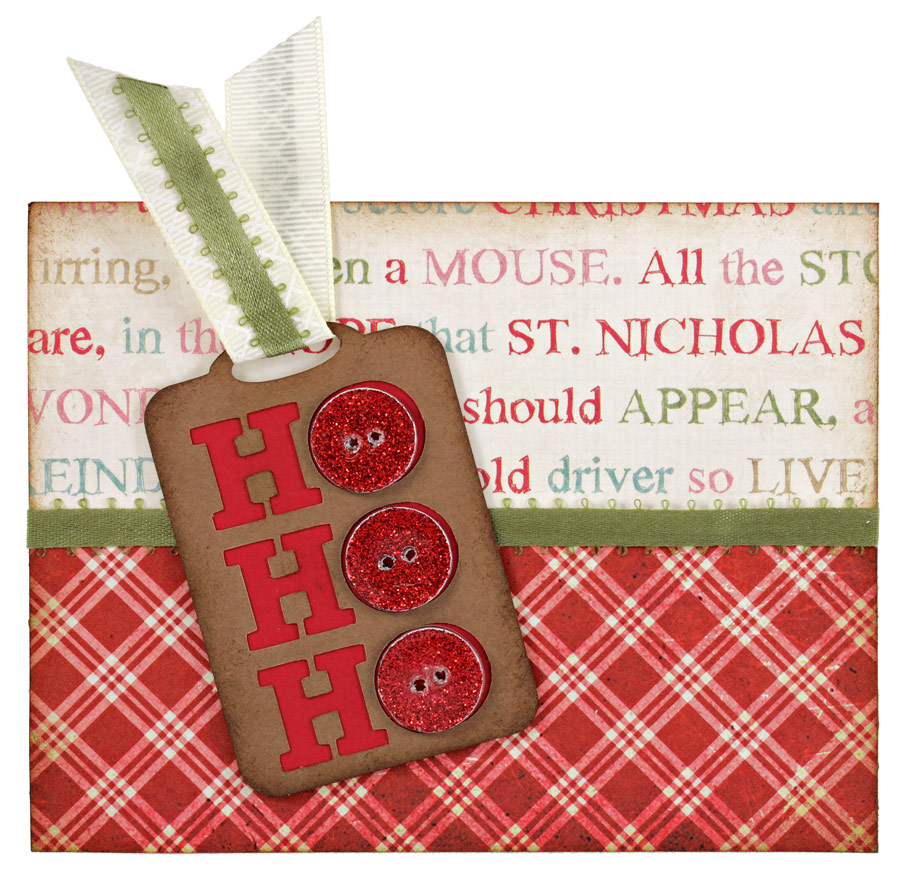
PS: The tag I made will be in the New section this Friday. The font is Rockwell, if you don’t want to wait!
Supplies:
- Clear Scraps, 12″ x 12″ Acrylic Sheet
- Ranger Ink, Glossy Accents
- Best Creations Glitter Paper
- American Crafts Ribbon (Green, Cream)
- Crate Paper, Farmhouse Collection
- My Mind’s Eye, Be Merry Collection
- Liquid Adhesive
- Plaid Crafts Pop Dots


Great idea, Amanda! I can also change buttons I currently have by cutting out covers. Splendid!
Excellent idea! Thanks.
This is a brilliant idea Amanda, I never would have thought of doing this. I also love Bev’s idea. Thanks for this ladies. 🙂
Thanks for the great tip!
I just Love Your Creations.
I love making my own buttons! This is a great idea. I also go to Jennibellie’s web site for her funky button directions – I kind of got addicted to making them. I use crushed up foil for holders, just in case you don’t have putty =)