 The word KISS brings to mind a lot of different things. We all have sung the school age song: “Tommy and Suzy sitting in a tree…….. K-I-S-S-I-N-G!” We might think of baby kisses or romantic kisses and someone who tries to gain favor by “kissing up”. However, when it comes to those of us who love cutting paper, KISS CUT is at the top of the list.
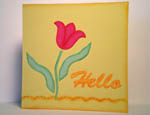
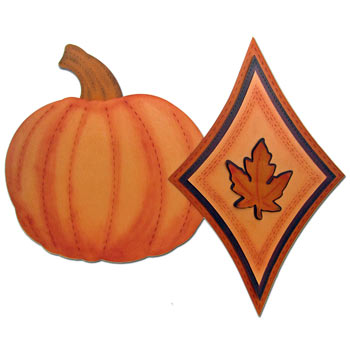
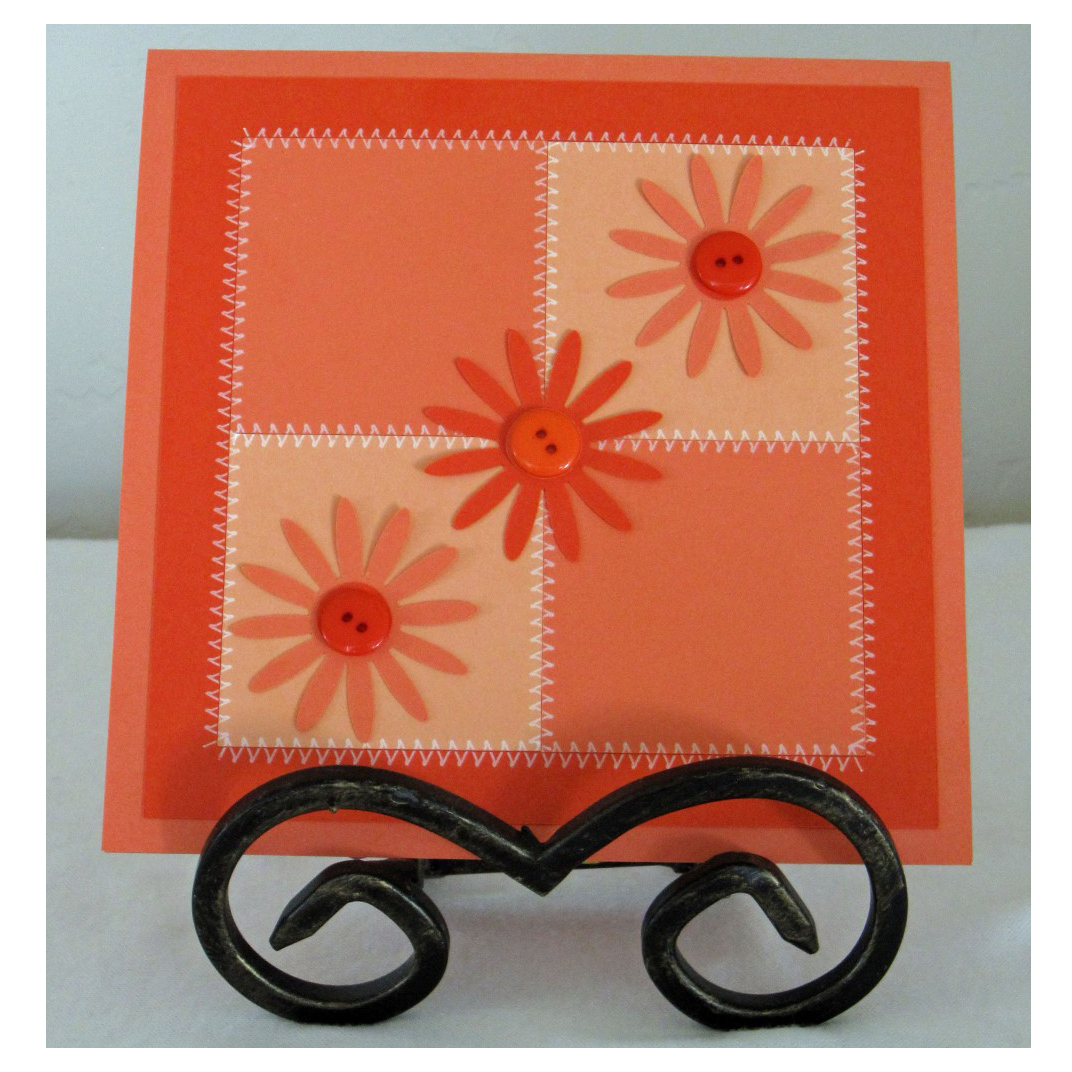
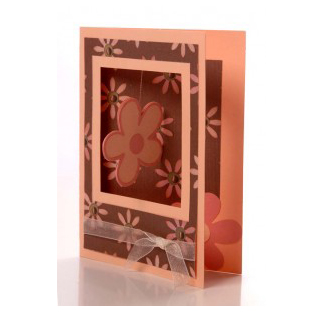
Kiss cut is also referred to as perf lines, stitch marking or dashed lines. They are often used for fold lines on boxes and cards. They can also make delightful borders around projects. Since I started creating the kiss cut tutorial I have been noticing kiss cut lines frequently used in graphic design. I have seen them as accents on flowers, to create faux ribbon and to border a photo. I realized that there is a lot of inspiration on ways to use Kiss Cut lines by just opening my eyes and paying attention!
I like to use kiss cut lines to add detail to a die cut without having to actually cut a tiny piece out of the paper. Then I chalk over the kiss cut lines to make them really pop out. You can use the pen tool to draw kiss cut lines and you will have perfectly spaced stitch marking exactly where you want it.
The Inspiration Studio software has some nifty tools to quickly add kiss cut lines. There is the Draw Kiss Cut Line button on the left tool bar that allows you to quickly add straight kiss cut lines to a project. I use this frequently when I want to make fold lines. In the Color Palette window under Pen Styles you will find a Kiss Cut button. Select any line, in any shape and click on the Kiss Cut button. That line will be turned into a kiss cut (dashed) line. I use this button to change outlines or borders into kiss cut lines.
One Kiss Cut tool is a little more hidden. I suspect many of you do not even know it exists. In the Color Palette window look for the small black arrow right above the letter P. Click on it and the Color Palette will expand to show more options. Click on the BRUSH button and another window will open. Towards the bottom of the window you will find options for Kiss Cut 1 and Kiss Cut 2. Kiss Cut 1 is the default size used by the other buttons I have described. Kiss Cut 2 is a larger kiss cut to give you more options for how your finished design will look.
To better understand how the different Kiss Cut buttons can be used I encourage you to watch the Kiss Cut Accents tutorial below. (You can also find it and other tutorials in the video library under The Fundamentals section.)
Happy Kissing!
Chris

Kissing file is once again another beautiful project.
Hi Sharon,
The file will download fine now. Thanks for the heads up!
Chris
I remember quite a while back, when I had asked about longer lines and Klo directed me to this feature. I think that this was a great idea for a video so that others will know what to do. The two sizes do make a huge difference in designs. Sometimes, we don’t want the paper to tear…and the longer line is better for those instances. Thanks again for another great video!
wonderful info, will have to try out some of the ideas that you have past on to us
So wonderful to have people like you showing us all these wonderful secrets.
Thank you so much – very much appreciated.
Cheryl
Thank you for showing me the longer kiss line, this is going to be fun to use.