 I think one of the most valuable attributes of the Pazzles Inspiration System is the ability to create anything I need for a project. I can choose from hundreds of fonts and most of them are free on the internet. If I can’t find exactly what I have in mind I can make it look the way I want. I have COMPLETE CONTROL over the results. I don’t need to buy a new cartridge or download to get the look I want. I don’t need to settle for something that is so-so. I don’t need to pop in one cartridge and keyboard overlay, cut ONE thing, pop in another cartridge and overlay, cut ONE more thing and repeat, repeat, repeat.
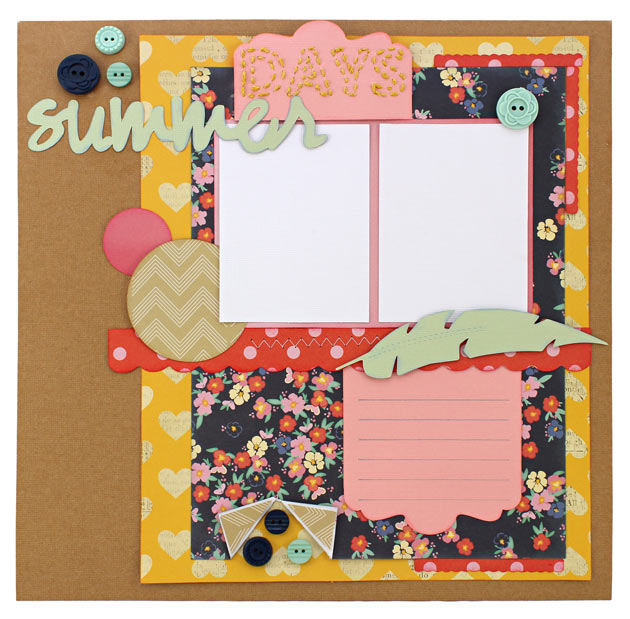
In the Summer Splash page pictured here, I altered the fonts to fit the theme. Simple ways to alter fonts are to tilt the letters or resize them as I did for the word ‘Laugh’. (Use the Break text by Character option under the text menu to separate the letters.) But did you know that you can change the fonts in other ways? You can convert the font to an image using the Convert Text to Path feature. Then you can easily add to the font or remove pieces from it, which is how I created the ‘Splash’ and ‘Stars’ titles.
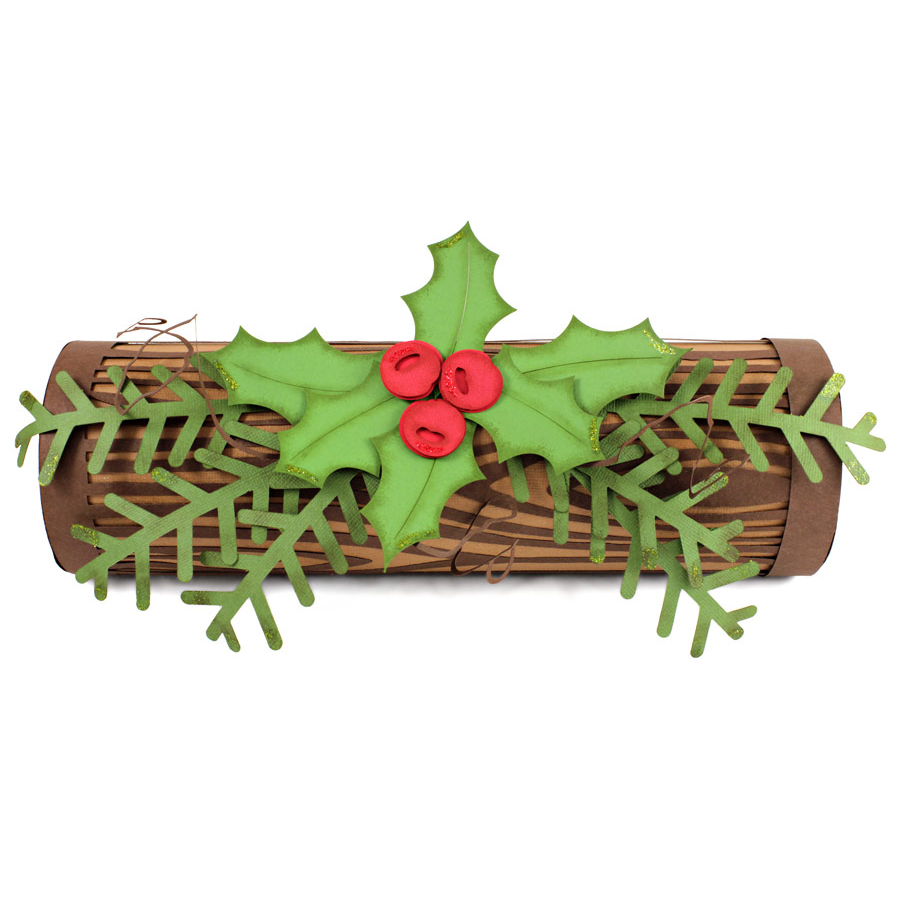
 You can use parts from one font to add to another font or image. I used snowcaps from one font to make frothy foam on my cappuccino cup. You can even create an entire image using parts of a font. The campfire shown here was made using a font that looked like logs. I removed the parts I did not want and had great logs for my campfire!
Do you want an eclectic look? You can mix different fonts together, choosing a different font for each letter. Overlap the letters, and weld to join them creating a one-piece cutout. (My Goofy title uses this method.)
Need a font that has texture like my ‘ZOO’ title? Borrow texture from an image and add it to the font! Try that with a cartridge system!
I have created a lesson on altering fonts. It shows a lot of different ways to change fonts from easy to advanced. I think you will find that the lesson has something for everyone. I am also including the cutting file and instructions for the Summer Splash page. Enjoy!!
Chris
If you would like the cutting files for the Summer Splash page click here.
If you would like the Instructions for the Summer Splash page click here.


I love the page…and thank you for sharing the file. Just so that you know…the instructions are on the cutting file download and vice versa. It is such a pretty page….love the colors that you chose.
Love your page and color combination. I don’t think I will ever learn everything this awesome machine does. Thanks for teaching us new things every week.
I have the file form this amazing page thanks for sharing and the videos are amazing!!! You are an awesome pazzles teacher!
Thanks for the compliments! I loved the picture of my granddaughters in the pool and the colors inspired the page.
Victoria, thanks for the heads up. I have fixed the download files now. 🙂
Thank you for sharing – love the page and the colors!
I just love the creativity of this page. thanks!!!
Just Amazing!